Lesson 14
Wax Prints
Warm-up: Notice and Wonder: Textiles (10 minutes)
Narrative
Launch
- Groups of 2
- Display the image.
- “What do you notice? What do you wonder?”
- 1 minute: quiet think time
Activity
- “Discuss your thinking with your partner.”
- 1 minute: partner discussion
- Monitor for a student who mentions how the shapes repeat in the patterns to share.
- Share and record responses.
Student Facing
What do you notice? What do you wonder?

Student Response
For access, consult one of our IM Certified Partners.
Activity Synthesis
- “What types of shapes do we see in all the different patterns?” (I see squares on the woman’s shirt. I see triangles on the yellow fabric. I see circles in several of the patterns. I think I see rhombuses in the light green pattern at the bottom.)
Activity 1: Create a Wax Print Pattern (20 minutes)
Narrative
The purpose of this activity is for students to apply what they’ve learned about quadrilaterals to design a wax print pattern. First, students analyze wax prints that have quadrilaterals incorporated into the pattern. Then, students design their own wax print that incorporates rhombuses, rectangles, or squares and a quadrilateral that doesn’t belong to any of these subcategories.
Advances: Speaking, Representing
Supports accessibility for: Memory, Organization
Required Materials
Materials to Gather
Materials to Copy
- Square Dot Paper Standard
Launch
- Groups of 2
- Display the image.
- “Today’s lesson is going to focus on African wax prints. African wax prints are colorful cotton fabrics commonly used for clothing in West Africa. Take a minute to think about the pattern. What do you notice? What do you wonder?” (Students may notice: The pattern is colorful. There are rhombuses in the pattern. There are triangles in the pattern. There are quadrilaterals that aren’t rhombuses, rectangles, or squares in the pattern. Students may wonder: How do they make these patterns? What other shapes could be used to make these patterns? What types of clothing are made with this cloth? Where can you buy this type of fabric?)
- 1 minute: partner discussion
- Share responses.
- “You’re going to create your own wax print pattern. Independently read over the directions and think about how you’ll create your pattern.”
- 2–3 minutes: quiet think time
- “Are there any questions about how you’ll create your wax print pattern?”
- Answer any questions students have.
- Give each student a sheet of dot paper and colored pencils, crayons, or markers.
Activity
- “Work independently to create your wax print pattern.”
- 5–7 minutes: independent work time
- “You can continue working on your own or work with a partner or small group to finish your pattern. Even if you choose to work alone, be available if your partner wants to think through something together.”
- 3–5 minutes: partner, small group, or independent work time
- Monitor for students who use a rhombus, rectangle, or square in their pattern to highlight in the synthesis. Adjust the synthesis if all shapes aren’t used.
Student Facing
Your teacher will give you some dot paper for drawing.
-
Use the dot paper to design your own wax print pattern. Your pattern should:
- use a rhombus, rectangle, or square
- use a quadrilateral that is not a rhombus, rectangle, or square
- have each shape repeat at least 5 times
- Color the pattern in a way that highlights the shapes you chose or choices you made.

Student Response
For access, consult one of our IM Certified Partners.
Activity Synthesis
- Display previously selected patterns one at a time.
- For each pattern, ask, “How did this student use rectangles (or rombuses, or squares) in their design?”
Activity 2: Info Gap: The Bundle (20 minutes)
Narrative
This Info Gap activity provides students an opportunity to solve problems involving perimeter and area. The problems involve the context of a bundle of wax print fabric that is shared to make multiple pieces of clothing. The purpose of the launch is to get students thinking about where they’ve seen bundles of fabric and familiarize them with language that will be used in the problem.
This activity uses MLR4 Information Gap.
The Info Gap structure requires students to make sense of problems by determining what information is necessary, and then to ask for information they need to solve it. This may take several rounds of discussion if their first requests do not yield the information they need (MP1). It also allows them to refine the language they use and ask increasingly more precise questions until they get the information they need (MP6).
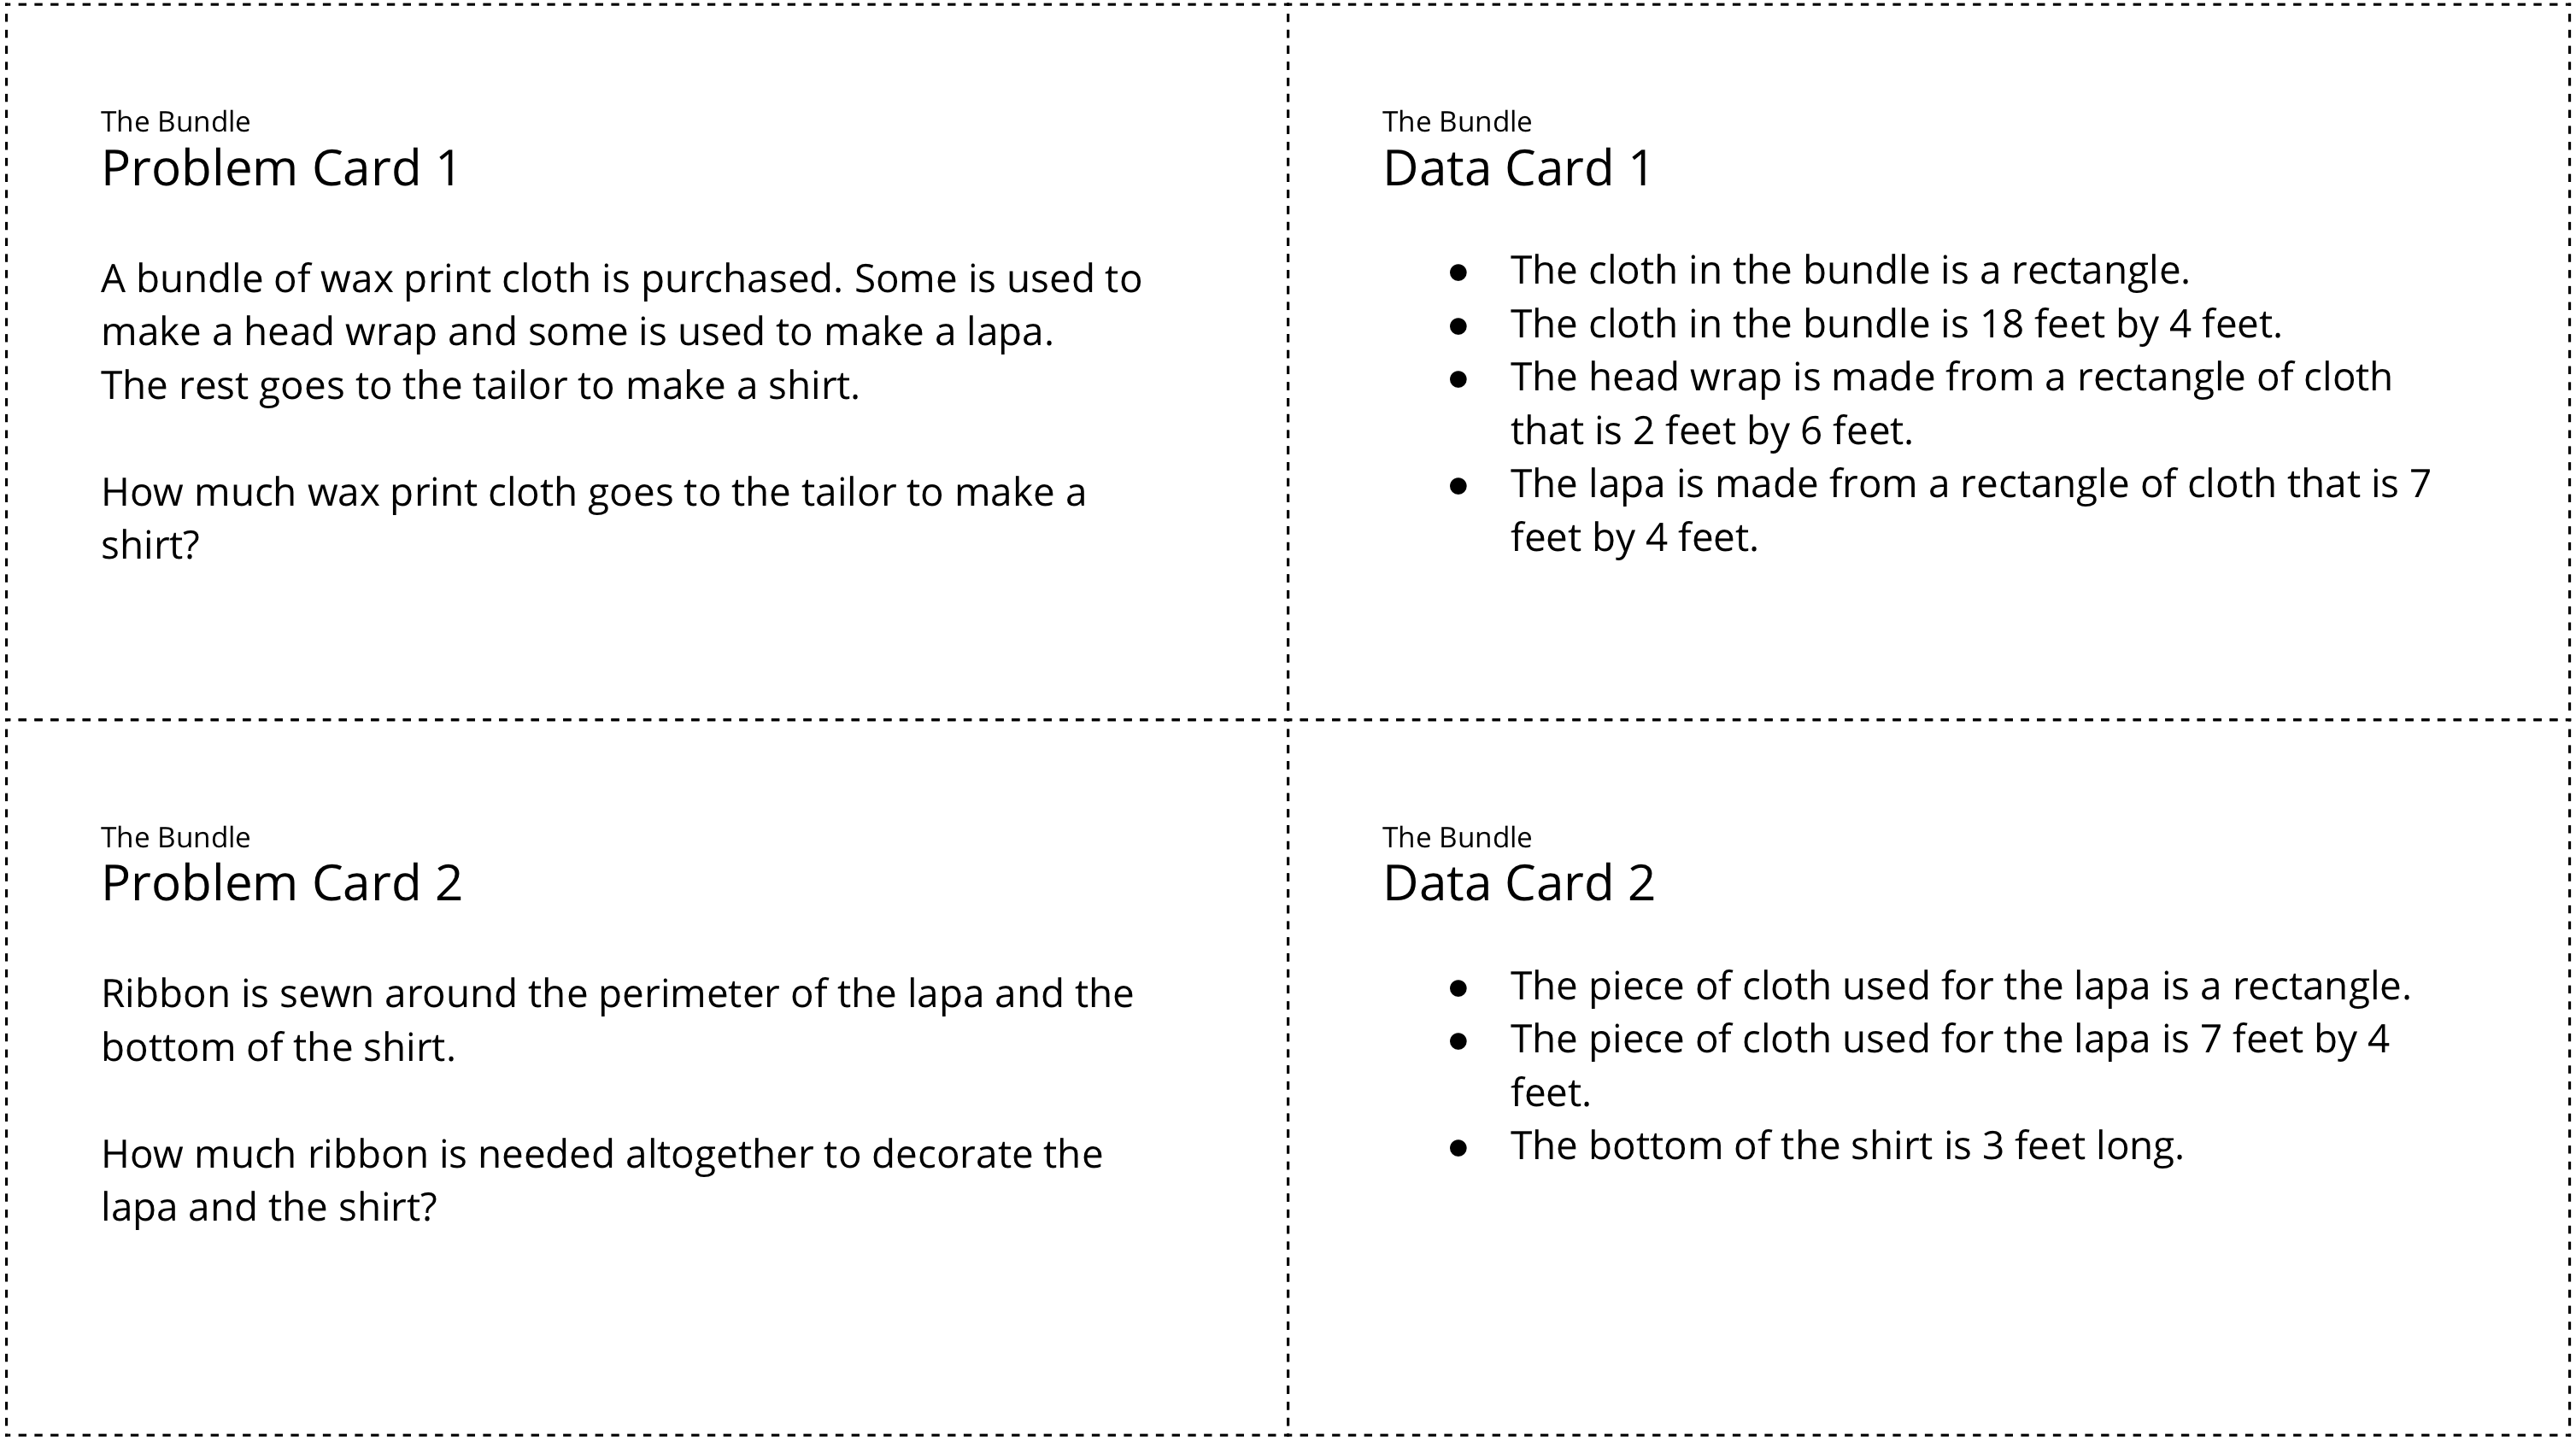
Here is an image of the cards for reference:
Required Materials
Materials to Copy
- Info Gap: The Bundle
Required Preparation
- Each group of 2 students will need a copy of the 2 data and problem card sets. Keep set 1 separate from set 2.
Launch
- Groups of 2
- Display the image.
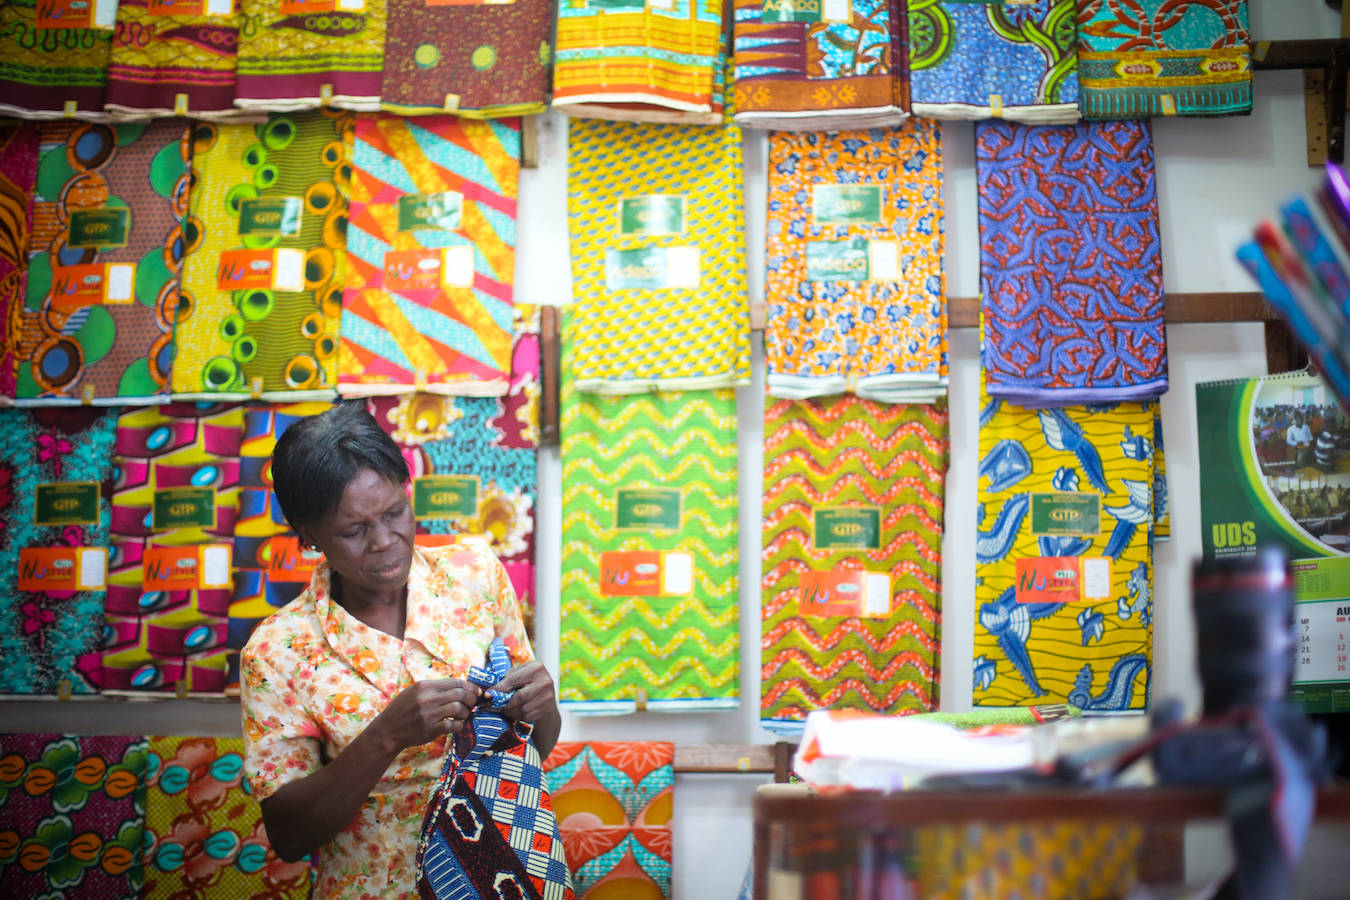
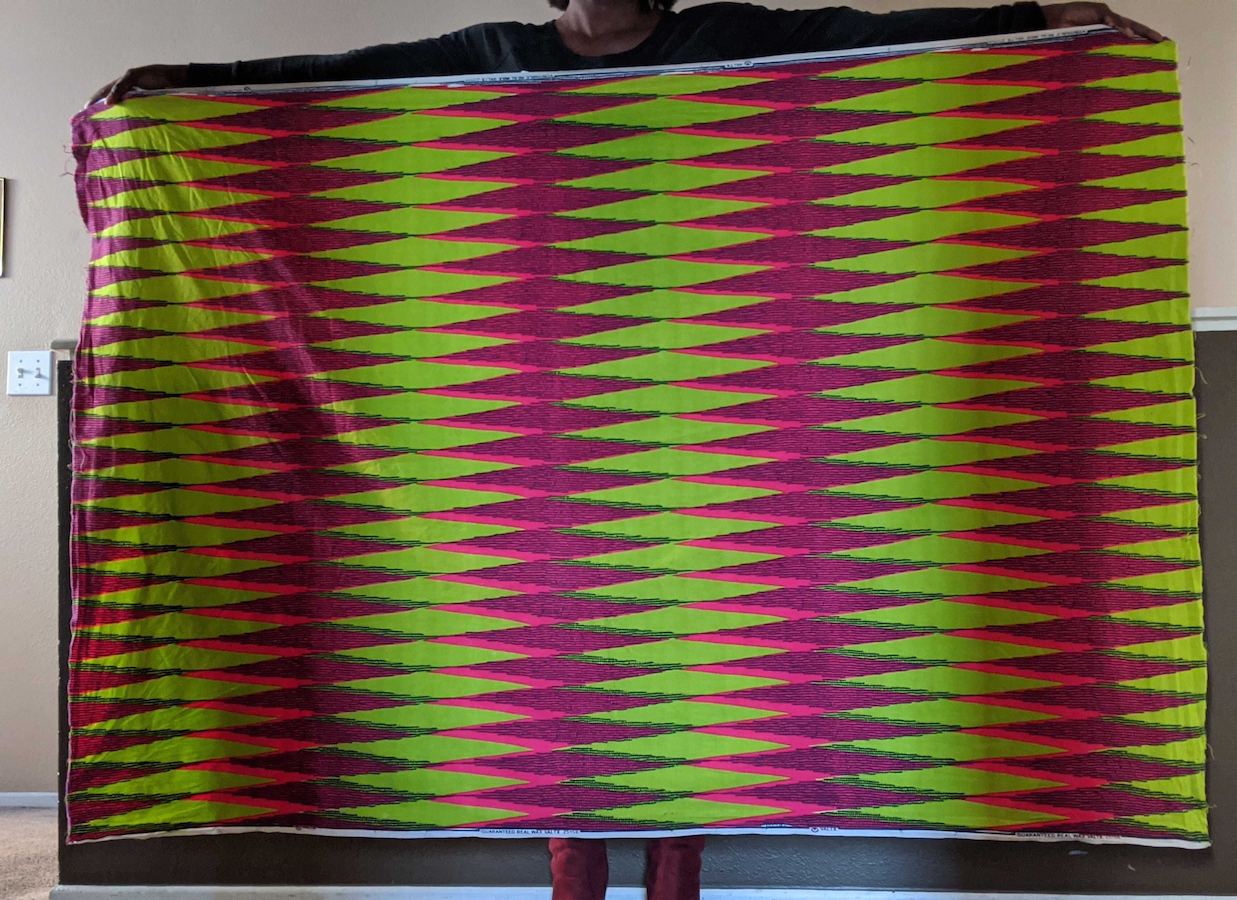
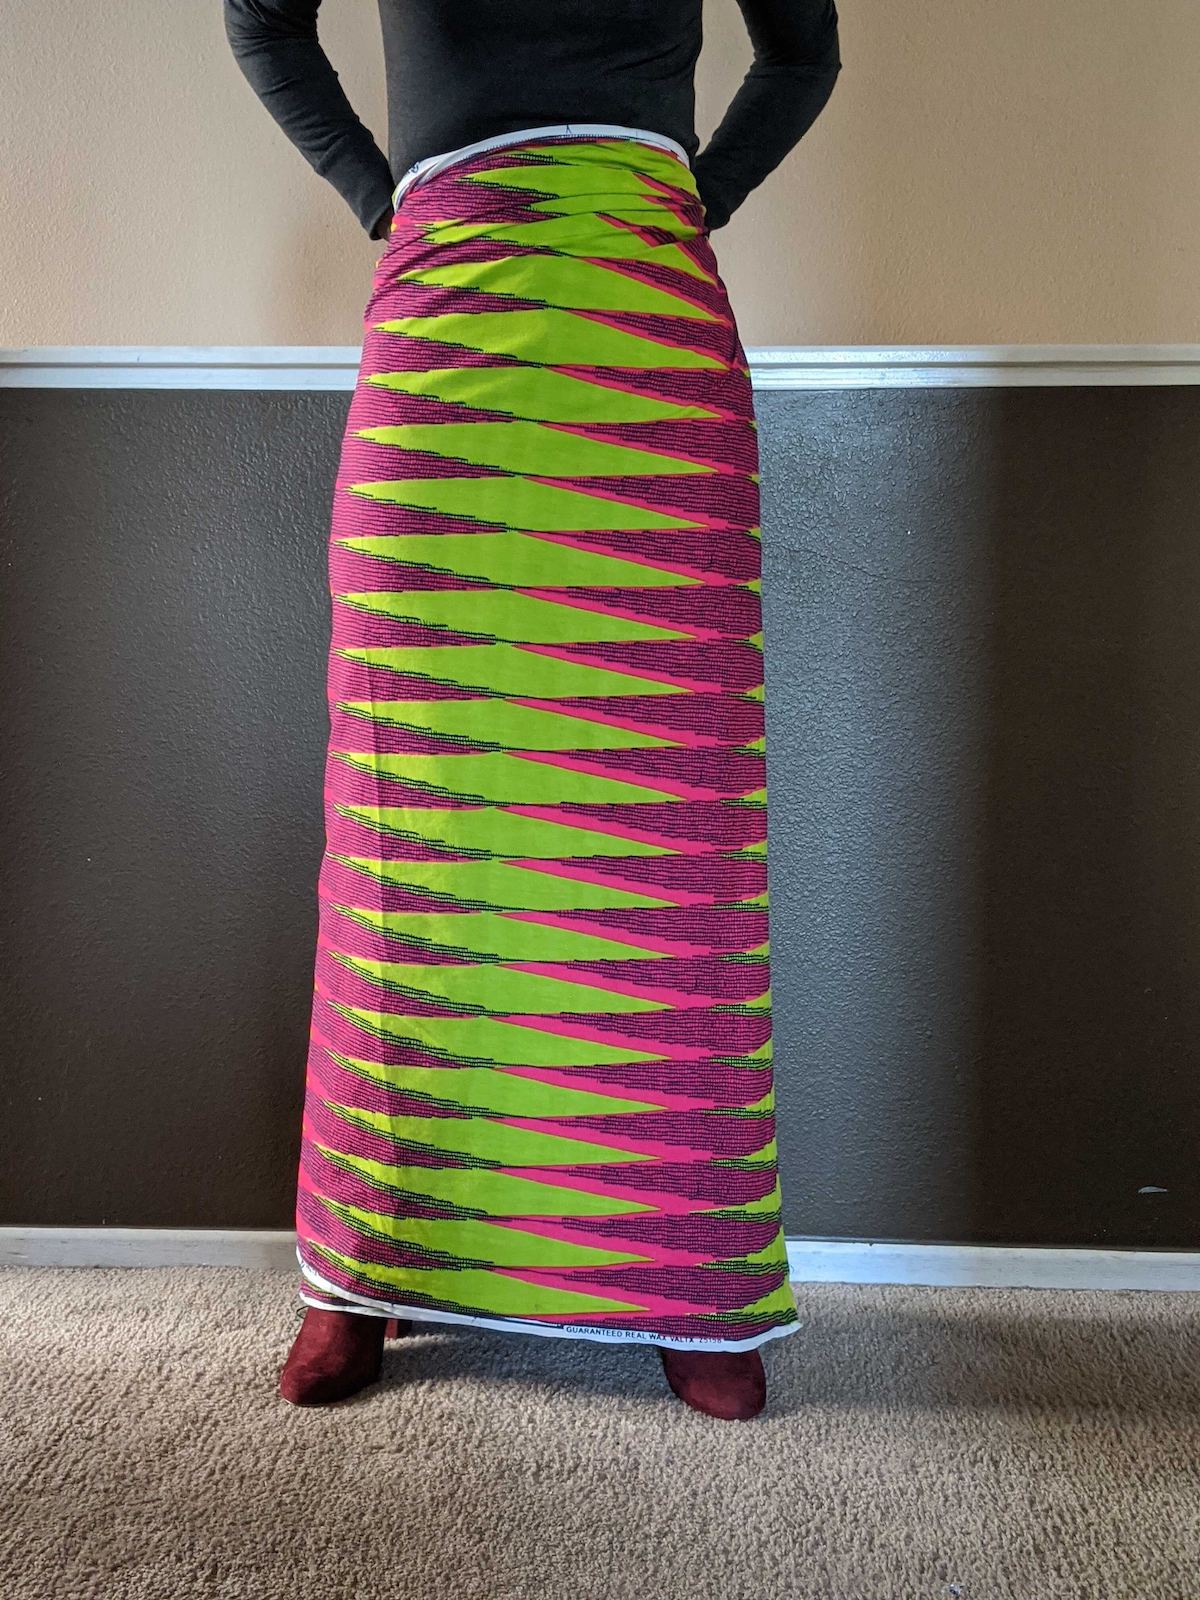
- “Once wax print fabric is created, it’s sold in bundles and used to make clothing like head wraps and lapas. The second and third images show a lapa, which is a wrap skirt made from a rectangular piece of cloth. Have you seen bundles of fabric like this before? If so, where?”
- Share responses.
MLR4 Information Gap
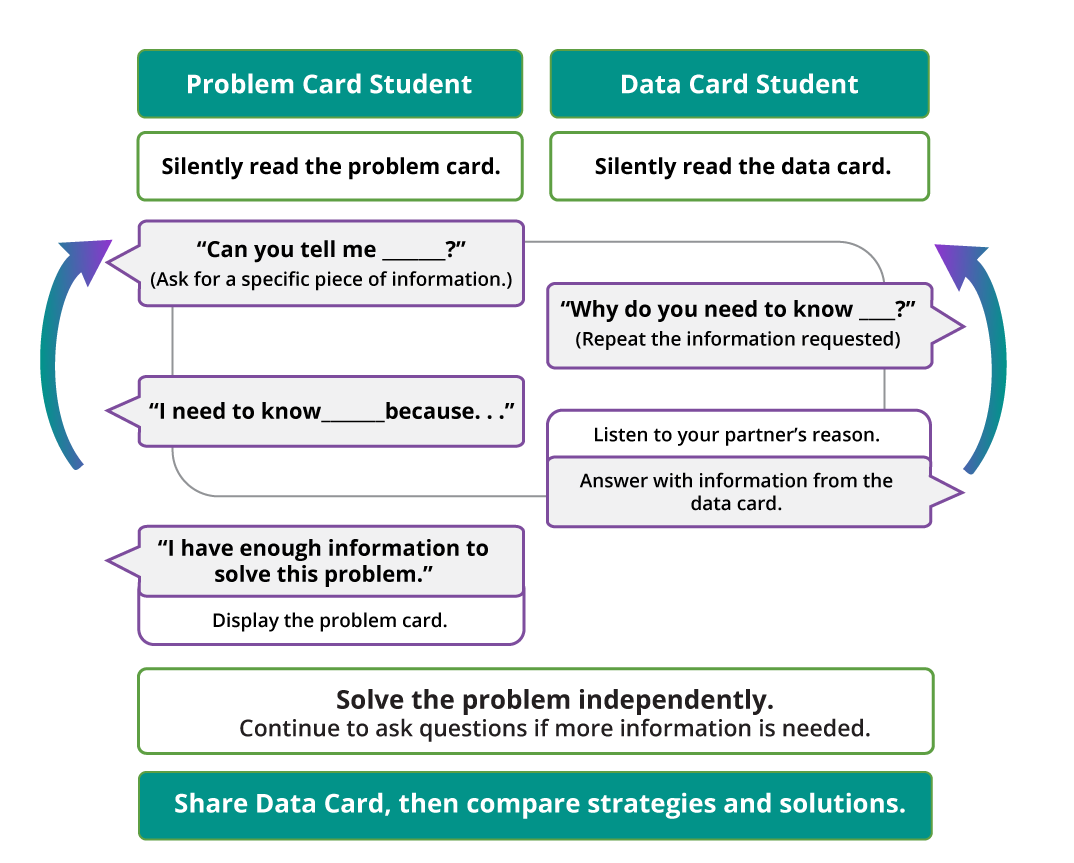
- Display the task statement, which shows a diagram of the Info Gap structure.
- 1–2 minutes: quiet think time
- Read the steps of the routine aloud.
- “I will give you either a problem card or a data card. Silently read your card. Do not read or show your card to your partner.”
- Distribute the cards.
- 1–2 minutes: quiet think time
- Remind students that after the person with the problem card asks for a piece of information, the person with the data card person should respond with, “Why do you need to know (restate the information requested)?”
Activity
- 3–5 minutes: partner work time
- After students solve the first problem, distribute the next set of cards. Students switch roles and repeat the process with Problem Card 2 and Data Card 2.
Student Facing
Student Response
For access, consult one of our IM Certified Partners.
Activity Synthesis
- “What kinds of questions were the most useful to ask?”
- “Were there any questions you weren’t sure how to answer?”
- “What were the important quantities to know to solve this problem?”
- For each problem, ask, “Was this problem related to perimeter or area? How do you know?” (I knew the first problem was area because it was asking about square units, which is how we measure area. I knew the last problem was about perimeter because it was about the ribbon going around the edge of the lapa.)
Lesson Synthesis
Lesson Synthesis
“Today, we learned about how shapes can be used in fabric designs and how fabric can be used to make clothing. What ways have you seen shapes in designs or used fabric to make something?” (Lots of patterns in fabric have quadrilaterals. For example, plaid has rectangles and squares. Fabric for head wraps is cut in the shape of a rectangle. Fabric for pockets is often in the shape of a rectangle.)
“How can area and perimeter be used when making something out of fabric?” (The area can be used to tell you how much fabric you have. Area tells you how much you can cover with the fabric. Perimeter is used if you want to surround the fabric with something like ribbon or lace.)
Cool-down: Quadrilaterals in a Pattern (5 minutes)
Cool-Down
For access, consult one of our IM Certified Partners.