Lesson 13
Shapes and Play
Warm-up: Notice and Wonder: A Park (10 minutes)
Narrative
Launch
- Groups of 2
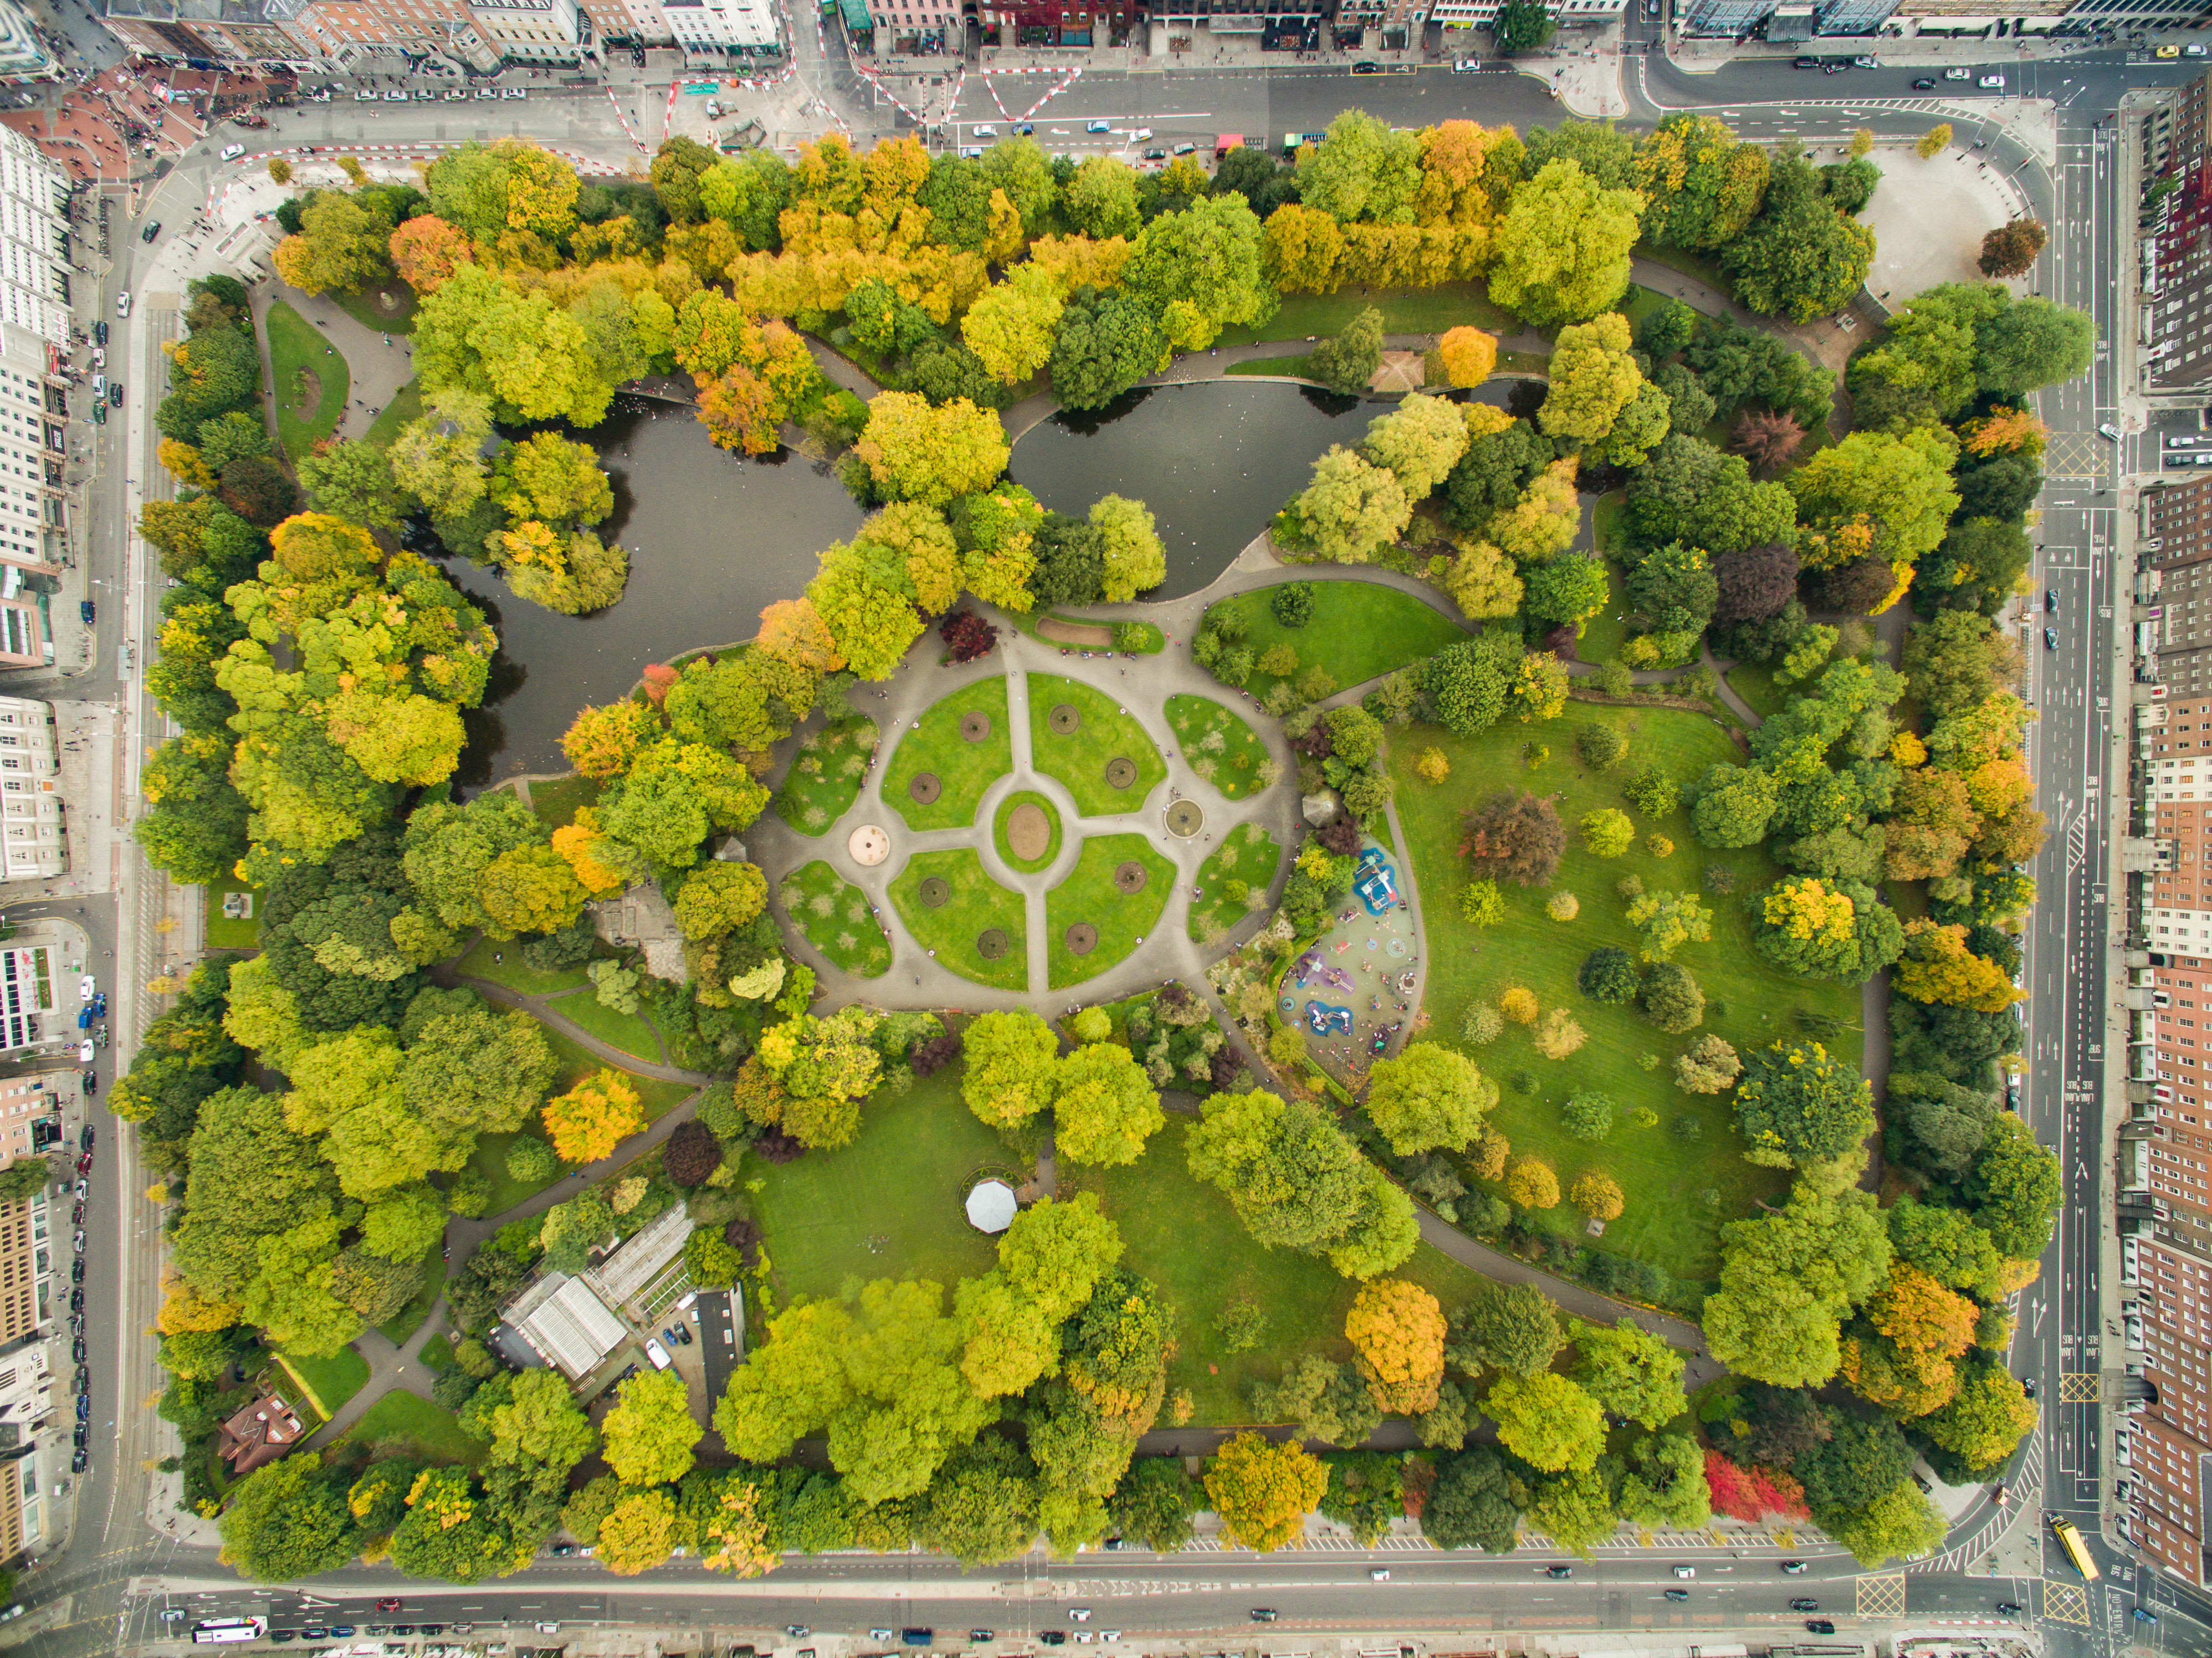
- Display the image.
- “What do you notice? What do you wonder?”
- 1 minute: quiet think time
Activity
- “Discuss your thinking with your partner.”
- 1 minute: partner discussion
- Share and record responses.
Student Facing
What do you notice? What do you wonder?
.jpg)
Student Response
For access, consult one of our IM Certified Partners.
Activity Synthesis
- “How would it change the look of the park if you could only use quadrilaterals to design it?” (It would be more boxy. There might be some rectangles and rhombuses. You could make it look kind of like it does now, but you wouldn't have any curved lines.)
Activity 1: Design a Park (20 minutes)
Narrative
The purpose of this activity is to provide students an opportunity to apply what they’ve learned about perimeter and area to design a small park. Since diagonal lines that connect the dots are not one length unit, students should use vertical and horizontal lines to design the park. When students make and describe their own choices for how they represent real-world objects, they model real-world problems with mathematics (MP4).
Advances: Speaking, Conversing, Representing
Required Materials
Materials to Copy
- Square Dot Paper Standard
Launch
- Groups of 2
- “You’re going to design a small park. What are some features that can be in a park?” (a playground, picnic benches, walking trails)
- Give each student a sheet of dot paper.
- “Take some time to read over the directions and choose some of the features you will include in your design.”
- 1 minute: quiet think time
Activity
- “Work independently to design your small park.”
- 5–7 minutes: independent work time
- “You can work with a partner or small group for the last few minutes or continue working on your own. Even if you choose to work alone, be available if your partner wants to think through something together.”
- 3–5 minutes: partner, small group, or independent work time
Student Facing
Your teacher will give you some dot paper for drawing.
-
The distance from 1 dot to another horizontally or vertically represents 1 yard. Connect dots on the grid horizontally or vertically to design a small park that has 5 of these features:
- basketball court
- soccer goal
- swings
- a slide
- an open area
- picnic table
- water play area
- skate park
- a feature of your choice
- Describe the area and the perimeter of 3 features in the park.
Student Response
For access, consult one of our IM Certified Partners.
Activity Synthesis
- Pair students up with a new partner.
- “Share your design with your partner. Be sure to ask questions about your partner’s design and answer questions about your design.”
- 2–3 minutes: partner discussion
- Repeat cycles of pairing students up with new partners to share their park design as time allows.
Activity 2: Park Problems (15 minutes)
Narrative
The purpose of this activity is for students to solve problems that involve perimeter and area (MP2). The problems that students solve involve features that could be present in a park.
Launch
- Groups of 2
Activity
- “Work independently to solve the problems.”
- 5–7 minutes: independent work time
- Monitor for drawings of different dimensions that students create for the last problem to share during the synthesis.
- “Discuss your solutions to the problems and how you solved them with your partner.”
- 2–3 minutes: partner discussion
Student Facing
Solve each problem. Explain or show your reasoning.
- A rectangular playground is 6 yards by 14 yards.
- How much fencing is needed to fence in the playground?
- What is the area of the playground?
- Give another pair of side lengths that would have the same perimeter, but a different area.
- A rectangular open area in a park is going to have an area of 48 square yards. Give 2 possible perimeters for the rectangular area.
Student Response
For access, consult one of our IM Certified Partners.
Activity Synthesis
- For the last problem, display 3–4 different sets of dimensions that students used to find the possible perimeters, one at a time.
- For each set of dimensions, ask:
- “How do we know this rectangle has an area of 48 square yards?” (If you multiply \(6\times8\), it’s 48. I multiplied \(2\times24\) by multiplying \(2\times20\), then \(2\times4\) and adding the products together to get 48.)
- “What’s the perimeter of this rectangle? Explain your reasoning.” (I doubled the short sides, then doubled the long sides and added them together. I added the short side and the long side, then doubled the amount.)
Lesson Synthesis
Lesson Synthesis
Cool-down: Possible Perimeters (5 minutes)
Cool-Down
For access, consult one of our IM Certified Partners.