Lesson 4
Measure and Estimate in Centimeters
Warm-up: Which One Doesn’t Belong: Length (10 minutes)
Narrative
Launch
- Groups of 2
- Display image.
- “Pick one that doesn’t belong. Be ready to share why it doesn’t belong.”
- 1 minute: quiet think time
Activity
- “Discuss your thinking with your partner.”
- 2–3 minutes: partner discussion
- Share and record responses.
Student Facing


Student Response
For access, consult one of our IM Certified Partners.
Activity Synthesis
- “If the length unit on the tools should be centimeters, which images show shapes that have a length of 4 centimeters? Explain.” (A shows a length of 4 centimeters because the side starts at 0 and ends at 4. B shows 4 cm because I can count 4 cm lengths starting at the beginning of the ruler or counting back from the 4. C does not show 4 cm because each length between the numbers is not a cm. D shows 4 cm because I can count 4 cm lengths from 1 to 5.)
- “Measuring tools can look different. Not all tools label 0. The first unit on some tools start right at the beginning of the tool. All measuring tools should have the same length between each number.”
Activity 1: Estimate Length in Centimeters (15 minutes)
Narrative
The purpose of this activity is for students to practice the skill of estimating a reasonable length in centimeters based on their experiences and known information. When students compare and explain their estimates in pairs and in the full class discussion they make, interpret, and defend mathematical claims (MP3).
This activity uses the Estimation Exploration routine in the launch. This gives students the opportunity to revisit the meaning of estimation and estimate before making estimations on their own. The launch can be completed with the images provided or with an object that is more interesting to your students.
If needed, review all the objects that students will estimate as a class and record the names of each object (or length) so that all students can see.
Required Materials
Materials to Gather
Required Preparation
- Each group of 2 needs access to several objects between 5–30 cm long and at least one object between 50–90 cm long.
Launch
- Groups of 2
- Give objects to each group.
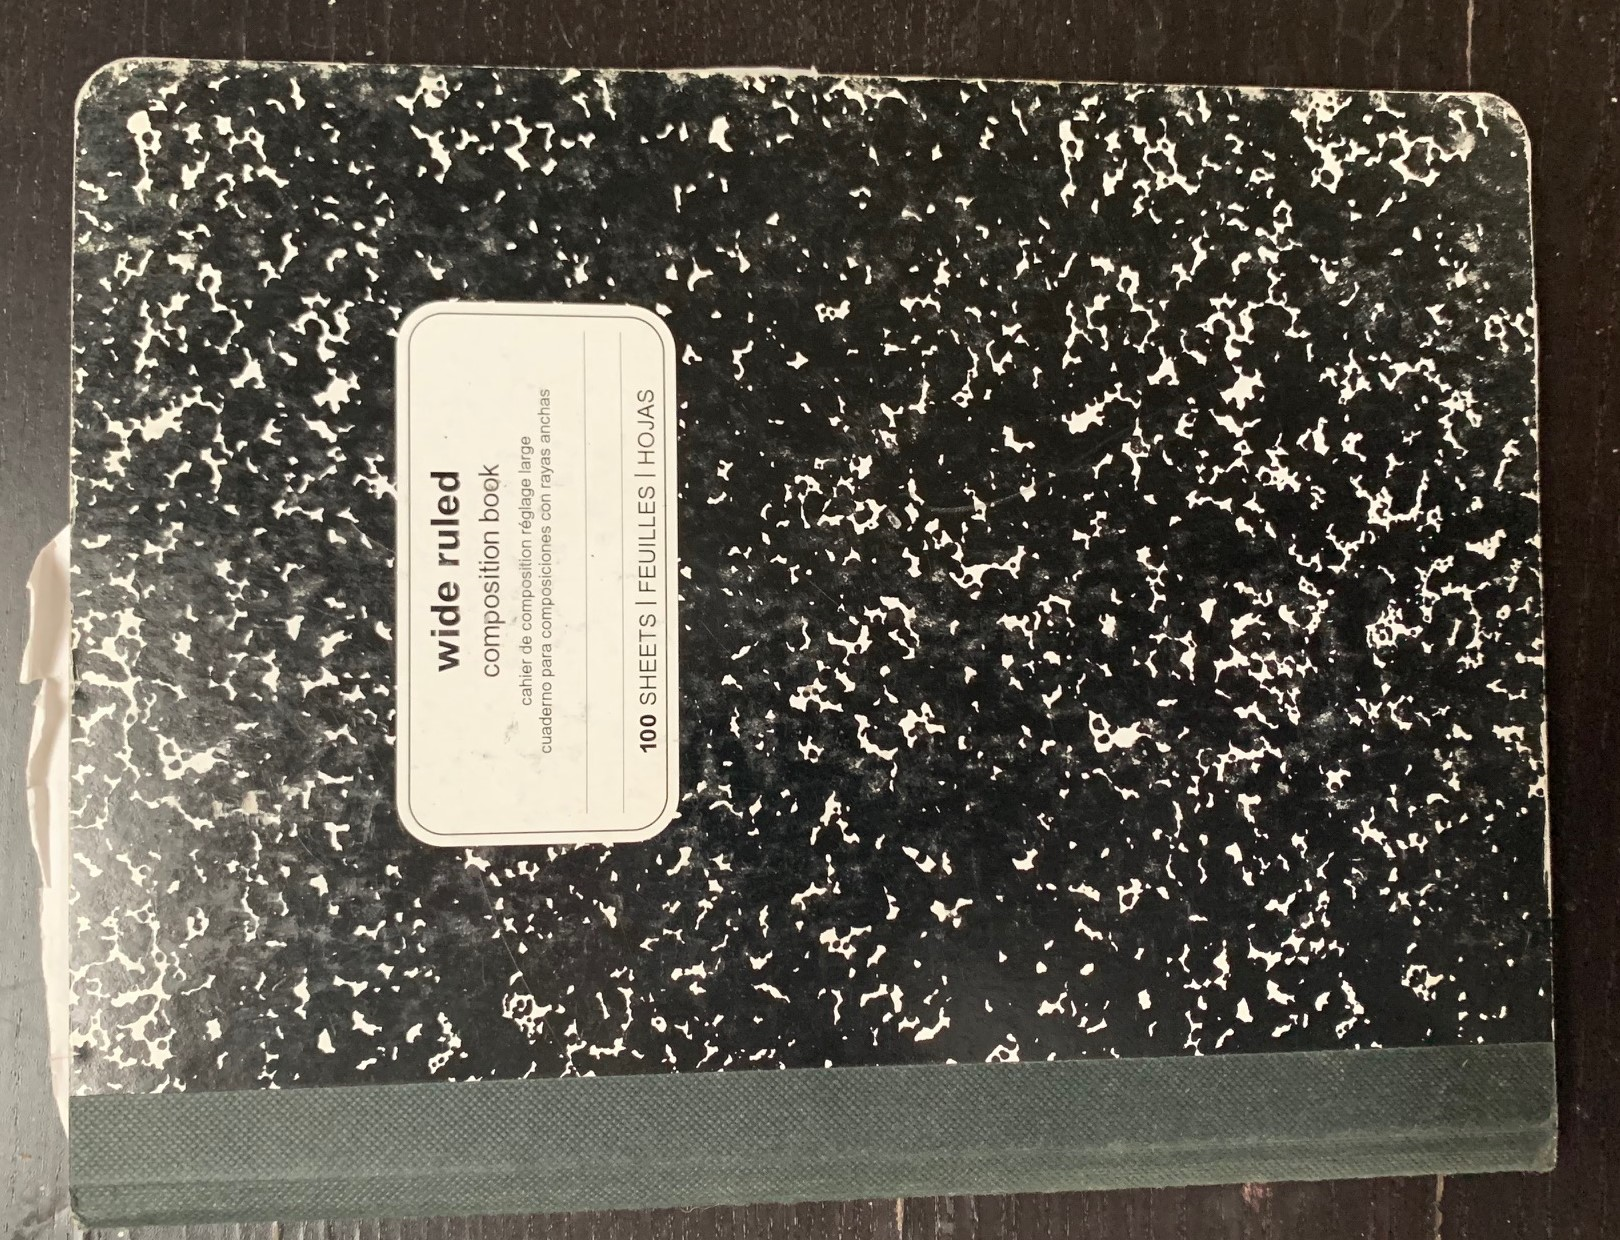
- Display the image or a real notebook.

- “Andre wanted to measure the length of his notebook, but he didn’t have any tools to measure it. He made a guess that he thought would be close.”
- “Look at the notebook and think about how long you think it is in centimeters.”
- “What is an estimate that’s too high? Too low? About right?”
- 1 minute: quiet think time
- 1 minute: partner discussion
- Record responses.
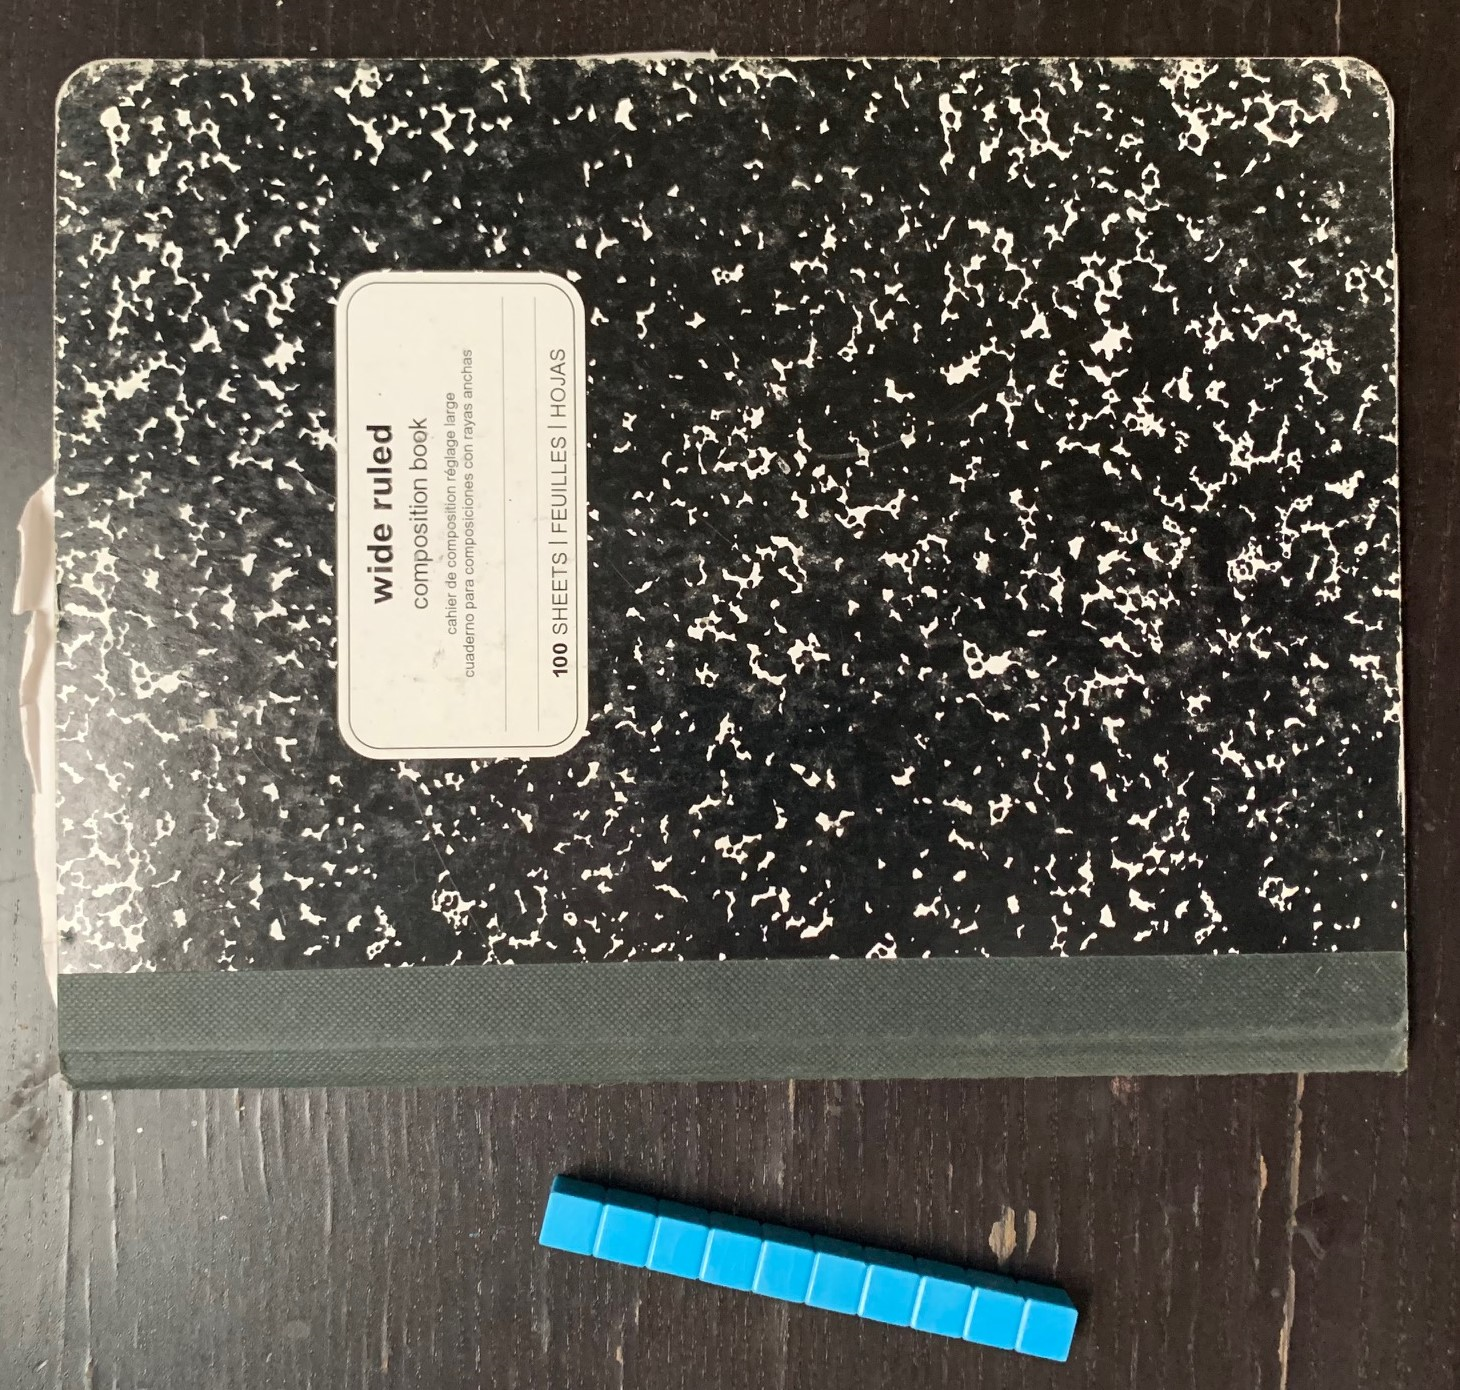
- “Let’s look at another image of the object.”
- Display the image or hold a folder next to a 10-centimeter tool.

- “Based on the second image, do you want to revise, or change, your estimates?”
- 1 minute: quiet think time
- 1 minute: partner discussion
- Record responses.
- “How did your estimation change?”
- 30 seconds: quiet think time
- Share responses.
Activity
- As needed, display the names of the objects that students will estimate.
- “Now look at the objects I gave each group and think about how long they are. Record your estimates on the recording sheet on your own.”
- “When you and your partner finish, compare your estimates and explain why you think they are ‘about right’.”
- 5 minutes: independent work time
- 2 minutes: partner discussion
Student Facing
- Record an estimate that is:
too low about right too high \(\phantom{\hspace{2.1cm} \\ \hspace{2.1cm}}\) \(\phantom{\hspace{2.1cm} \\ \hspace{2.1cm}}\) \(\phantom{\hspace{2.31cm} \\ \hspace{2.1cm}}\) - Record an estimate that is:
too low about right too high \(\phantom{\hspace{2.1cm} \\ \hspace{2.1cm}}\) \(\phantom{\hspace{2.1cm} \\ \hspace{2.1cm}}\) \(\phantom{\hspace{2.1cm} \\ \hspace{2.1cm}}\) - Record an estimate for each object on the recording sheet.
- Tell your partner why you think your estimates are “about right.”
Recording Sheet
| object | estimate | measurement |
|---|---|---|
|
Choose an object: |
Student Response
For access, consult one of our IM Certified Partners.
Advancing Student Thinking
If students make estimates without justifying their thinking, consider asking:
- “Tell me more about how you decided that the object was about ___ cm.”
- “What objects can you think of that are about 1 cm? 10 cm?”
- “How could the lengths of objects that you know help you explain the estimated length of another object?”
Activity Synthesis
- Share and record estimates for each of the classroom objects.
- “How did you make your estimates? What did you think about?” (I thought about the size of a 10-centimeter tool and imagined measuring with it. I thought about the length of the ruler we made.)
- 30 seconds: quiet think time
- 1 minute: partner discussion
- Share responses.
- “Can you think of a time when you might need to estimate the length of an object?”
Activity 2: Measure and Compare (20 minutes)
Narrative
The purpose of this activity is for students to measure the lengths they estimated in the previous activity with a centimeter ruler to find the actual lengths. As needed, encourage students to use base-ten blocks to check their measurements to help them assess their accuracy and deepen their understanding of how length is represented on the ruler (MP2, MP6).
Advances: Conversing, Reading
Supports accessibility for: Organization, Conceptual Processing, Language
Required Materials
Materials to Gather
Launch
- Groups of 2
- Give students centimeter rulers and access to base-ten blocks.
- “What do you notice about this ruler? How is it the same and different from the rulers you created?”
- 30 seconds: quiet think time
- Share responses.
- Depending on your rulers, say one of the following:
- “Look at the edge of your ruler. Our rulers have 0 labeled, but they have some space before the 0. Our measurements won’t be accurate if we start at the edge of the ruler instead of 0. So, we need to line up our objects with the 0, not the edge of our ruler.”
- “Look at the edge of your ruler. It looks like our rulers start at 1, because that is the first number. There is some space before the 1, though. This space is 1 centimeter long. The edge of our ruler is 0, but there was no room to label it. So, in order to measure accurately, we must line up our objects with the edge of the ruler, so we are beginning at 0.”
Activity
- “Now we will use our rulers to measure the objects to find their actual length.”
- 10 minutes: partner work time
- Monitor for a few students to share their chosen object in the synthesis.
Student Facing
- Measure each object on your recording sheet. Record each length in centimeters.
- Compare your measurements to your estimates.
Student Response
For access, consult one of our IM Certified Partners.
Activity Synthesis
- Invite previously identified students to share the chosen object.
- “What is an estimate for the ____ that is about right? Explain.”
- 1 min: quiet think time
- Share and record responses.
- Ask the student to demonstrate how they used the ruler to find the actual measurement, or, if possible, ask all students to find and share the actual measurement.
- Repeat with other objects, if time permits.
Lesson Synthesis
Lesson Synthesis
“Today we practiced estimating length and we used rulers to measure the length of objects in centimeters.”
“How was measuring with the rulers like measuring with other tools? How was it different?” (The rulers measured centimeters like the other tools. It shows centimeters using lines and numbers just like the rulers we made. It is different because it was stiffer than paper. It showed more centimeters than the ruler we made or the base-ten blocks.)
“What did you think about when you were making your estimates? How could you use the length of a ruler to make estimates?” (I thought about the size of a 10-centimeter tool and imagined counting them by ten. Now I know a ruler is 30 centimeters. I can think about how long things might be next to a ruler).
Cool-down: The Pencil (5 minutes)
Cool-Down
For access, consult one of our IM Certified Partners.