Lesson 5
Construction Techniques 3: Perpendicular Lines and Angle Bisectors
5.1: Two Circles (5 minutes)
Warm-up
The purpose of this activity is to prepare students for constructing a perpendicular line through a point on the line. This figure of two circles of the same radius intersecting also plays a role in the angle bisector construction later in the lesson.
Launch
Arrange students in groups of 2. After quiet work time, ask students to compare their conjectures to their partner’s and decide whether they are both correct, even if they are different. Follow with a whole-class discussion.
Student Facing
Points \(A\) and \(B\) are each at the centers of circles of radius \(AB\).

- Compare the distance \(EA\) to the distance \(EB\). Be prepared to explain your reasoning.
- Compare the distance \(FA\) to the distance \(FB\). Be prepared to explain your reasoning.
- Draw line \(EF\) and write a conjecture about its relationship with segment \(AB\).
Student Response
For access, consult one of our IM Certified Partners.
Activity Synthesis
The goal of this discussion is to connect this diagram to perpendicular lines. Ask for students to share their conjectures. Connect these ideas back to the previous activity, Human Perpendicular Bisector, in which students conjectured that the set of points the same distance from points \(A\) and \(B\) is the perpendicular bisector of segment \(AB\). In this case, that would mean that line \(EF\) would be the perpendicular bisector of segment \(AB\).
5.2: Make It Right (10 minutes)
Activity
This activity invites students to play with straightedge and compass moves to construct a line perpendicular to a given line through a point on the given line. This leads to the next lesson in which students will extend this skill to construct a square inscribed in a circle.
Making dynamic geometry software available gives students an opportunity to choose appropriate tools strategically (MP5).
Launch
Supports accessibility for: Conceptual processing; Visual-spatial processing
Student Facing
Here is a line \(\ell\) with a point labeled \(C\):
Use straightedge and compass tools to construct a line perpendicular to \(\ell\) that goes through \(C\).
Student Response
For access, consult one of our IM Certified Partners.
Launch
Supports accessibility for: Conceptual processing; Visual-spatial processing
Student Facing
Here is a line \(\ell\) with a point labeled \(C\). Use straightedge and compass moves to construct a line perpendicular to \(\ell\) that goes through \(C\).

Student Response
For access, consult one of our IM Certified Partners.
Anticipated Misconceptions
Some students may get stuck for longer than is productive. Ask these students to think about how they could use their tools to construct points \(A\) and \(B\) like in the warm-up.
Activity Synthesis
The goal of this discussion is to establish a method for constructing a perpendicular line. Ask 2 or 3 students to explain how they were able to construct a perpendicular line. Connect these methods with the figure students explored in the warm-up (two circles where each center is on the other circle).
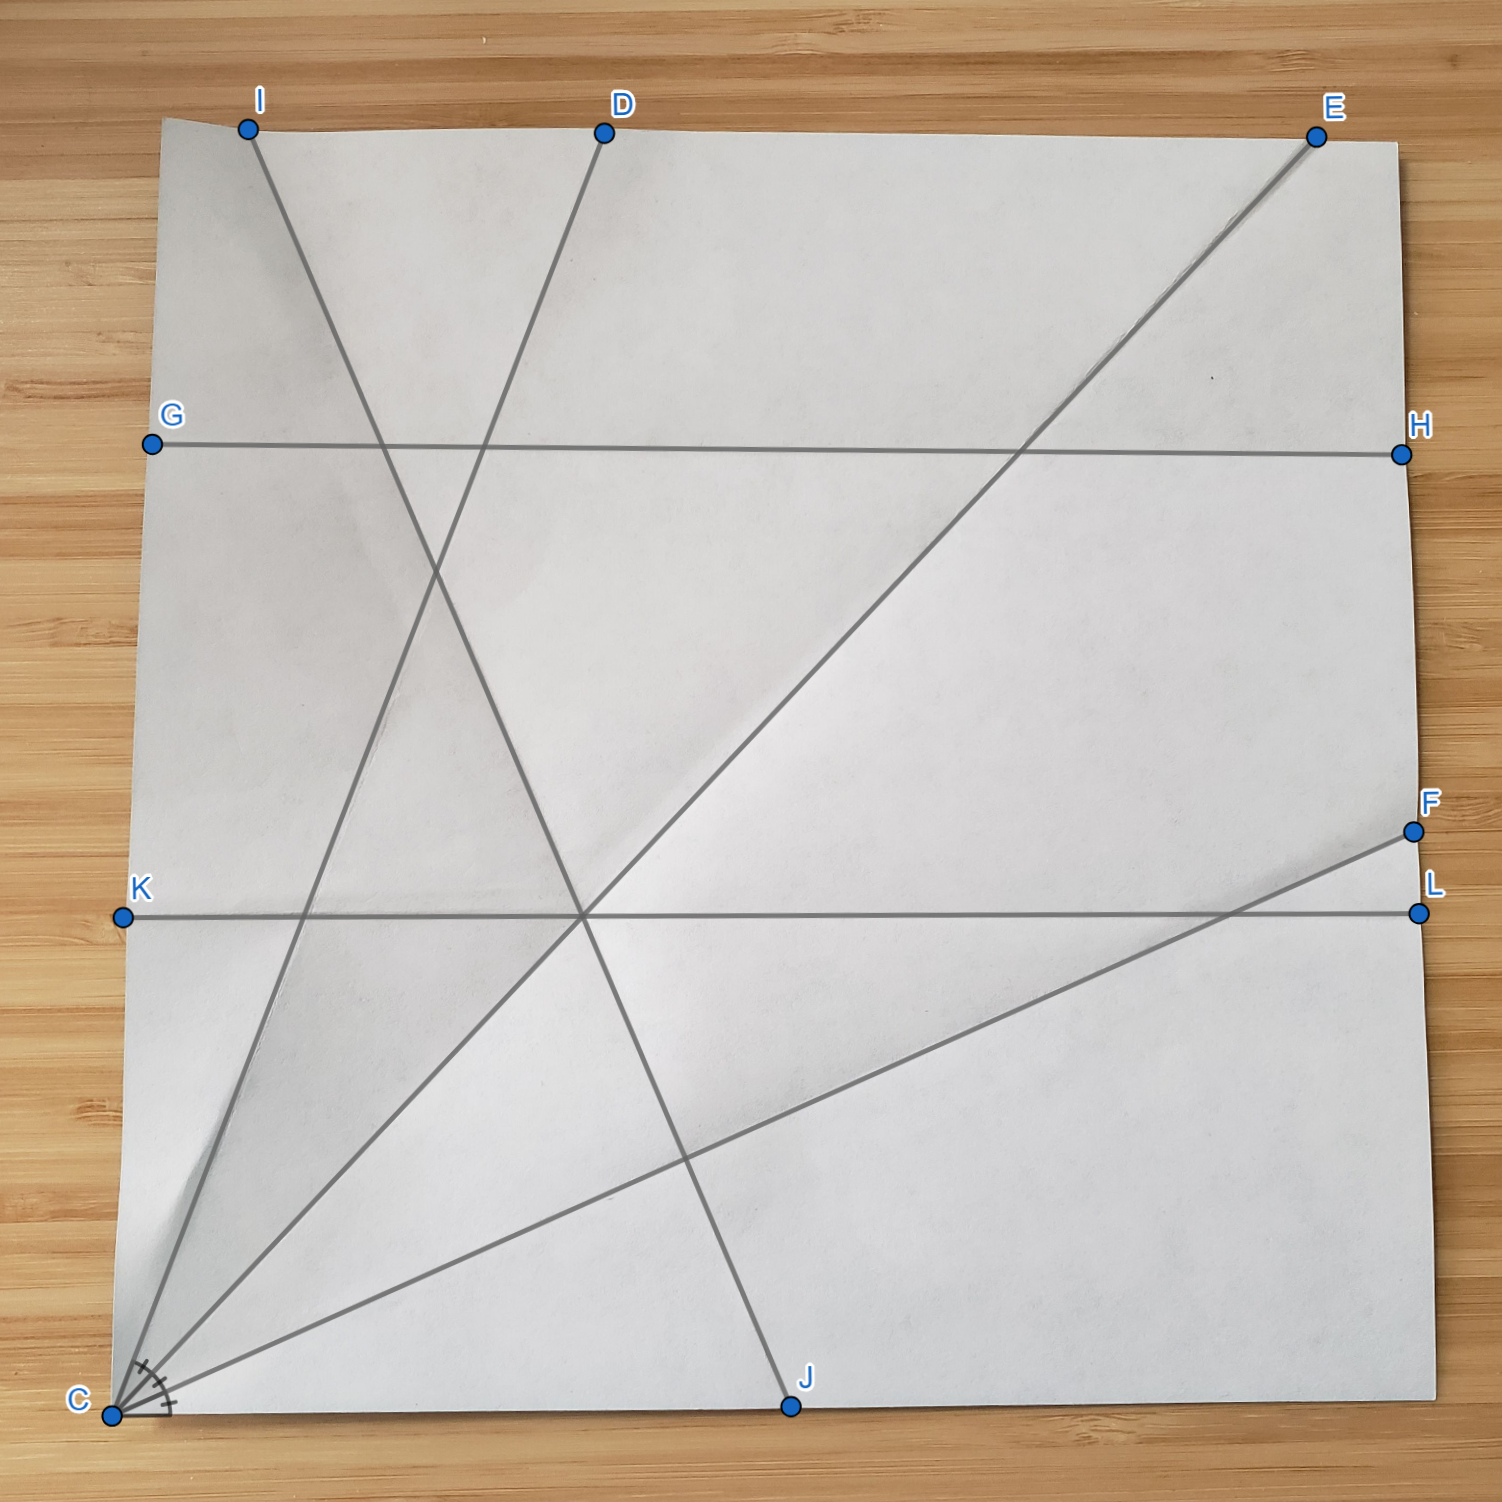
5.3: Bisect This (20 minutes)
Activity
In this activity, students take turns using a straightedge and compass to construct an angle bisector. Students trade roles, explaining their thinking and listening, providing opportunities to explain their reasoning and critique the reasoning of others (MP3).
Making dynamic geometry software available gives students an opportunity to choose appropriate tools strategically (MP5).
Launch
Arrange students in groups of 2. Explain that they will practice their construction technique by drawing and bisecting more angles once they have bisected angle \(ABC\). Point out that the instructions to “create a ray that divides angle \(CBA\) into 2 congruent angles” are instructions to bisect that angle. Encourage students to draw angles that look different from the given angle when they are practicing.
Supports accessibility for: Social-emotional skills; Organization; Language
Student Facing
Here is an angle:
- Estimate the location of a point \(D\) so that angle \(ABD\) is approximately congruent to angle \(CBD\).
- Use compass and straightedge tools to create a ray that divides angle \(CBA\) into 2 congruent angles. How close is the ray to going through your point \(D\)?
- Take turns with your partner, drawing and bisecting other angles.
-
For each angle that you draw, explain to your partner how each straightedge and compass move helps you to bisect it.
-
For each angle that your partner draws, listen carefully to their explanation. If you disagree, discuss your thinking and work to reach an agreement.
-
Student Response
For access, consult one of our IM Certified Partners.
Student Facing
Are you ready for more?
For thousands of years since the ancient Greeks started playing with straightedge and compass constructions, people strived to find a construction to trisect an arbitrary angle into three equal angles. Many claimed to have found such a construction, but there was always some flaw in their reasoning. Finally, in 1837, Pierre Wantzel used a new field of mathematics to prove it was impossible—which still did not stop some from claiming to have found a construction. If we allow other tools besides just a straightedge and compass, though, it is possible. For example, try this method of using origami (paper folding) to trisect an angle.
Student Response
For access, consult one of our IM Certified Partners.
Launch
Arrange students in groups of 2. Explain that they will practice their construction technique by drawing and bisecting more angles once they have bisected angle \(ABC\). Point out that the instructions to “create a ray that divides angle \(CBA\) into 2 congruent angles” are instructions to bisect that angle. Encourage students to draw angles that look different from the given angle when they are practicing.
Supports accessibility for: Social-emotional skills; Organization; Language
Student Facing
Here is an angle:

- Estimate the location of a point \(D\) so that angle \(ABD\) is approximately congruent to angle \(CBD\).
- Use compass and straightedge moves to create a ray that divides angle \(CBA\) into 2 congruent angles. How close is the ray to going through your point \(D\)?
- Take turns with your partner, drawing and bisecting other angles.
-
For each angle that you draw, explain to your partner how each straightedge and compass move helps you to bisect it.
-
For each angle that your partner draws, listen carefully to their explanation. If you disagree, discuss your thinking and work to reach an agreement.
-
Student Response
For access, consult one of our IM Certified Partners.
Student Facing
Are you ready for more?
For thousands of years since the ancient Greeks started playing with straightedge and compass constructions, people strived to find a construction to trisect an arbitrary angle into three equal angles. Many claimed to have found such a construction, but there was always some flaw in their reasoning. Finally, in 1837, Pierre Wantzel used a new field of mathematics to prove it was impossible—which still did not stop some from claiming to have found a construction. If we allow other tools besides just a straightedge and compass, though, it is possible. For example, try this method of using origami (paper folding) to trisect an angle.
Student Response
For access, consult one of our IM Certified Partners.
Anticipated Misconceptions
Some students may get stuck for longer than is productive. Ask these students how they could use their tools to construct a segment they know how to cut in half like they did in the warm-up and in the last activity. If they need further help, ask them to construct a circle centered at \(B\) and highlight the segment created when connecting the two intersection points.
Activity Synthesis
The purpose of this discussion is to connect the previous construction of a perpendicular line with the construction of an angle bisector. Select 2 or 3 students to display their responses for all to see. Ask them to explain how they were able to construct a ray that divides the angle into two congruent parts.
Introduce the term angle bisector. Recall that “bi” means “two” and “sect” means “cut,” and so bisecting an angle literally means to cut the angle into two congruent angles. Consider making a connection to the previous activity by demonstrating the construction using geometry software and increasing the measure of the angle until it reaches 180 degrees.
If time allows, ask students to trace the angle along with their estimation point \(D\) and overlay several tracing papers to show a cluster of points. Compare the class’s estimation cluster with the angle bisector.
Lesson Synthesis
Lesson Synthesis
The purpose of this discussion is to connect the basic construction of two circles going through each other’s center with the constructions for a line perpendicular to a given line and an angle bisector. Display images of the construction from each activity for all to see. Ask students:
- “What was the first step in each of these constructions?” (In each construction, the first step was to create a circle that intersects the given line or angle in two places.)
- “The first circle creates two points that are the same distance away from the center. Now, where do you see the two circles that go through each other’s center in each of the constructions?” (In each construction, the 2 points created from the first step become centers of circles that go through each other’s center.)
Highlight the 2 points created from the first step of each construction, and then highlight the 2 circles that go through each other’s centers in the second step.


Explain that each construction is really a perpendicular bisector. For the angle bisector, connecting the two equidistant points forms an isosceles triangle. This surfaces a surprising and important connection. The angle bisector of an isosceles triangle seems to also be the perpendicular bisector of the base. Tell students that this is only a conjecture at this point, but this connection between the angle bisector of an isosceles triangle and the perpendicular bisector of its base will play an important role in the next unit.
5.4: Cool-down - Bisect That (5 minutes)
Cool-Down
For access, consult one of our IM Certified Partners.
Student Lesson Summary
Student Facing
We can construct a line that is perpendicular to a given line. We can also bisect a given angle using only a straightedge and compass. The line that bisects an angle is called the angle bisector. Both constructions use 2 circles that go through each other’s centers:

For the perpendicular line, start by finding 2 points on the line the same distance from the given point. Then create the 2 circles that go through each other’s centers. Connect the intersection points of those circles to draw a perpendicular line.

For the angle bisector, start by finding 2 points on the rays the same distance from the vertex. Then create the 2 circles that go through each other’s centers. Connect the intersection points of those circles to draw the angle bisector.

In fact, we can think of creating a perpendicular line as bisecting a 180 degree angle!