Lesson 2
Constructing Patterns
2.1: Math Talk: Why Is That True? (5 minutes)
Warm-up
This is the first math talk activity in the course. See the launch for extended instructions for facilitating this activity successfully.
The purpose of this Math Talk is to elicit strategies and understandings students have for justifying claims based on a geometric figure. For example, students may notice that the two circles have the same radius, and use that fact to explain why segment \(CD\) is cut into three congruent segments. These understandings help students develop fluency and will be helpful with future topics such as proofs and formal reasoning.
When students notice that two circles have the same radius and use that fact to reason about other distances, they notice and make use of structure (MP7). Students also construct viable arguments and critique the reasoning of others when they explain why a statement about the given diagram is true or participate in questioning another student’s explanation (MP3).
Launch
This is the first time students do the math talk instructional routine, so it is important to explain how it works before starting.
Explain the math talk routine: one problem is displayed at a time. For each problem, students are given a few minutes to quietly think and give a signal when they have an answer and a strategy. The teacher selects students to share different strategies for each problem, and might ask questions like “Who thought about it a different way?” The teacher records students’ explanations for all to see. Students might be asked to provide more details about why they decided to approach a problem a certain way. It may not be possible to share every possible strategy given the limited time; the teacher may only gather two or three distinctive strategies per problem.
Consider establishing a small, discreet hand signal that students can display to indicate they have an answer they can support with reasoning. This signal could be a thumbs-up, a certain number of fingers that tells the number of responses they have, or another subtle signal. This is a quick way to see whether the students have had enough time to think about the problem. It also keeps students from being distracted or rushed by hands being raised around the class.
Display one problem at a time. Give students quiet think time for each problem and ask them to give a signal when they have an answer and a strategy. Keep all problems displayed throughout the talk. Follow with a whole-class discussion.
Student Facing
Here are 2 circles with centers \(A\) and \(B\).

Based on the diagram, explain how you know each statement is true.
The length of segment \(EA\) is equal to the length of segment \(EB\).
Triangle \(ABF\) is equilateral.
\(AB=\frac{1}{3}CD\)
\(CB=DA\)
Student Response
For access, consult one of our IM Certified Partners.
Activity Synthesis
Ask students to share their strategies for each problem. Record and display their responses for all to see. To involve more students in the conversation, consider asking:
- “Who can restate \(\underline{\hspace{.5in}}\)’s reasoning in a different way?”
- “Did anyone have the same strategy but would explain it differently?”
- “Did anyone solve the problem in a different way?”
- “Does anyone want to add on to \(\underline{\hspace{.5in}}\)’s strategy?”
- “Do you agree or disagree? Why?”
Design Principle(s): Optimize output (for explanation)
2.2: Make Your Own (10 minutes)
Activity
In this activity, students create an original design with sixfold or threefold symmetry. As they create their design, they record the steps they took with their compass and straightedge. In the next activity, students will trade their instructions with a partner and attempt to recreate the partner’s design by following the written steps. Their instructions need to be precise enough that someone else can replicate their pattern based on the description.
Making dynamic geometry software available gives students an opportunity to choose appropriate tools strategically (MP5).
The Are You Ready for More? problem contains a video created by Samira Mian, used with permission.
Launch
Display these sample patterns for all to see:

Tell students that each of these patterns starts from the construction of a regular hexagon, though they don’t have to limit themselves to this kind of pattern. As long as they use straightedge and compass moves, and record their moves so that someone else can understand them, they can make any pattern they choose. Share some helpful tips:
- Larger constructions are easier to accurately recreate.
- If any part of the construction involves freehand drawing rather than straightedge and compass moves, it won’t be possible to recreate it precisely.
For students using the digital Constructions tool, recommend that students begin by drawing a circle and radius.
Supports accessibility for: Language; Social-emotional skills
Student Facing
Use straightedge and compass moves to build your own pattern using the circle and radius as a place to start. As you make your pattern, record each move on a separate sheet of blank paper. Use precise vocabulary so someone can make a perfect copy without seeing the original. Include instructions about how to shade or color your pattern.

Student Response
For access, consult one of our IM Certified Partners.
Student Facing
Are you ready for more?
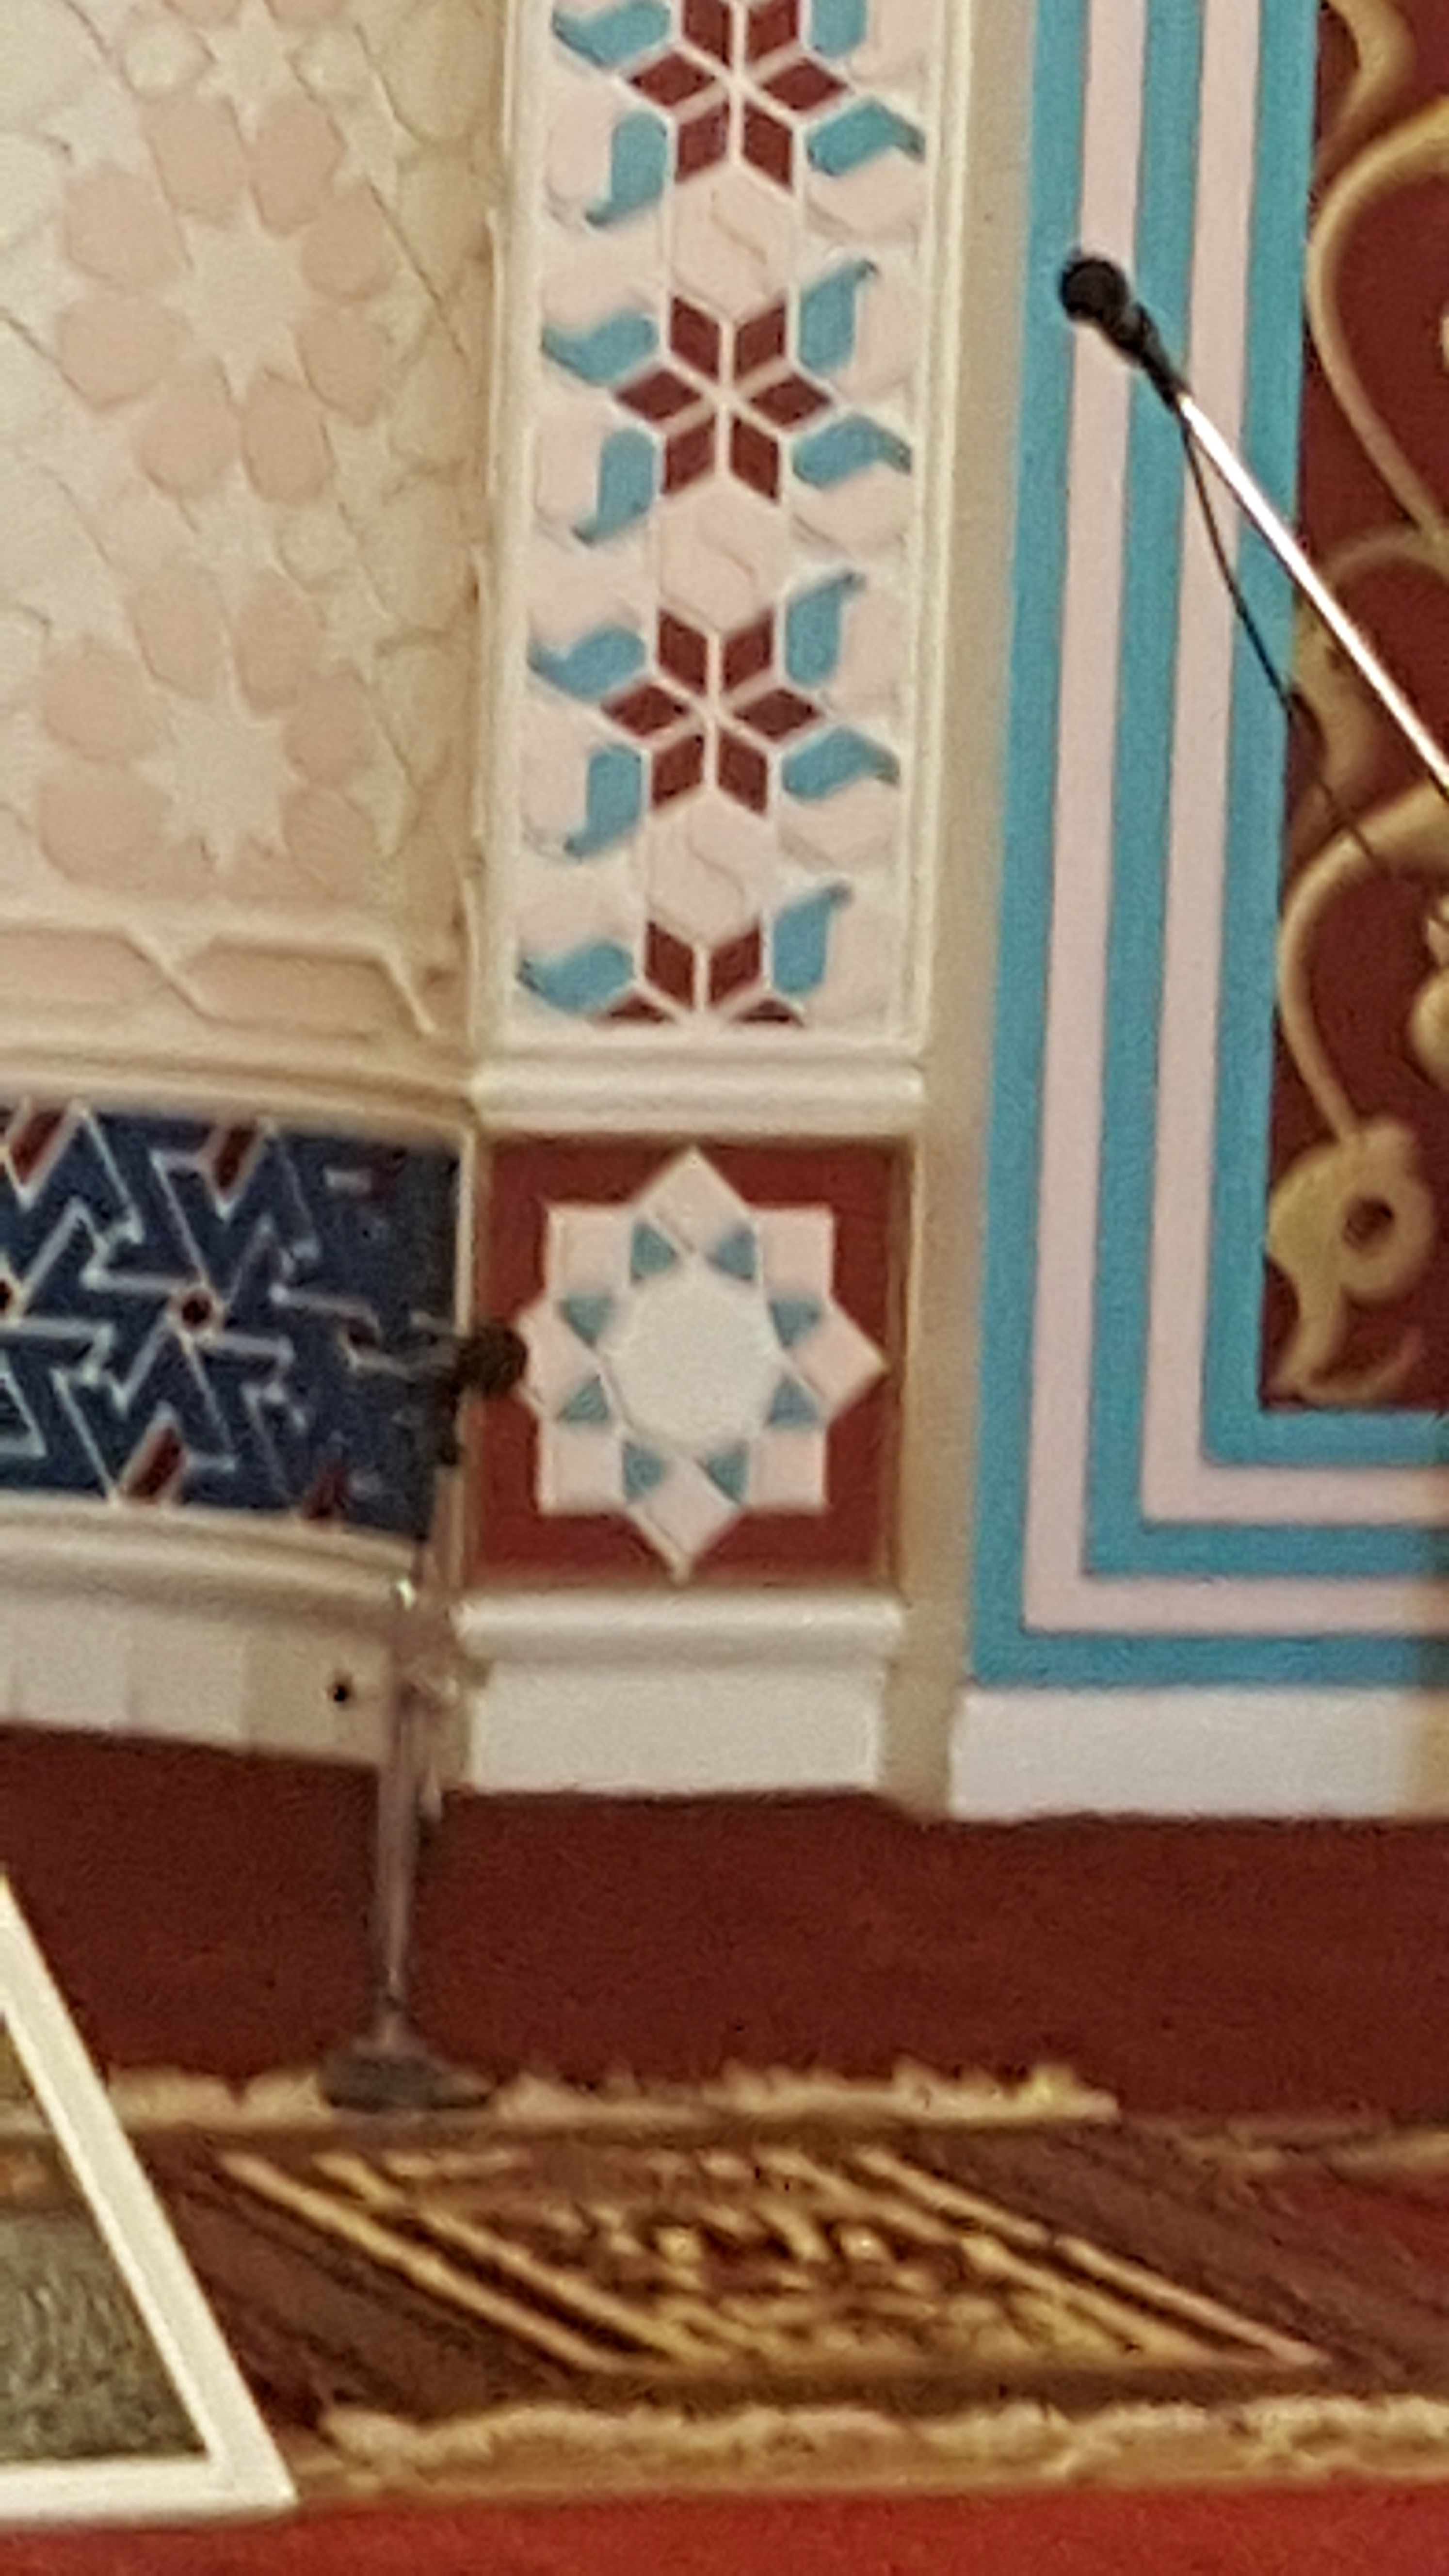
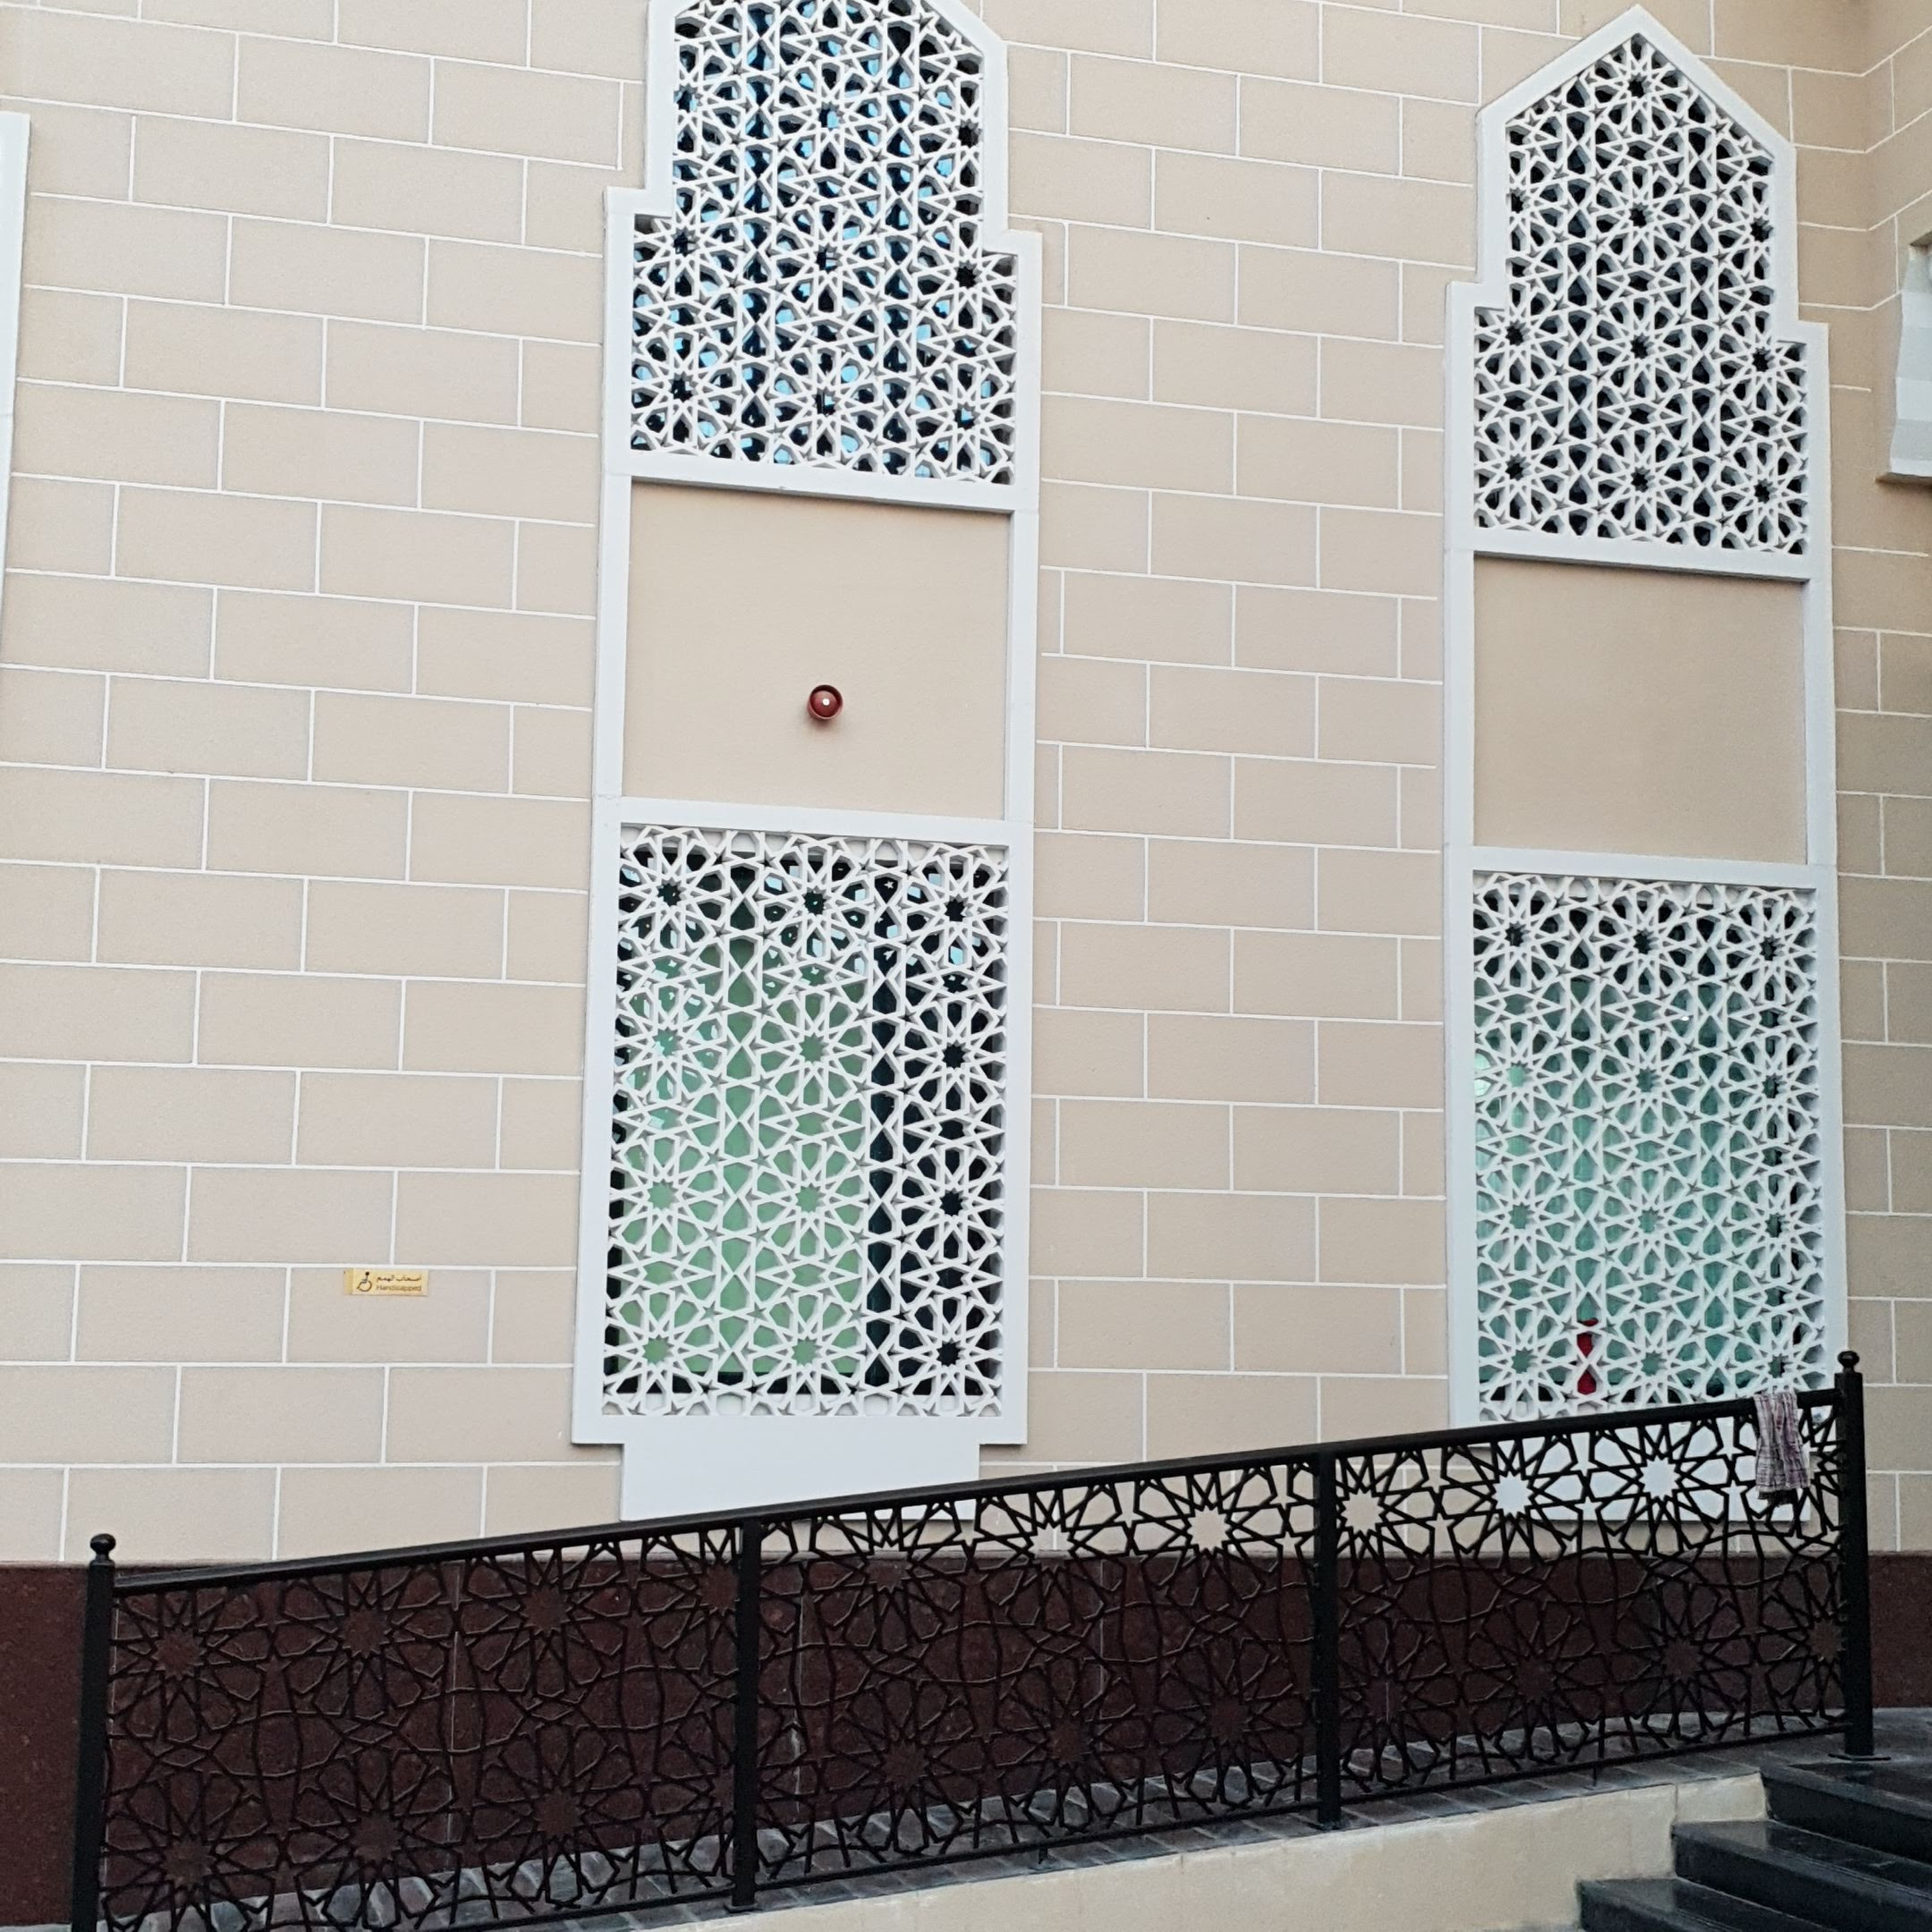
If you have ever visited a mosque, madrasah, or other location where the religion of Islam is practiced, you may have noticed walls decorated with intricate geometric patterns. Throughout history, artists and craftspeople have developed these patterns which are based on compass and straightedge constructions.
You can find many tutorials online for creating these beautiful designs. Here is one example to try.
Student Response
For access, consult one of our IM Certified Partners.
Anticipated Misconceptions
If students struggle to start direct them to the display of construction moves to remind them of their options.
Activity Synthesis
Ask students to predict how well their pattern will be reproduced based on the instructions they gave.
2.3: Make Someone Else’s (15 minutes)
Activity
The purpose of this activity is for students to follow precise instructions for reproducing a pattern and analyze what kinds of instructions are clear and precise, and what kinds of instructions are ambiguous or hard to follow. Identify students who use words like circle, line, line segment, point, or label figures with letters.
Making dynamic geometry software available gives students an opportunity to choose appropriate tools strategically (MP5).
Launch
Invite students to trade instructions with a partner. It would be best if partners haven't already seen the final design.
For students using the digital Constructions tool, recommend that students begin by drawing a circle and radius.
Supports accessibility for: Language
Student Facing
Follow the instructions precisely to recreate the pattern.
Student Response
For access, consult one of our IM Certified Partners.
Activity Synthesis
Display several pairs of original patterns next to recreations. Consider asking:
- “What was one thing about the instructions that made them clear and easy to understand?” (If the instructions were step by step with labels.)
- “What was one thing about the instructions that could have been more precise?” (Using vocabulary words or labeled points.)
Lesson Synthesis
Lesson Synthesis
Ask students:
- “What was difficult about following someone’s instructions?” (Sometimes it was difficult when the instructions were ambiguous. It would be easy to make a figure that looked different if the points weren’t labeled or if the instructions were imprecise.)
- “What changes would you make about the way you wrote your instructions to describe figures in geometry?” (The instructions would be easier to understand if they label points, use words like segment, center, radius, circle, line, ray, and others.)
- “Were there any shapes or patterns that you were surprised could be made with straightedge and compass moves?”
2.4: Cool-down - Constructing a Parallel Line (10 minutes)
Cool-Down
For access, consult one of our IM Certified Partners.
Student Lesson Summary
Student Facing
We can use straightedge and compass moves to construct interesting patterns. What if someone else wants to make the same pattern? We need to communicate how to reproduce the pattern precisely. Compare these sets of instructions:
- Start with a line and 2 points.
- Create a line.
- Create a circle.
- Create a circle.
- Create a circle.
- Create a line.
- Start with a line \(\ell\), point \(A\) on line \(\ell\) and point \(B\) not on line \(\ell\).
- Create a line through \(A\) and \(B\) extending in both directions. Label this line \(p\).
- Create a circle centered at \(A\) with radius \(AB\). This circle intersects with line \(\ell\) in 2 places. Label the intersection point to the right of \(A\) as \(C\).
- Create a circle centered at \(B\) with radius \(BA\). This circle intersects with line \(p\) at \(A\) and 1 other point. Label the new intersection point as \(D\).
- Create a circle centered at \(D\) with a radius of length \(BC\). This circle intersects with the circle centered at \(B\) in 2 places. Label the intersection point to the right of \(B\) as \(E\).
- Create a line through \(B\) and \(E\) extending in both directions.
It is important to label points and segments, such as point \(A\) or segment \(AB\), to communicate precisely.
These are instructions to construct a line parallel to a given line. We say 2 lines are parallel if they don’t intersect. We also say that 2 segments are parallel if they extend into parallel lines.