Lesson 7
Flat and Solid Shapes
Warm-up: Which One Doesn’t Belong: Flat Shapes (10 minutes)
Narrative
Launch
- Groups of 2
- Display image.
- “Pick one that doesn’t belong. Be ready to share why it doesn’t belong.”
- 1 minute: quiet think time
Activity
- “Discuss your thinking with your partner.”
- 2-3 minutes: partner discussion
- Share and record responses.
Student Facing
Which one doesn’t belong?


Student Response
For access, consult one of our IM Certified Partners.
Activity Synthesis
- “Let’s find at least one reason why each one doesn’t belong.”
Activity 1: Create Shapes with Clay (15 minutes)
Narrative
Required Materials
Materials to Gather
Required Preparation
- Each student needs a piece of clay.
- Gather a cone and cylinder to display.
Launch
- Groups of 2
- Give each student a piece of clay.
- “Use your clay to make a shape that you know.”
- 1 minute: independent work time
- “Share your shape with your partner. How are they the same? How are they different?” (The shapes are different. I made a circle and my partner made a triangle.)
- 30 seconds: quiet think time
- 1 minute: partner discussion
- Share responses.
Activity
- Display a cylinder.
- “Make this shape with your clay.”
- 2 minutes: independent work time
- Display a cone.
- “Make this shape with your clay.”
- 2 minutes: independent work time
- “Describe the shape that you made to your partner. What does it look like?” (It looks like an ice cream cone. It’s tall. It has a point on the bottom.)
- 30 seconds: quiet think time
- 2 minutes: partner discussion
- Share responses.
Student Response
For access, consult one of our IM Certified Partners.
Activity Synthesis
- Display a group of flat shapes and a group of solid shapes that students created.
- “What is different about the shapes that we made first and the rest of the shapes that we made?” (The shapes that we made first are all flat. The other shapes stick up.)
- “The first shapes that we made were flat shapes, like circles and rectangles. Then we built some other shapes. What can we call these shapes?” (solid shapes, big shapes)
- “These shapes are solid shapes.”
- “Use your clay to make a flat shape.”
- “Use your clay to make a solid shape.”
Activity 2: Sort Flat and Solid Shapes (10 minutes)
Narrative
The purpose of this activity is for students to identify shapes as flat and solid as they sort shapes into groups. A sorting task gives students opportunities to analyze the structure of the shapes and identify common properties and characteristics (MP7). If the sorting mat provided in the student workbook is too small for students to sort the shapes, consider giving students two pieces of construction paper, or ask students to put the solid shapes on one side of the table and the flat shapes on the other side.
Advances: Conversing
Supports accessibility for: Conceptual Processing, Organization
Required Materials
Required Preparation
- Each group of 2 needs a set of solid shapes and a set of cards.
Launch
- Groups of 2
- Give each group of students a set of solid shapes and a set of flat shapes cards.
Activity
- “Work with your partner to sort the shapes into two groups. Write a number to show how many shapes are in each group.”
- 3 minutes: partner work time
- “Pair up with another group. Show them how you sorted your shapes. Did you sort all of the shapes in the same way?”
- 3 minutes: small-group work time
- “What could you call each group of shapes to show why you put those shapes together?”
- Monitor for a group that sorts by flat shapes and solid shapes.
Student Facing
_______________

_______________
Student Response
For access, consult one of our IM Certified Partners.
Advancing Student Thinking
- “What is the same about all of the shapes in this group?”
- Display a pyramid and a triangle next to each other and ask “What do you notice about these shapes? What is different about them?”
Activity Synthesis
- Invite previously selected students to share the way they sorted the shapes into flat shapes and solid shapes.
- “This group has flat shapes. This group has solid shapes.”
- Display a square.
- “Should this shape go with the flat shapes or the solid shapes? Why?” (It is a flat shape. If we put it on our desk, it doesn’t stick up.)
- Display a cube.
- “Should this shape go with the flat shapes or the solid shapes? Why?” (It is a solid shape. It sticks up and takes up space.)
Activity 3: Centers: Choice Time (20 minutes)
Narrative
The purpose of this activity is for students to choose from activities that offer practice with number and shape concepts.
Students choose from any stage of previously introduced centers.
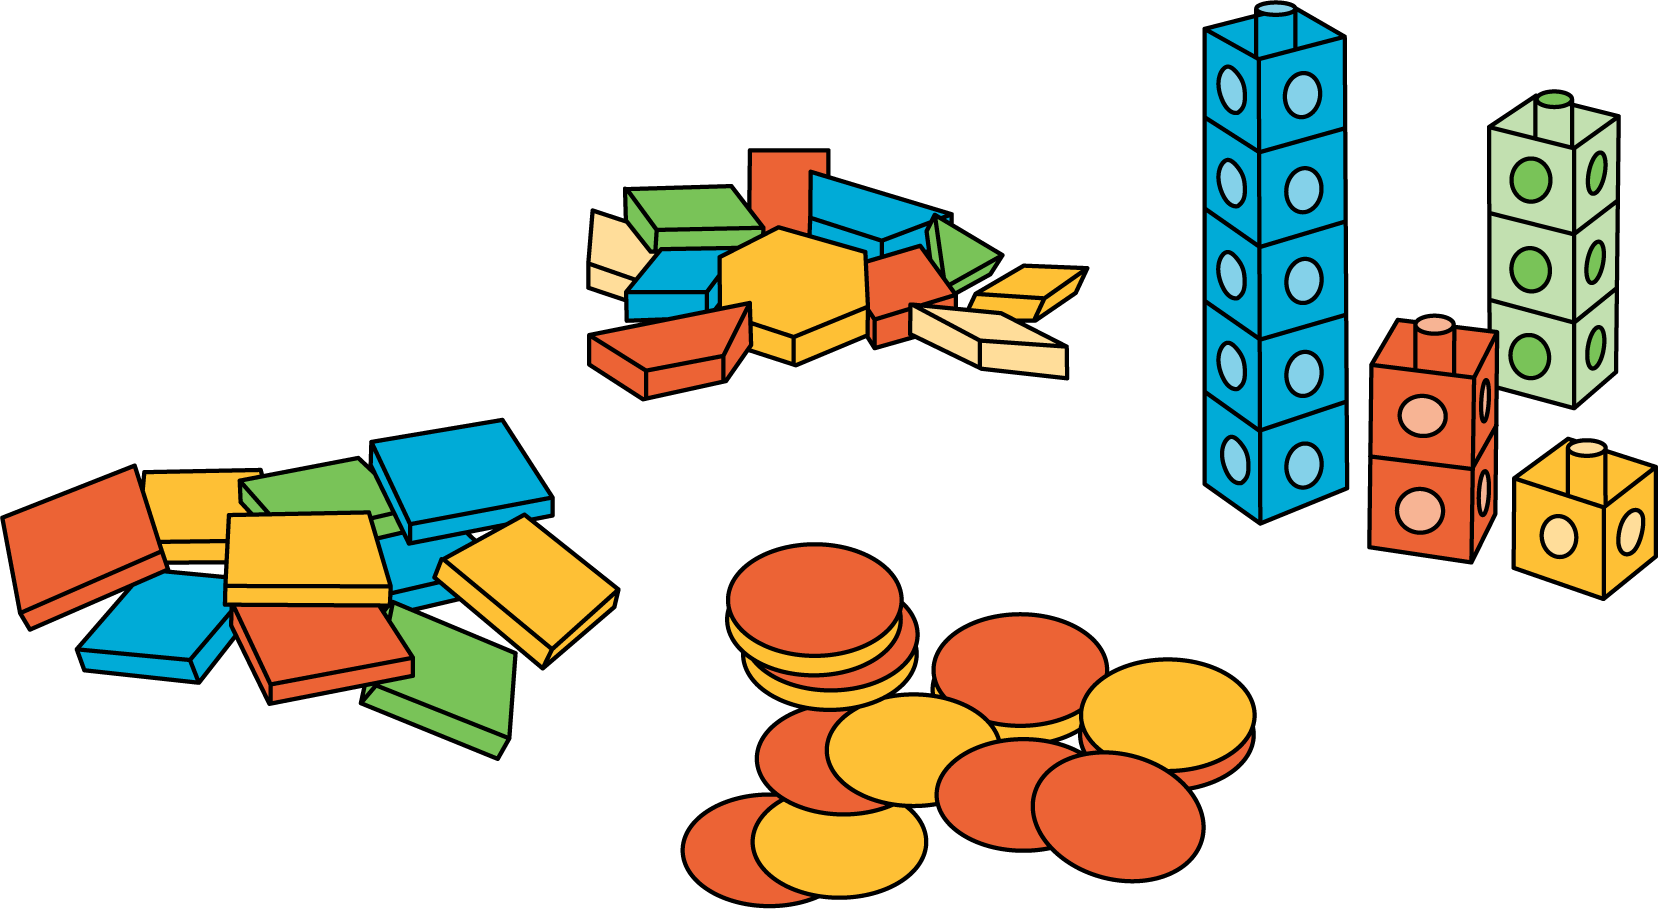
- Counting Collections
- Match Mine
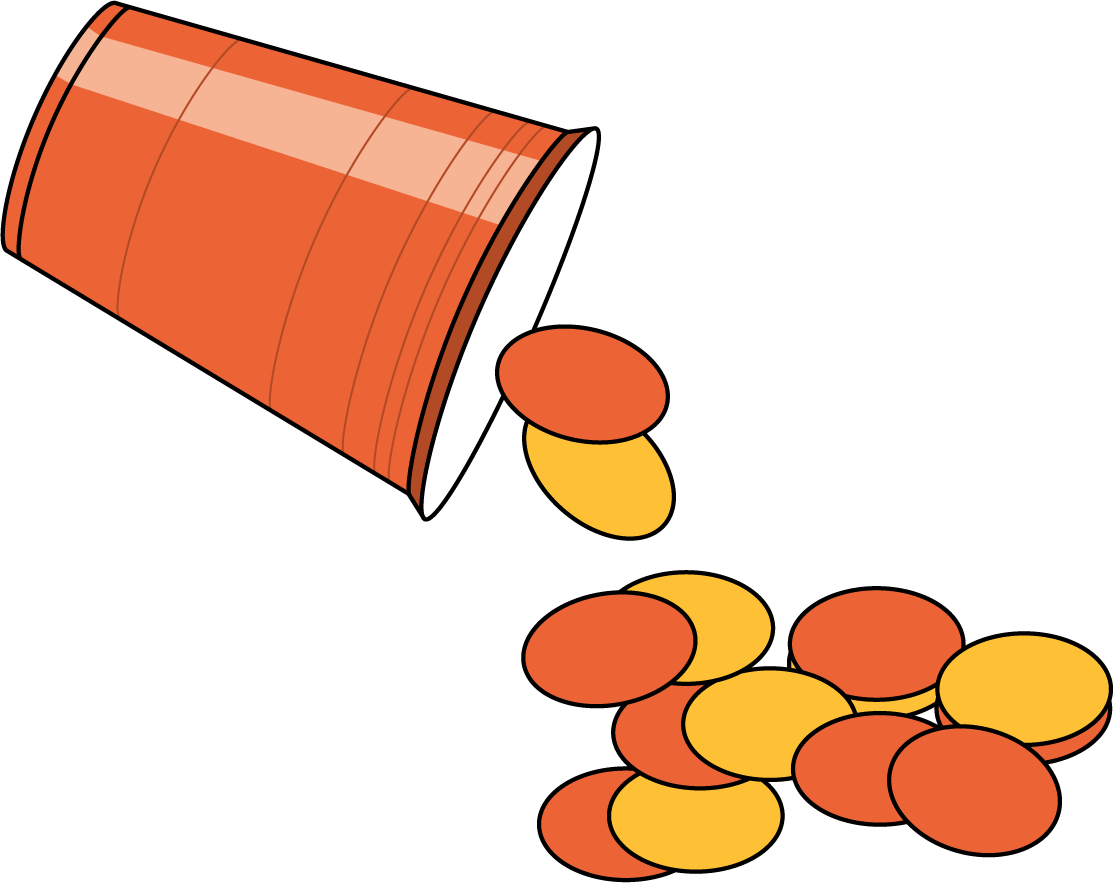
- Shake and Spill
Students will choose from these centers throughout the section. Keep materials from these centers organized to use each day.
Required Materials
Materials to Gather
Required Preparation
- Gather materials from:
- Counting Collections, Stage 1
- Match Mine, Stage 1
- Shake and Spill, Stages 1-4
Launch
- “Today we are going to choose from centers we have already learned.”
- Display the center choices in the student book.
- “Think about what you would like to do first.”
- 30 seconds: quiet think time
Activity
- Invite students to work at the center of their choice.
- 8 minutes: center work time
- “Choose what you would like to do next.”
- 8 minutes: center work time
Student Facing
Choose a center.
Counting Collections

Match Mine

Shake and Spill

Activity Synthesis
- Display 4 pattern blocks arranged as pictured.

- “What would you tell your partner about where to put the red trapezoid pattern block?” (It’s under the yellow hexagon and over the blue rhombus.)
Lesson Synthesis
Lesson Synthesis
Display a circle and a cylinder.
“How are these shapes the same? How are they different?” (They both have parts that are round. One shape is a circle and the other shape has a circle on the top. One is flat and one is solid.)
Cool-down: Unit 7, Section B Checkpoint (0 minutes)
Cool-Down
For access, consult one of our IM Certified Partners.