Lesson 12
Build Solid Shapes
Warm-up: Notice and Wonder: Sorted Shapes (10 minutes)
Narrative
Required Preparation
- Gather and sort solid shapes in 2 groups to display: 4 rectangular prisms, including a cube, in one group and 4 other solid shapes in another group.
Launch
- Groups of 2
- Display shapes sorted into two groups: 4 rectangular prisms, including a cube, in one group and 4 other solid shapes in another group. Provide time for students to look at the shapes closely.
- “Andre sorted these shapes into two groups. What do you notice? What do you wonder?”
- 1 minute: quiet think time
Activity
- “Discuss your thinking with your partner.”
- 1 minute: partner discussion
- Share and record responses.
Student Response
For access, consult one of our IM Certified Partners.
Activity Synthesis
- Point to the group of rectangular prisms.
- “What is the same about all of the shapes in this group?” (They all have flat sides. They have rectangles and squares. They are all solid.)
- “What is a name that we can call these shapes?” (Boxes, blocks)
Activity 1: Make Boxes (10 minutes)
Narrative
The purpose of this activity is for students to identify important features of rectangular prisms and then put together connecting cubes to make rectangular prisms.
The purpose of the activity synthesis is to share and compare different rectangular prisms that students built. Students should keep the rectangular prism that they build in the activity synthesis for the next activity.
Supports accessibility for: Conceptual Processing
Required Materials
Materials to Gather
Required Preparation
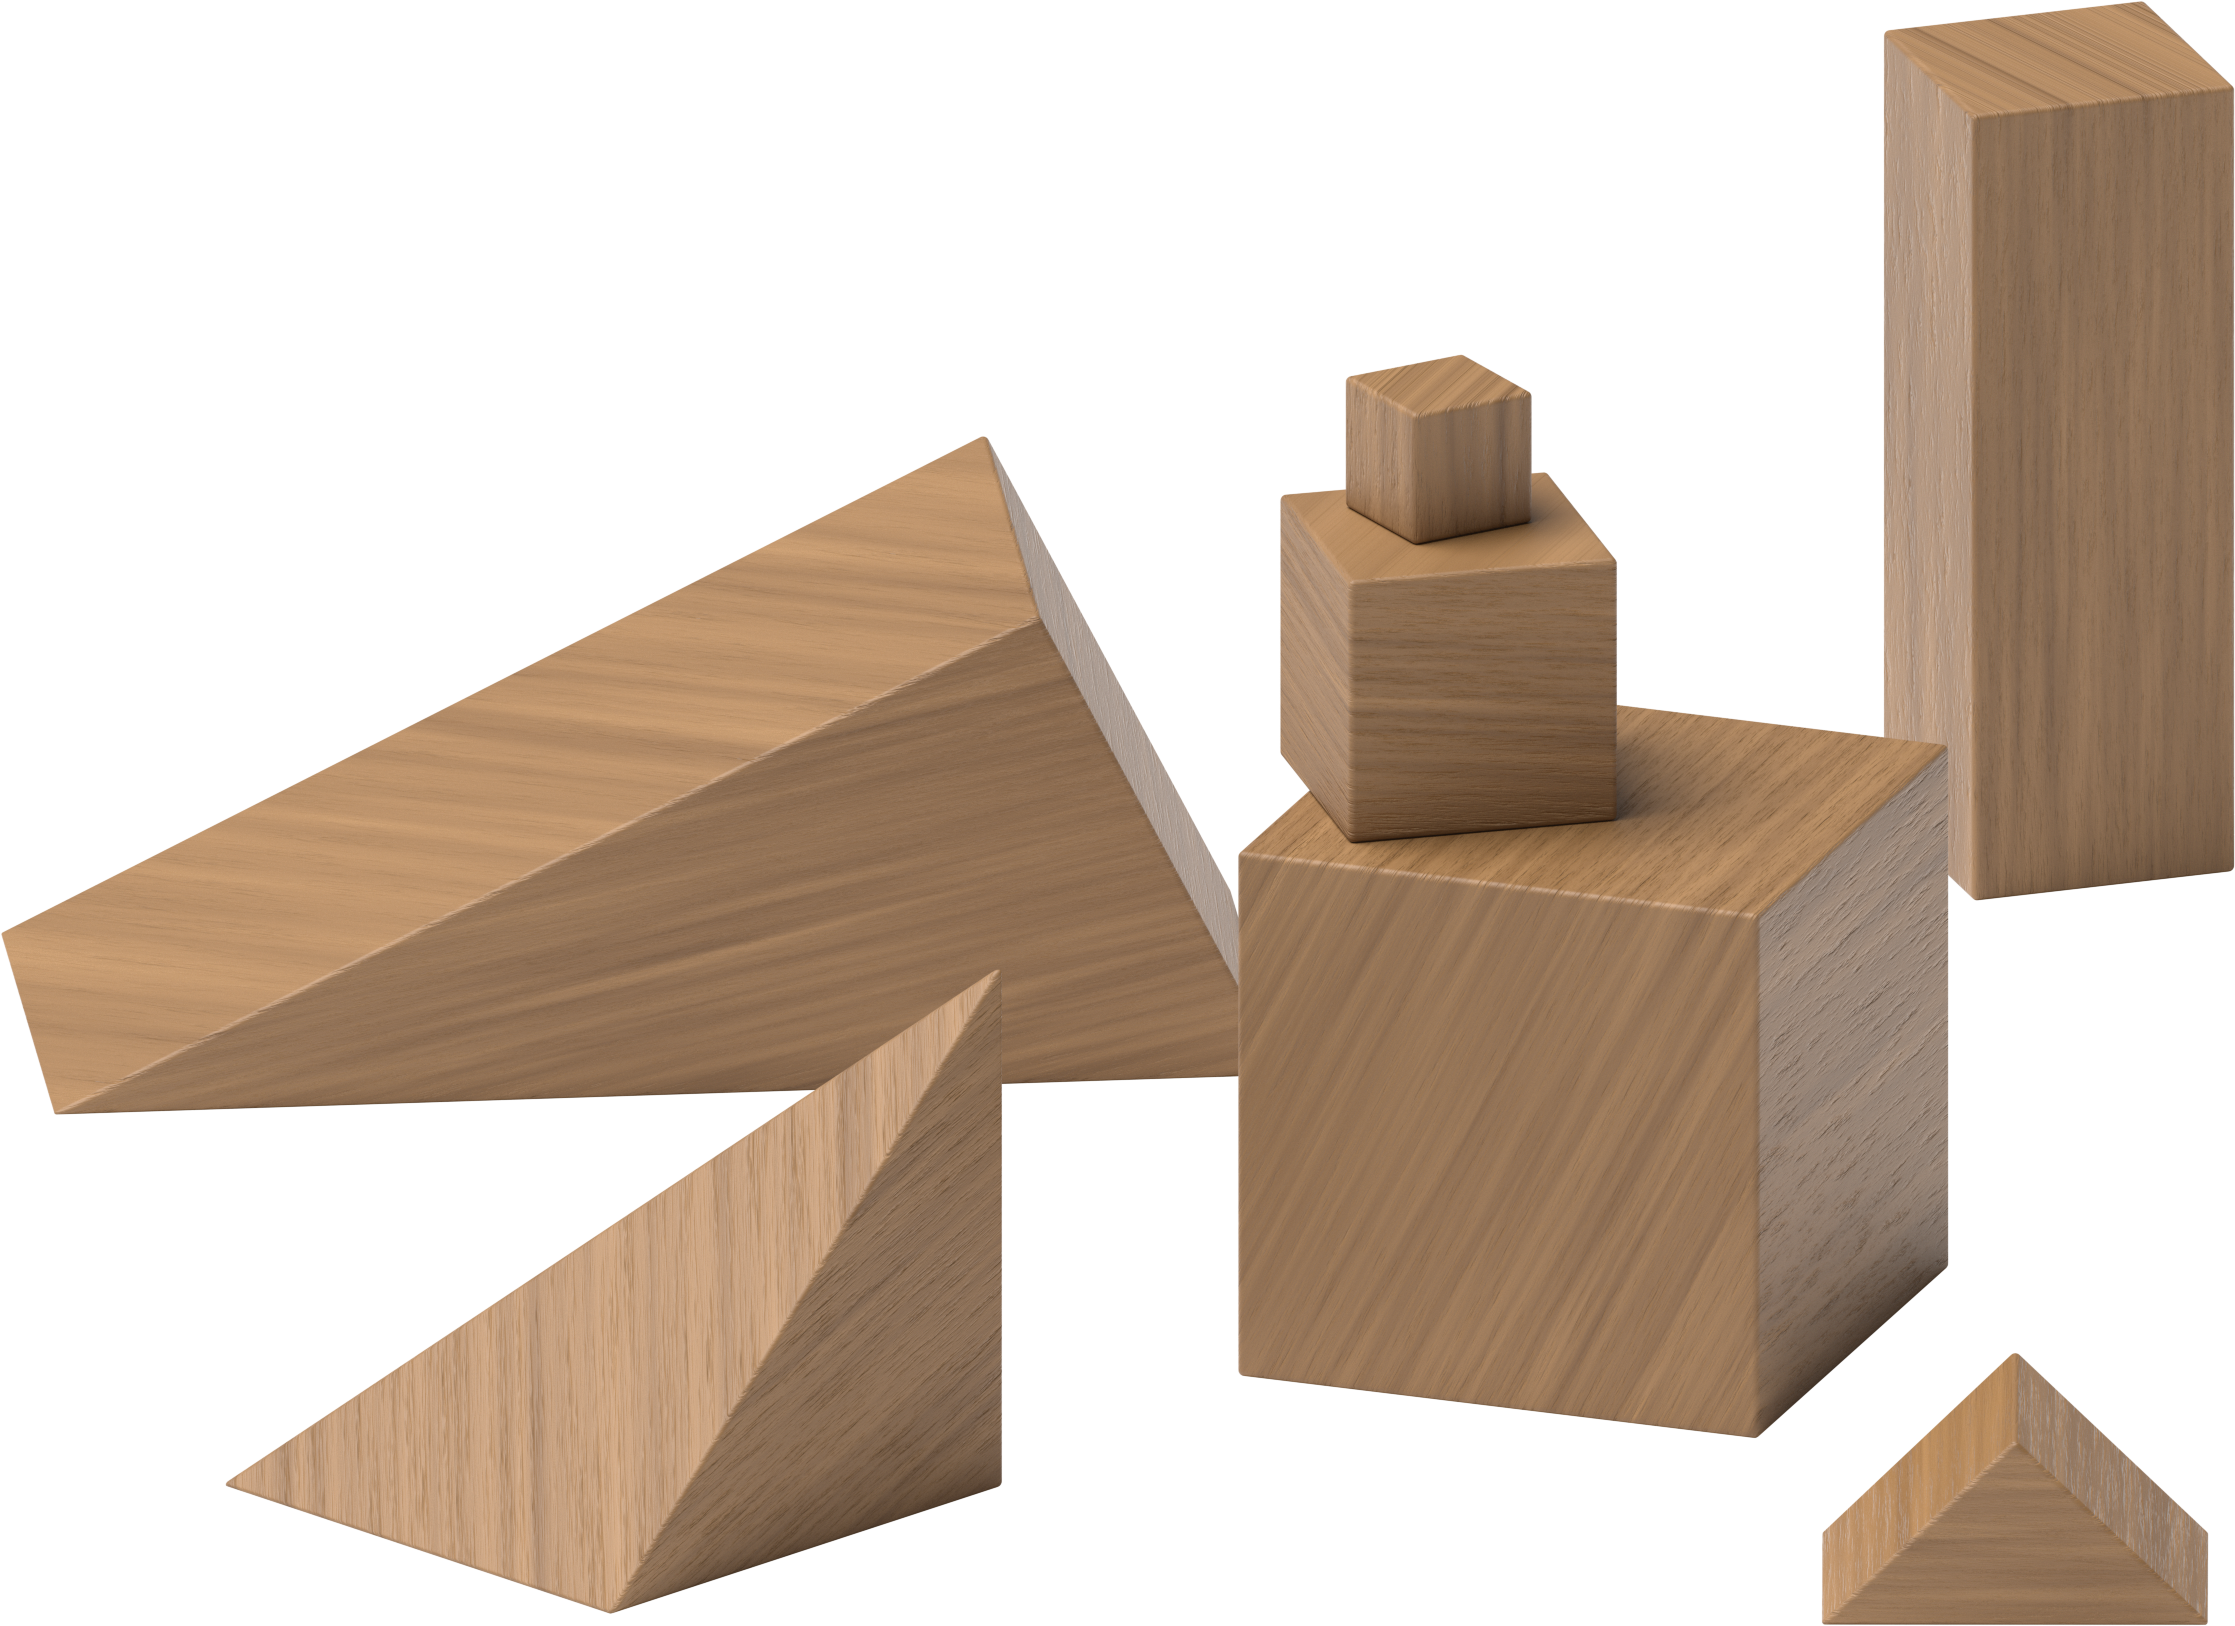
- Gather a variety of rectangular prisms, including cubes, to display.
- Use connecting cubes to create a shape that is not a rectangular prism during the activity synthesis, similar to this image:

Launch
- Groups of 2
- Give students connecting cubes.
- Display a variety of rectangular prisms, including a cube.
Activity
- “We can call these shapes boxes. Now use the connecting cubes to make your own box.”
- 3 minutes: independent work time
- Monitor for students who build rectangular prisms of different sizes.
Student Response
For access, consult one of our IM Certified Partners.
Activity Synthesis
- Invite two students to share their rectangular prisms.
- “How are these two shapes the same? How are they different?” (They both look like boxes and they both have flat sides. They are solid shapes. One of them is taller.)
- Display a student created rectangular prism and a shape made out of connecting cubes that is not a rectangular prism, similar to this image:
- “How are these two shapes the same? How are they different?” (One has a cube missing and a cube sticking out. One is a box and one is not.)
- “Use the connecting cubes to make a different box.”
Activity 2: Introduce Build Shapes, Match the Solid Shape (15 minutes)
Narrative
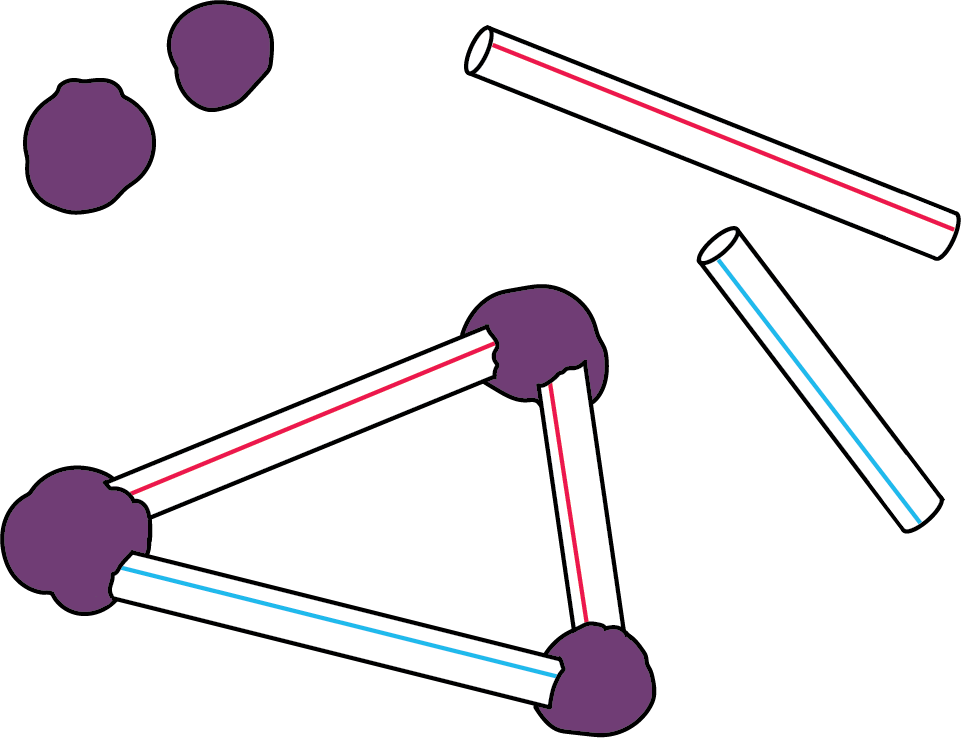
The purpose of this activity is for students to learn stage 3 of the Build Shapes center. Students build solid shapes from components. Students work in partners to build a rectangular prism using sticks and clay. Students use the rectangular prism they built in the previous activity synthesis to help them. Then students choose another solid shape to make out of sticks and clay. In this activity, a gallery walk is added to the center so that students can reflect on the shapes made by others.
Students can also be given access to other materials to build shapes during this center, such as paper, cardboard, tape, and connecting cubes.
Advances: Representing, Conversing
Required Materials
Materials to Gather
Required Preparation
- Each group of 2 students needs a variety of solid shapes and at least 12 sticks in 2 different lengths.
Launch
- Groups of 2
- Give each group of 2 students access to solid shapes, clay, and sticks in a variety of sizes.
- “We are going to learn a new way to do the Build Shapes center. It is called Build Shapes, Match the Solid Shape.”
- “Use the sticks and clay to build a box like the one you built out of connecting cubes.”
- 3 minutes: partner work time
Activity
- “Choose a solid shape. Work with your partner to make the solid shape using sticks and clay.”
- 5 minutes: partner work time
- “Walk around and look at the shapes that your classmates made.”
- 5 minutes: gallery walk
Student Response
For access, consult one of our IM Certified Partners.
Activity Synthesis
- Display a sphere and a cylinder.
- “Did you see anybody who made a sphere or a cylinder?” (No, the sticks are straight, so you can’t make shapes with round sides like cylinders or spheres.)
Activity 3: Centers: Choice Time (20 minutes)
Narrative
The purpose of this activity is for students to choose from activities that offer practice with number and shape concepts.
Students choose from any stage of previously introduced centers.
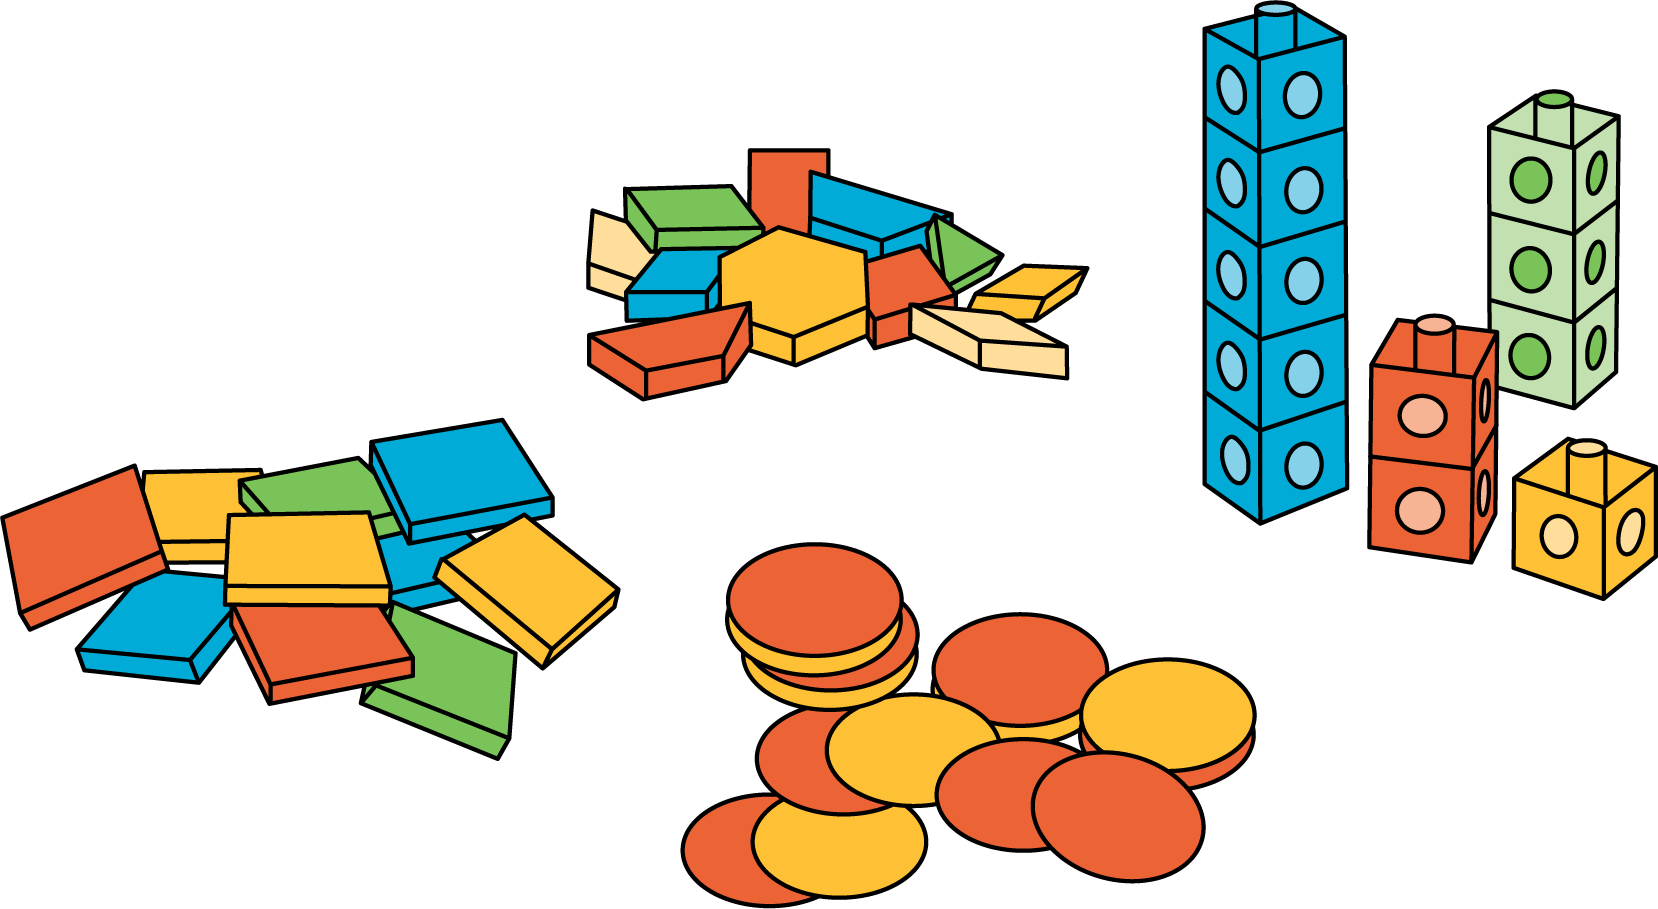
- Build Shapes
- Geoblocks
- Counting Collections
- Match Mine
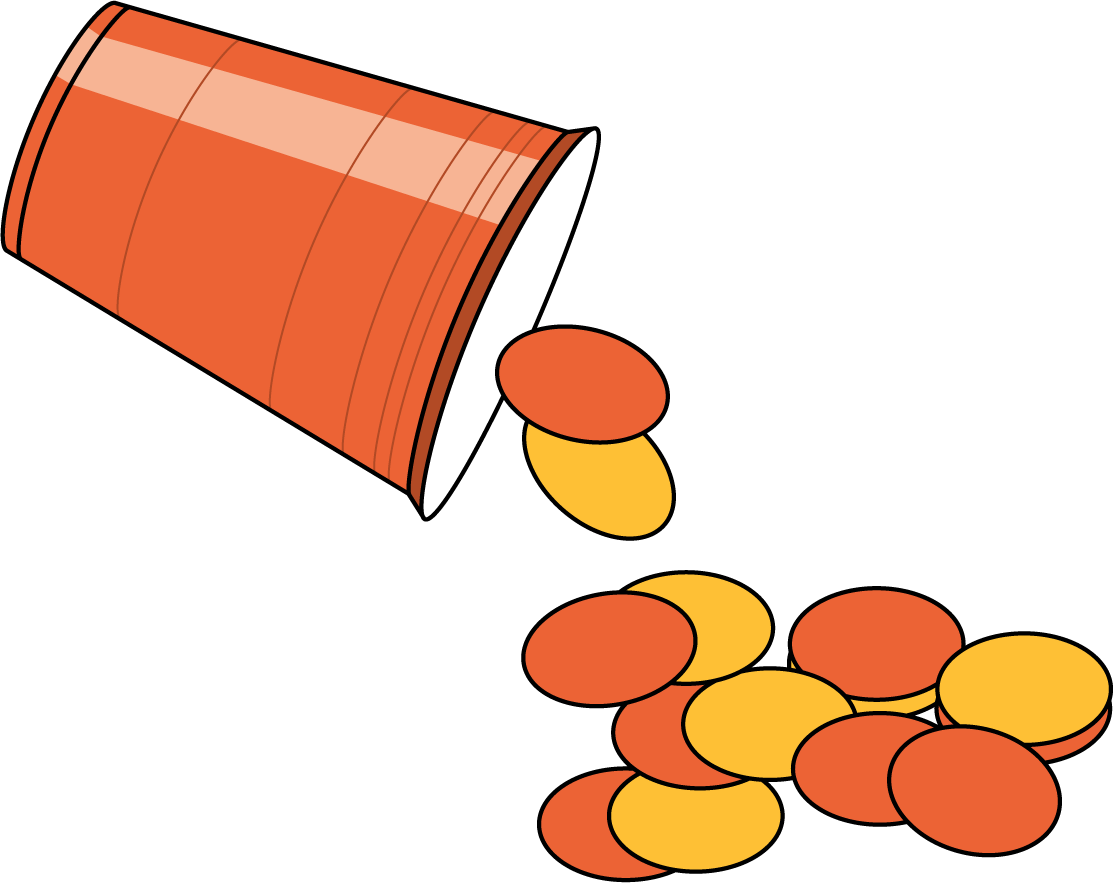
- Shake and Spill
Required Materials
Materials to Gather
Required Preparation
- Gather materials from:
- Build Shapes, Stages 1-3
- Geoblocks, Stages 1-4
- Counting Collections, Stage 1
- Match Mine, Stage 1
- Shake and Spill, Stages 1-4
Launch
- “Today we are going to choose from centers we have already learned. You can also continue playing Build Shapes”
- Display the center choices in the student book.
- “Think about what you would like to do first.”
- 30 seconds: quiet think time
Activity
- Invite students to work at the center of their choice.
- 8 minutes: center work time
- “Choose what you would like to do next.”
- 8 minutes: center work time
Student Facing
Choose a center.
Build Shapes
Geoblocks
Counting Collections
Match Mine

Shake and Spill
Activity Synthesis
- “When we work in centers, it is important to work together. Did you see another group that worked together well during centers today? What did you notice them doing?”
Lesson Synthesis
Lesson Synthesis
“Today we worked with our partners to build solid shapes. What was one thing that your partner did to help you when you were building shapes?”
“What is one thing that you can do to be a good partner next time?”
Cool-down: Unit 7, Section B Checkpoint (0 minutes)
Cool-Down
For access, consult one of our IM Certified Partners.