Lesson 8
Draw Shapes
Warm-up: What Do You Know About Rectangles? (10 minutes)
Narrative
Launch
- Groups of 2
- “What do you know about rectangles?”
- 30 seconds: quiet think time
- 1 minute: partner discussion
Activity
- Record responses.
Student Facing
Student Response
For access, consult one of our IM Certified Partners.
Activity Synthesis
- “How many straws do I need to make a rectangle?”
Activity 1: Connect the Dots (10 minutes)
Narrative
Launch
- Display the first image of four big red dots from the student book.
- “What do you notice? What do you wonder?” (There are black dots. There are 4 big red dots.)
- 30 seconds: quiet think time
- 30 seconds: partner discussion
- Share responses.
- “These dots will help us draw shapes. I need to connect the red dots using straight lines.”
- Demonstrate drawing a straight line between 2 of the red dots.
- “Where should I draw the next line?”
- Repeat until the rectangle is drawn.
- “What shape did I draw?” (A rectangle.)
Activity
- “Draw straight lines to connect the dots. When you’re finished, color in the shape and tell your partner about the shape you drew.”
- 6 minutes: partner work time
Student Facing

Synthesis:

Student Response
For access, consult one of our IM Certified Partners.
Activity Synthesis
- Display the last image with 3 red dots.
- “Tyler is connecting the dots. What shape do you think he is going to make? Why?” (A triangle. There are 3 dots so there will be 3 sides. Triangles have 3 sides.)
- If needed, ask “How many corners will the shape have? How many sides will the shape have?”
Activity 2: Describe and Draw Shapes (15 minutes)
Narrative
The purpose of this activity is for students to describe and draw shapes. Students work in pairs to describe and draw a mystery shape. Students learn that they need to be precise in describing the shape in order for their partner to draw the shape accurately and have opportunities to use the language they have learned to describe shape attributes (MP6). There are also some shapes that students have not been introduced to the formal names of. Students can describe the attributes of these shapes but are not expected to name the shapes.
Advances: Conversing
Supports accessibility for: Conceptual Processing, Language
Launch
- Display the student book.
- “In the last activity, we used dot paper. What is different about this dot paper?” (There are no red dots.)
- Share responses.
- “Draw lines on the dot paper to make some shapes.”
- 2 minutes: independent work time
- “Today we’re going to play a new game called ‘Draw the Mystery Shape’. One partner will choose a shape and describe it. The other partner will draw the shape.”
- “Let’s try it. I’m going to describe a shape. Draw the shape that I describe on the dot paper.”
- “This shape has 3 sides and 3 corners.”
- 30 seconds: independent work time
- “Did you and your partner draw the same shape?” (No. We drew shapes with 3 sides but they don’t look the same.)
- Draw or display:
- “This was the shape I wanted you to draw. What else could I have said about the shape to help you know what to draw?” ( It is skinny. It is pointing to the side. Two sides are long and one side is short.)
Activity
- “Pick a shape but don’t tell your partner which shape you picked. Tell your partner all about the shape so they can draw it.”
- 8 minutes: partner work time
Student Facing

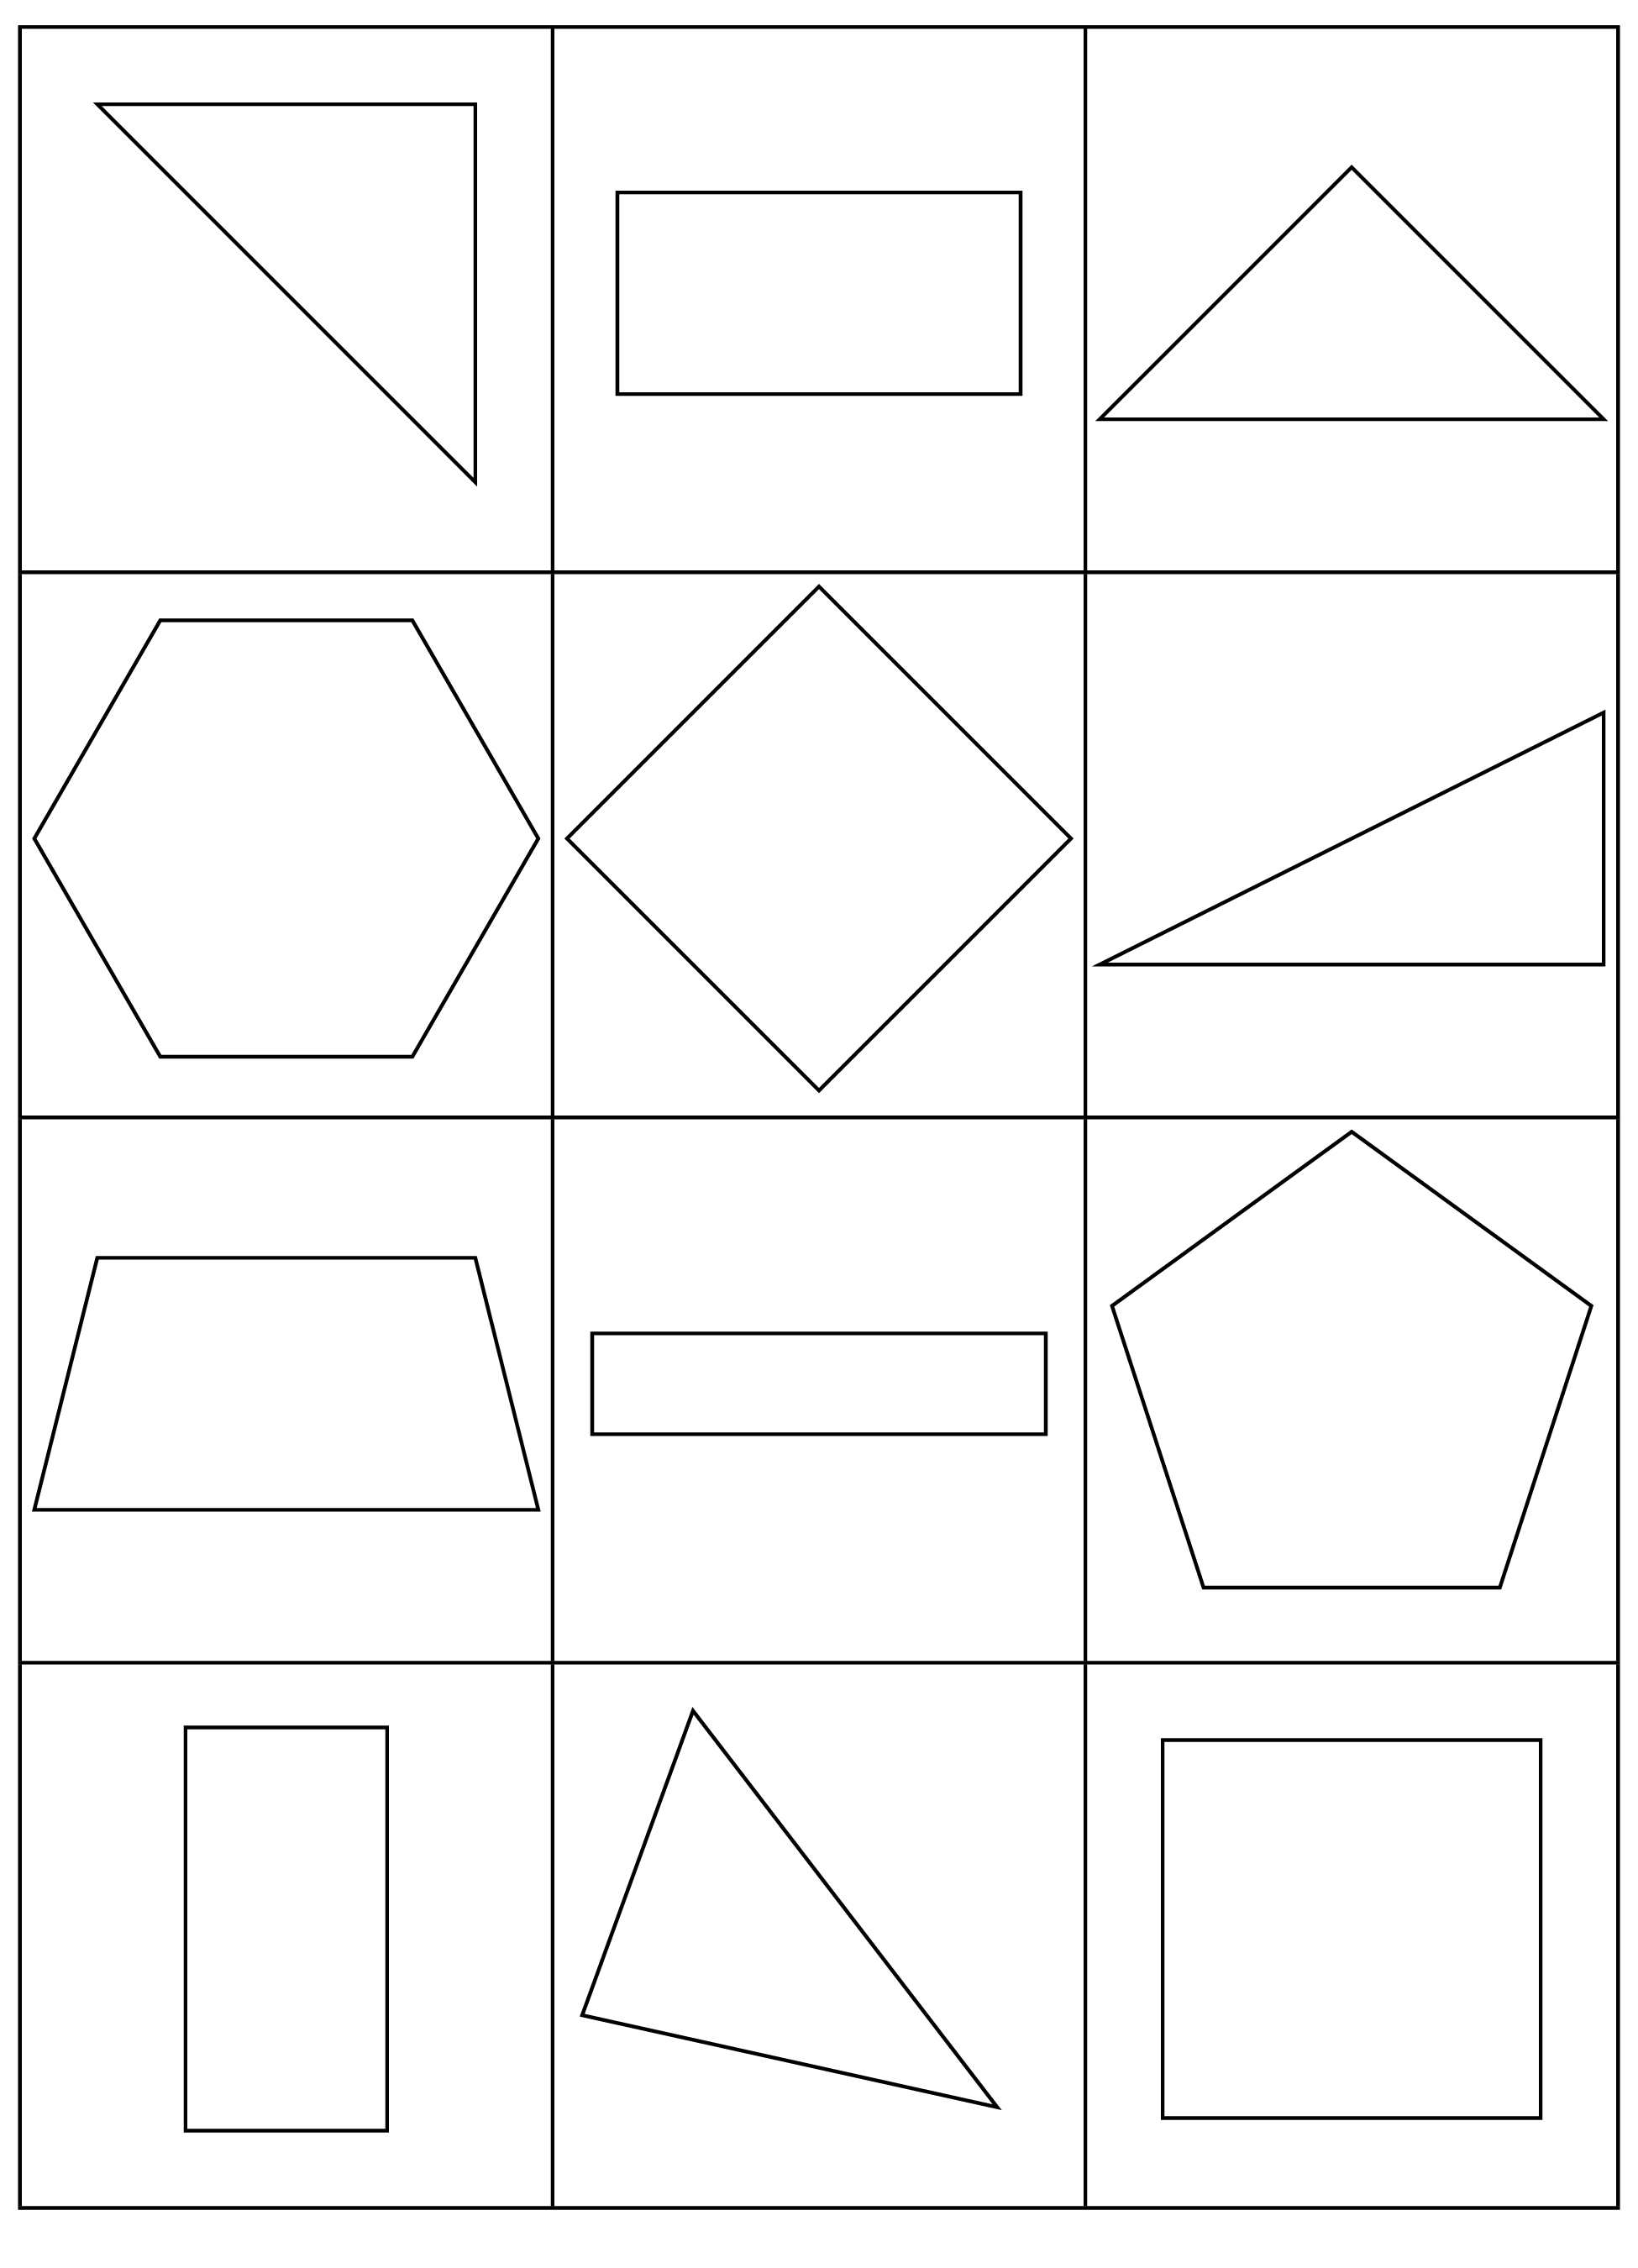


Student Response
For access, consult one of our IM Certified Partners.
Activity Synthesis
- “Which clues helped you figure out how to draw the shape?”
Activity 3: Introduce Build Shapes, Describe the Flat Shape (20 minutes)
Narrative
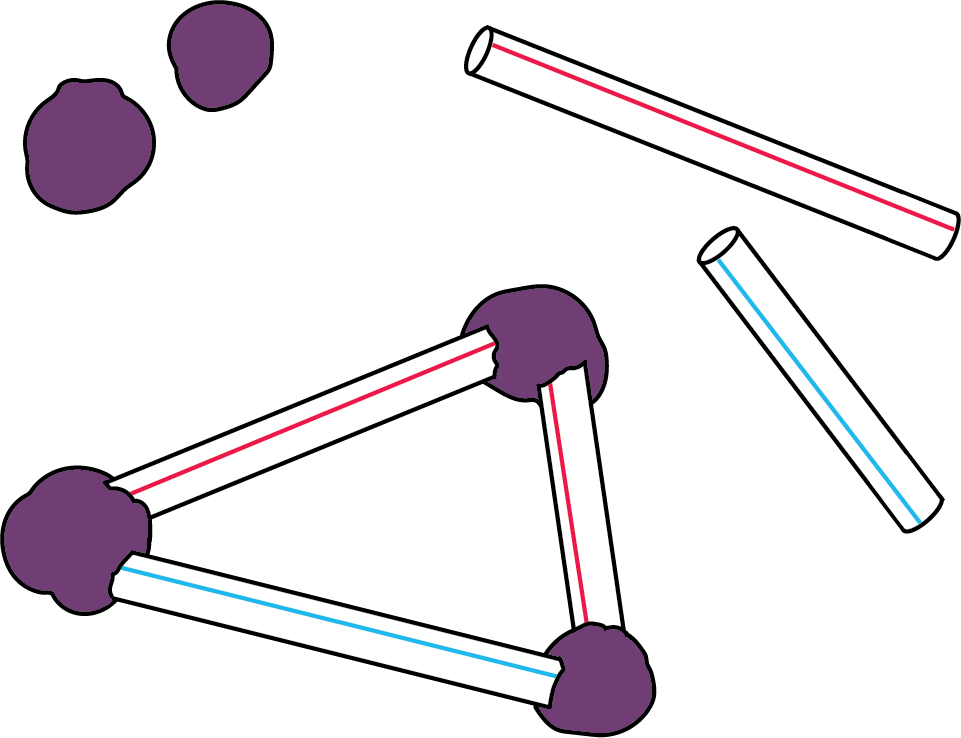
The purpose of this activity is for students to learn stage 2 of the Build Shapes center. Students secretly choose a shape and describe it to their partner. Their partner then builds the shape described using straws and clay. This center combines the work that students have done in previous activities with describing shapes while practicing building shapes. With repeated experience, students describe and build shapes with more precision and identify key attributes to highlight in their descriptions (MP8). The shape cards are printed in the student book for this activity. The Build Shapes Cards blackline master is available for students to use during centers in future lessons.
After they participate in the center, students choose from any stage of previously introduced centers.
- Build Shapes
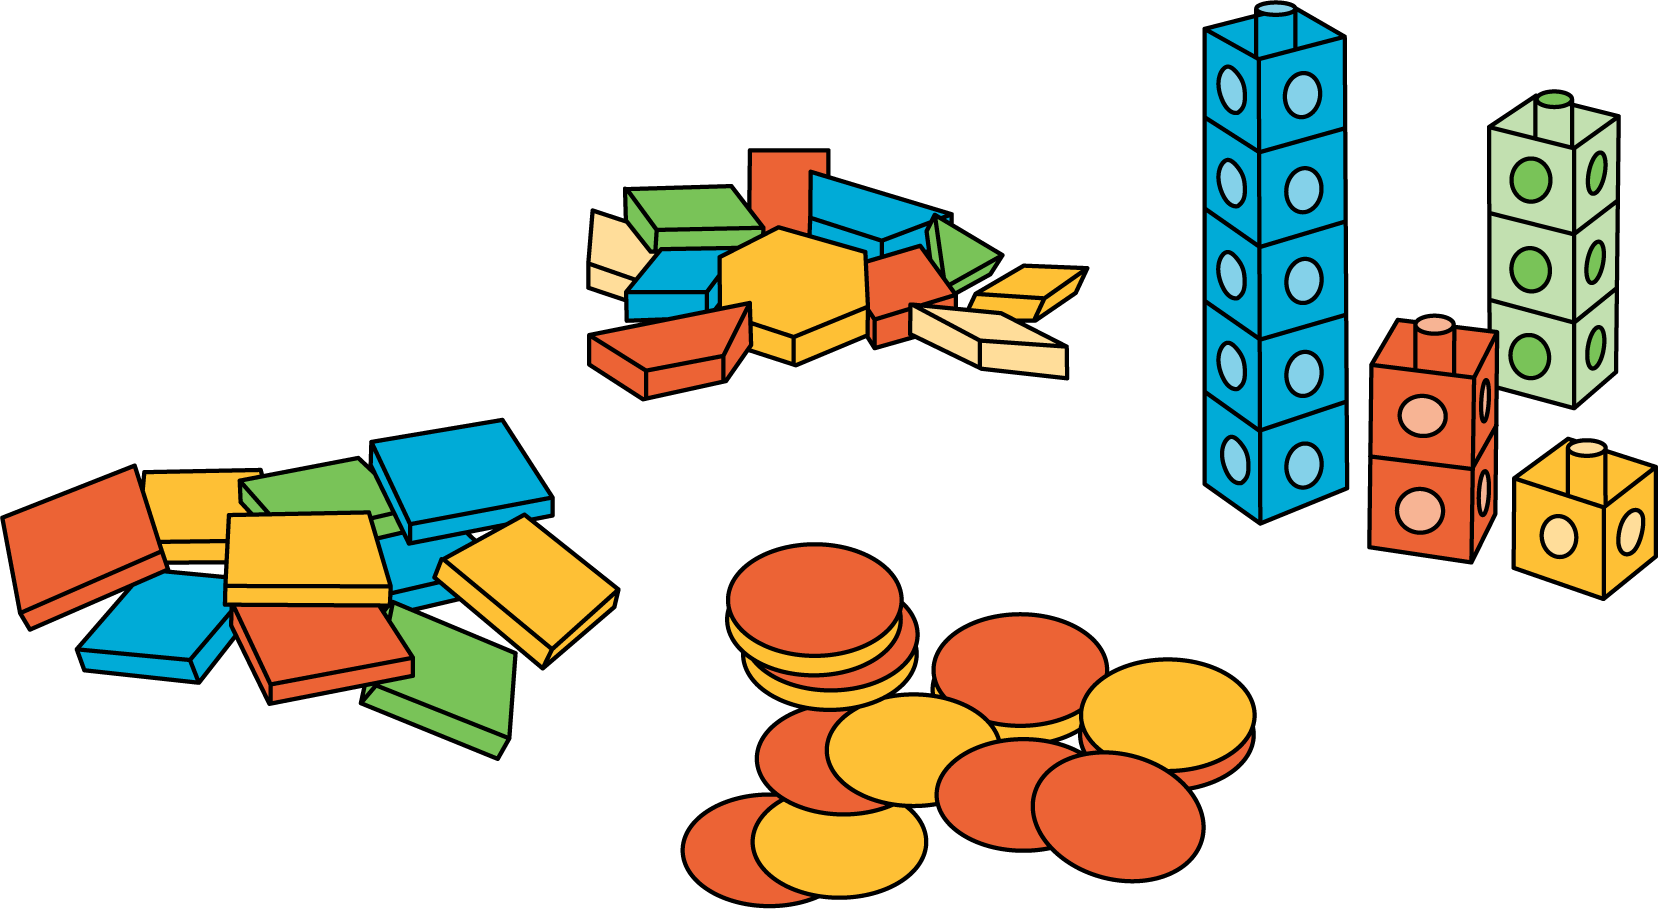
- Counting Collections
- Which One
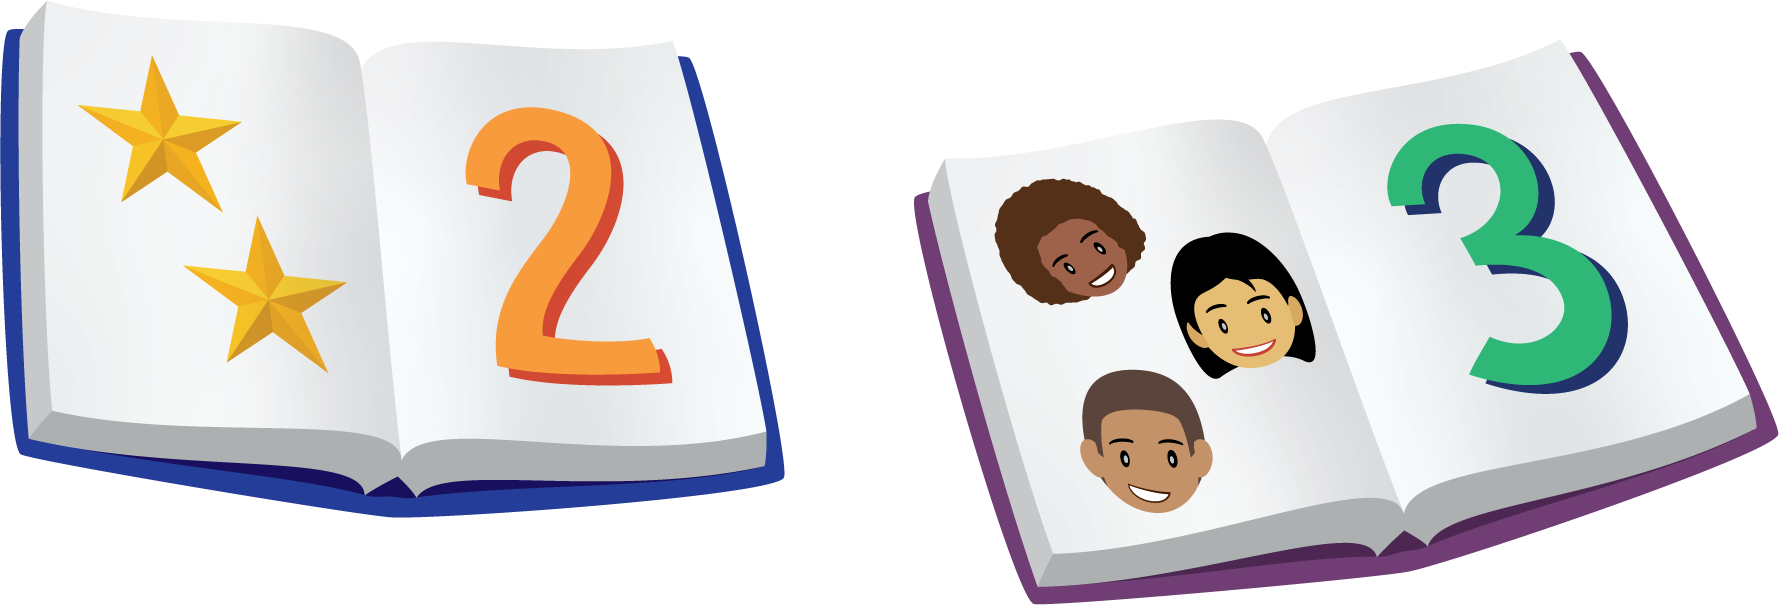
- Picture Books
- Bingo
- Shake and Spill
Required Materials
Materials to Gather
Required Preparation
- Gather materials from:
- Build Shapes, Stage 1
- Counting Collections, Stage 1
- Which One, Stage 1
- Picture Books, Stages 1–3
- Bingo, Stages 1 and 2
- Shake and Spill, Stages 1 and 2
Launch
- Groups of 2
- Give each group of students a set of straws and clay.
- “We are going to learn a new way to do the Build Shapes center.”
- “One person will choose a shape without telling their partner which one they chose. They will describe the shape to their partner, and their partner will build the shape with straws and clay. When the shape is built, work together to see if it looks like the mystery shape. Take turns playing with your partner.”
Activity
- 8 minutes: partner work time
- “Now you can choose another center. You can also continue playing Build Shapes.”
- Display the center choices in the student book.
- Invite students to work at the center of their choice.
- 8 minutes: center work time
- If time, invite students to choose another center.
Student Facing

Choose a center.
Build Shapes
Counting Collections
Which One

Picture Books
Bingo

Shake and Spill
Activity Synthesis
- “If you needed your partner to build a triangle, what could you tell them?”
Lesson Synthesis
Lesson Synthesis

“Today we described and drew shapes. Kiran was trying to get Jada to draw this shape. She told Jada to draw a shape with 4 lines and 4 corners. Jada drew this shape.”
Draw or display a rectangle:

Cool-down: Unit 3, Section A Checkpoint (0 minutes)
Cool-Down
For access, consult one of our IM Certified Partners.


