Lesson 14
Shapes in Art
Warm-up: Notice and Wonder: Shapes in Art (10 minutes)
Narrative
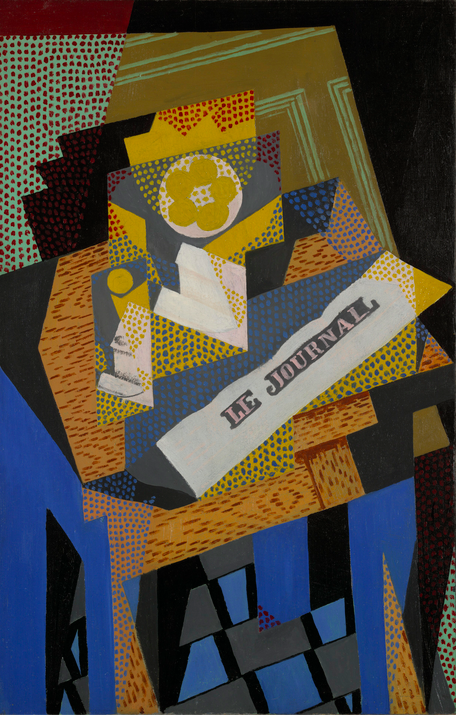
The purpose of this warm-up is to elicit the idea that shapes make up objects seen and represented in the environment. While students may notice and wonder many things about this painting, recognizing and describing shapes and their location in the painting are the important discussion points. When students articulate what they notice and wonder, they have an opportunity to attend to precision in the language they use to describe what they see (MP6).
Launch
- Groups of 2
- Display the image.
- “What do you notice? What do you wonder?”
- 1 minute: quiet think time
Activity
- “Discuss your thinking with your partner.”
- 1 minute: partner discussion
- Share and record responses.
Student Facing
What do you wonder?

Student Response
For access, consult one of our IM Certified Partners.
Activity Synthesis
- “What shapes do you see in this painting? Tell your partner where you see the shapes.”
Activity 1: Find Shapes in Art (15 minutes)
Narrative
The purpose of this activity is for students to recognize shapes in different pieces of artwork from around the world. Before beginning the activity, consider using a map to show students the country from which each piece originates. Students recognize shapes in each piece and discuss in the synthesis how they are alike and different. Students may notice that some artists put shapes together to create designs, while others use shapes to compose things we may recognize such as people, animals, and buildings. Consider creating a cue or signal to indicate when students should move from one drawing to the next.
Advances: Representing, Conversing
Required Materials
Materials to Copy
- Shapes in Art
Launch
- Groups of 2
- Display the artwork around the room.
- “We have been putting pattern blocks together to form larger shapes in lots of different ways. Now we are going to look at 5 different pieces of art. Each piece comes from a different part of the world.”
- “As you walk around and look at the art at each station, talk to your partner about how the artists used shapes in their artwork.”
Activity
- 10 minutes: whole-class work time
Student Response
For access, consult one of our IM Certified Partners.
Activity Synthesis
- Display each piece of artwork.
- “How are these all alike? How are they different?” (They all put small shapes together to make larger shapes. Some are just a design and some have people.)
- “Artists from all different parts of the world use shapes to create their art.”
Activity 2: Make Art with Shapes (15 minutes)
Narrative
The purpose of this activity is for students to put shapes together to form larger shapes. Students create their own piece of artwork by drawing or cutting out and putting together shapes. Students may use inspiration from the art they looked at in the first activity. Students may create designs or pictures of recognizable objects. Students may cut out their own shapes from construction paper, magazines, or other scraps. If available, some shapes that have already been cut out can be provided for students.
When students recognize mathematical features of objects in the real world, they model with mathematics (MP4).
Supports accessibility for: Organization, Conceptual Processing, Language
Required Materials
Materials to Gather
Required Preparation
- Each student needs cut out paper shapes.
Launch
- Give each student a sheet of construction or white paper.
- Give students access to cut out shapes, glue, crayons, colored pencils, and markers.
- “We noticed that artists use shapes in different ways to create art. Some artists make patterns and designs. Some put shapes together to form people or animals. Now you are going to make your own piece of artwork using shapes. You can use any of these materials. Think about how you can draw or put shapes together to make larger shapes.”
Activity
- 8 minutes: independent work time
Student Response
For access, consult one of our IM Certified Partners.
Activity Synthesis
- Display student work on tables or desks.
- “Now we will do a gallery walk to see the art we made using shapes.”
- 5 minutes: gallery walk
Activity 3: Centers: Choice Time (15 minutes)
Narrative
The purpose of this activity is for students to choose from activities that offer practice building shapes and putting together shapes to form larger shapes.
Students choose from any stage of previously introduced centers.
- Match Mine
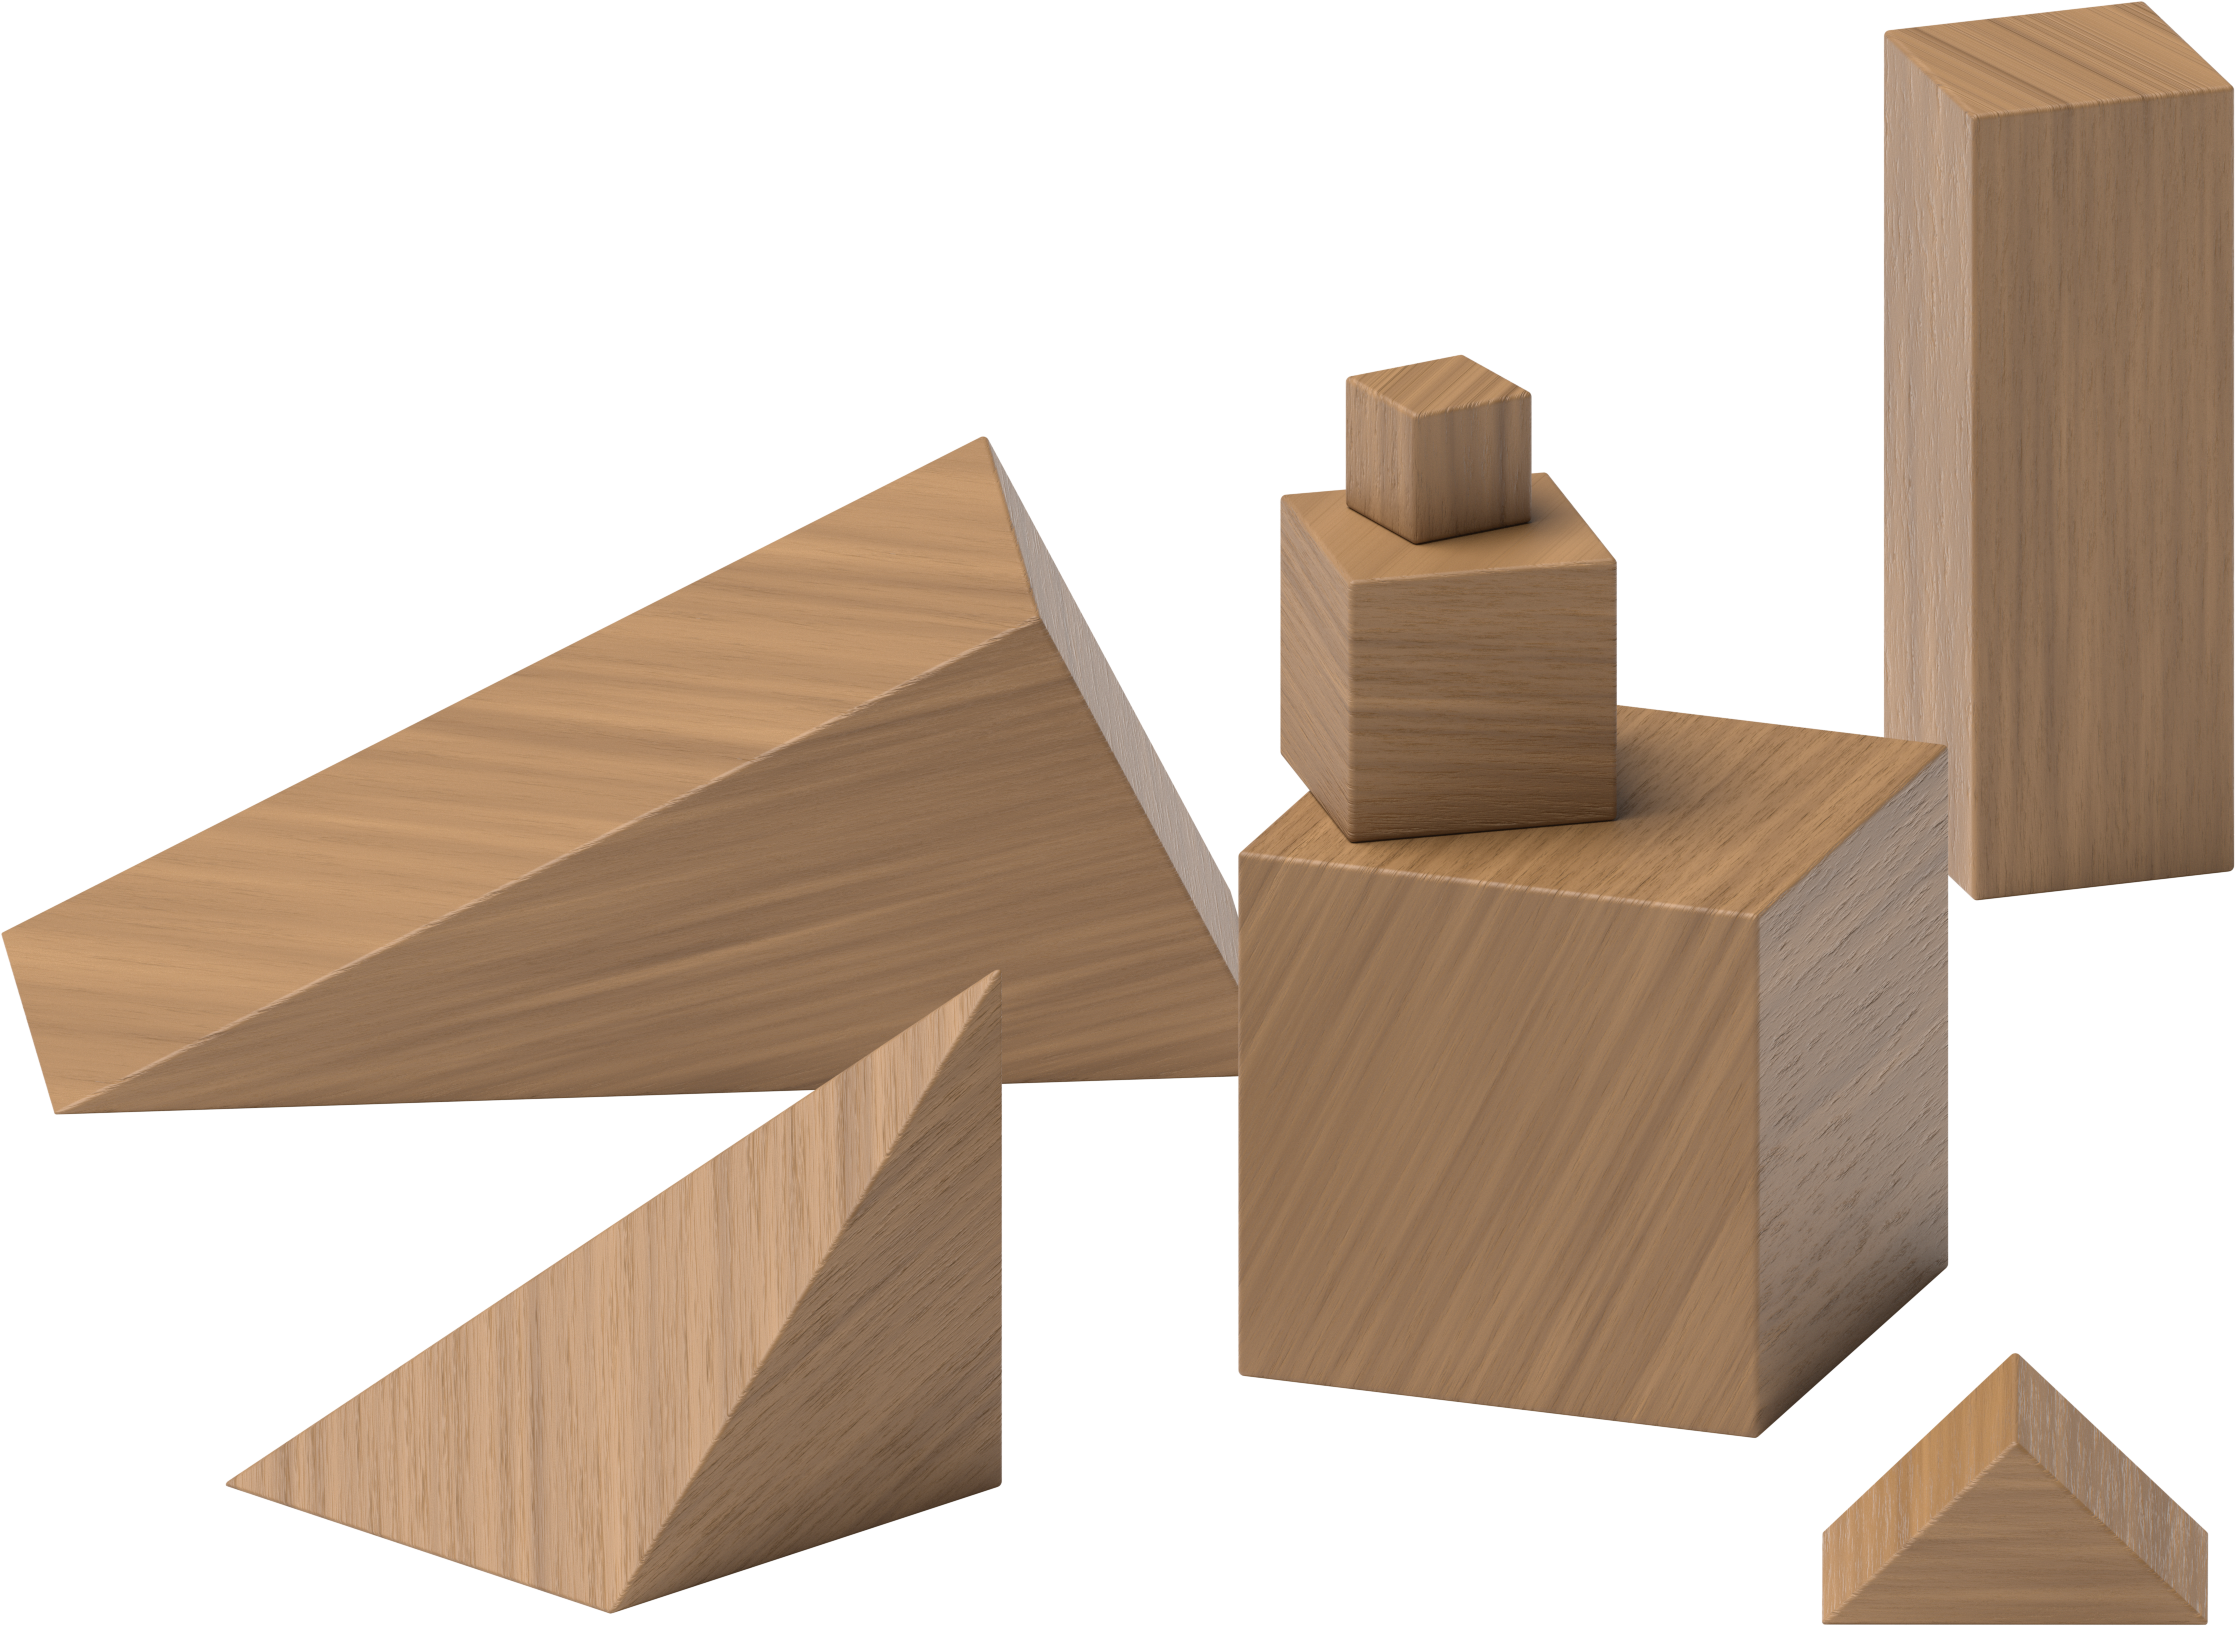
- Geoblocks
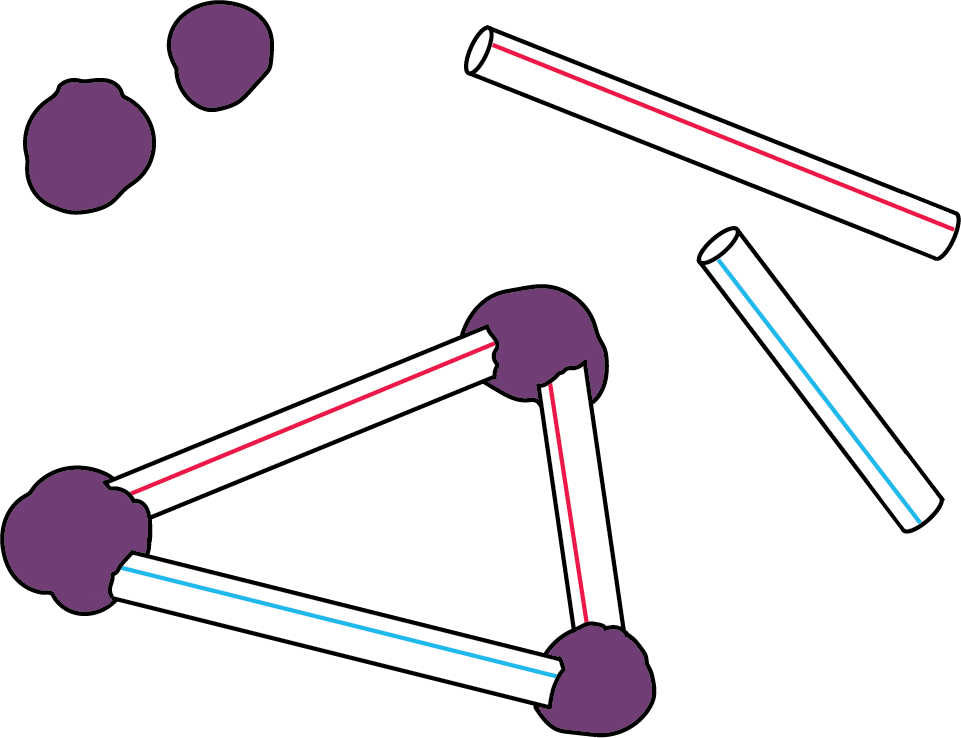
- Build Shapes
- Pattern Blocks
- Less, Same, More
Required Materials
Materials to Gather
Required Preparation
- Gather materials from:
- Match Mine, Stage 1
- Geoblocks, Stages 1 and 2
- Build Shapes, Stages 1 and 2
- Pattern Blocks, Stages 1–5
- Less, Same, More, Stages 1–4
Launch
- “Today we are going to choose from centers we have already learned.”
- Display the center choices in the student book.
- “Think about what you would like to do.”
Activity
- Invite students to work at the center of their choice.
- 10 minutes: center work time
Student Facing
Choose a center.
Match Mine

Geoblocks

Build Shapes

Pattern Blocks

Less, Same, More

Activity Synthesis
- “What if I want to use a yellow hexagon pattern block in my puzzle and my partner has used all the yellow hexagon pattern blocks? What could I do?"
Lesson Synthesis
Lesson Synthesis
Cool-down: Unit 3, Section B Checkpoint (0 minutes)
Cool-Down
For access, consult one of our IM Certified Partners.
Student Section Summary
Student Facing
In this section we put shapes together to make larger shapes.
Sometimes we used shapes to make other shapes.

Sometimes we used shapes to make things in the world.

We learned that the same shape can look different when it is moved around.

The shape that is missing is the square but it looks different because it is turned.
We also used words like above, below, beside, and next to to describe where shapes are.
The green triangle is next to the red trapezoid.
The green triangle is above the blue rhombus.