Lesson 9
My Own Flag (optional)
Warm-up: Notice and Wonder (10 minutes)
Narrative
Launch
- Groups of 2
- Display the image.
- “What do you notice? What do you wonder?”
- 1 minute: quiet think time
Activity
- “Discuss your thinking with your partner.”
- 1 minute: partner discussion
- Share and record responses.
Student Facing
What do you notice? What do you wonder?


Student Response
For access, consult one of our IM Certified Partners.
Activity Synthesis
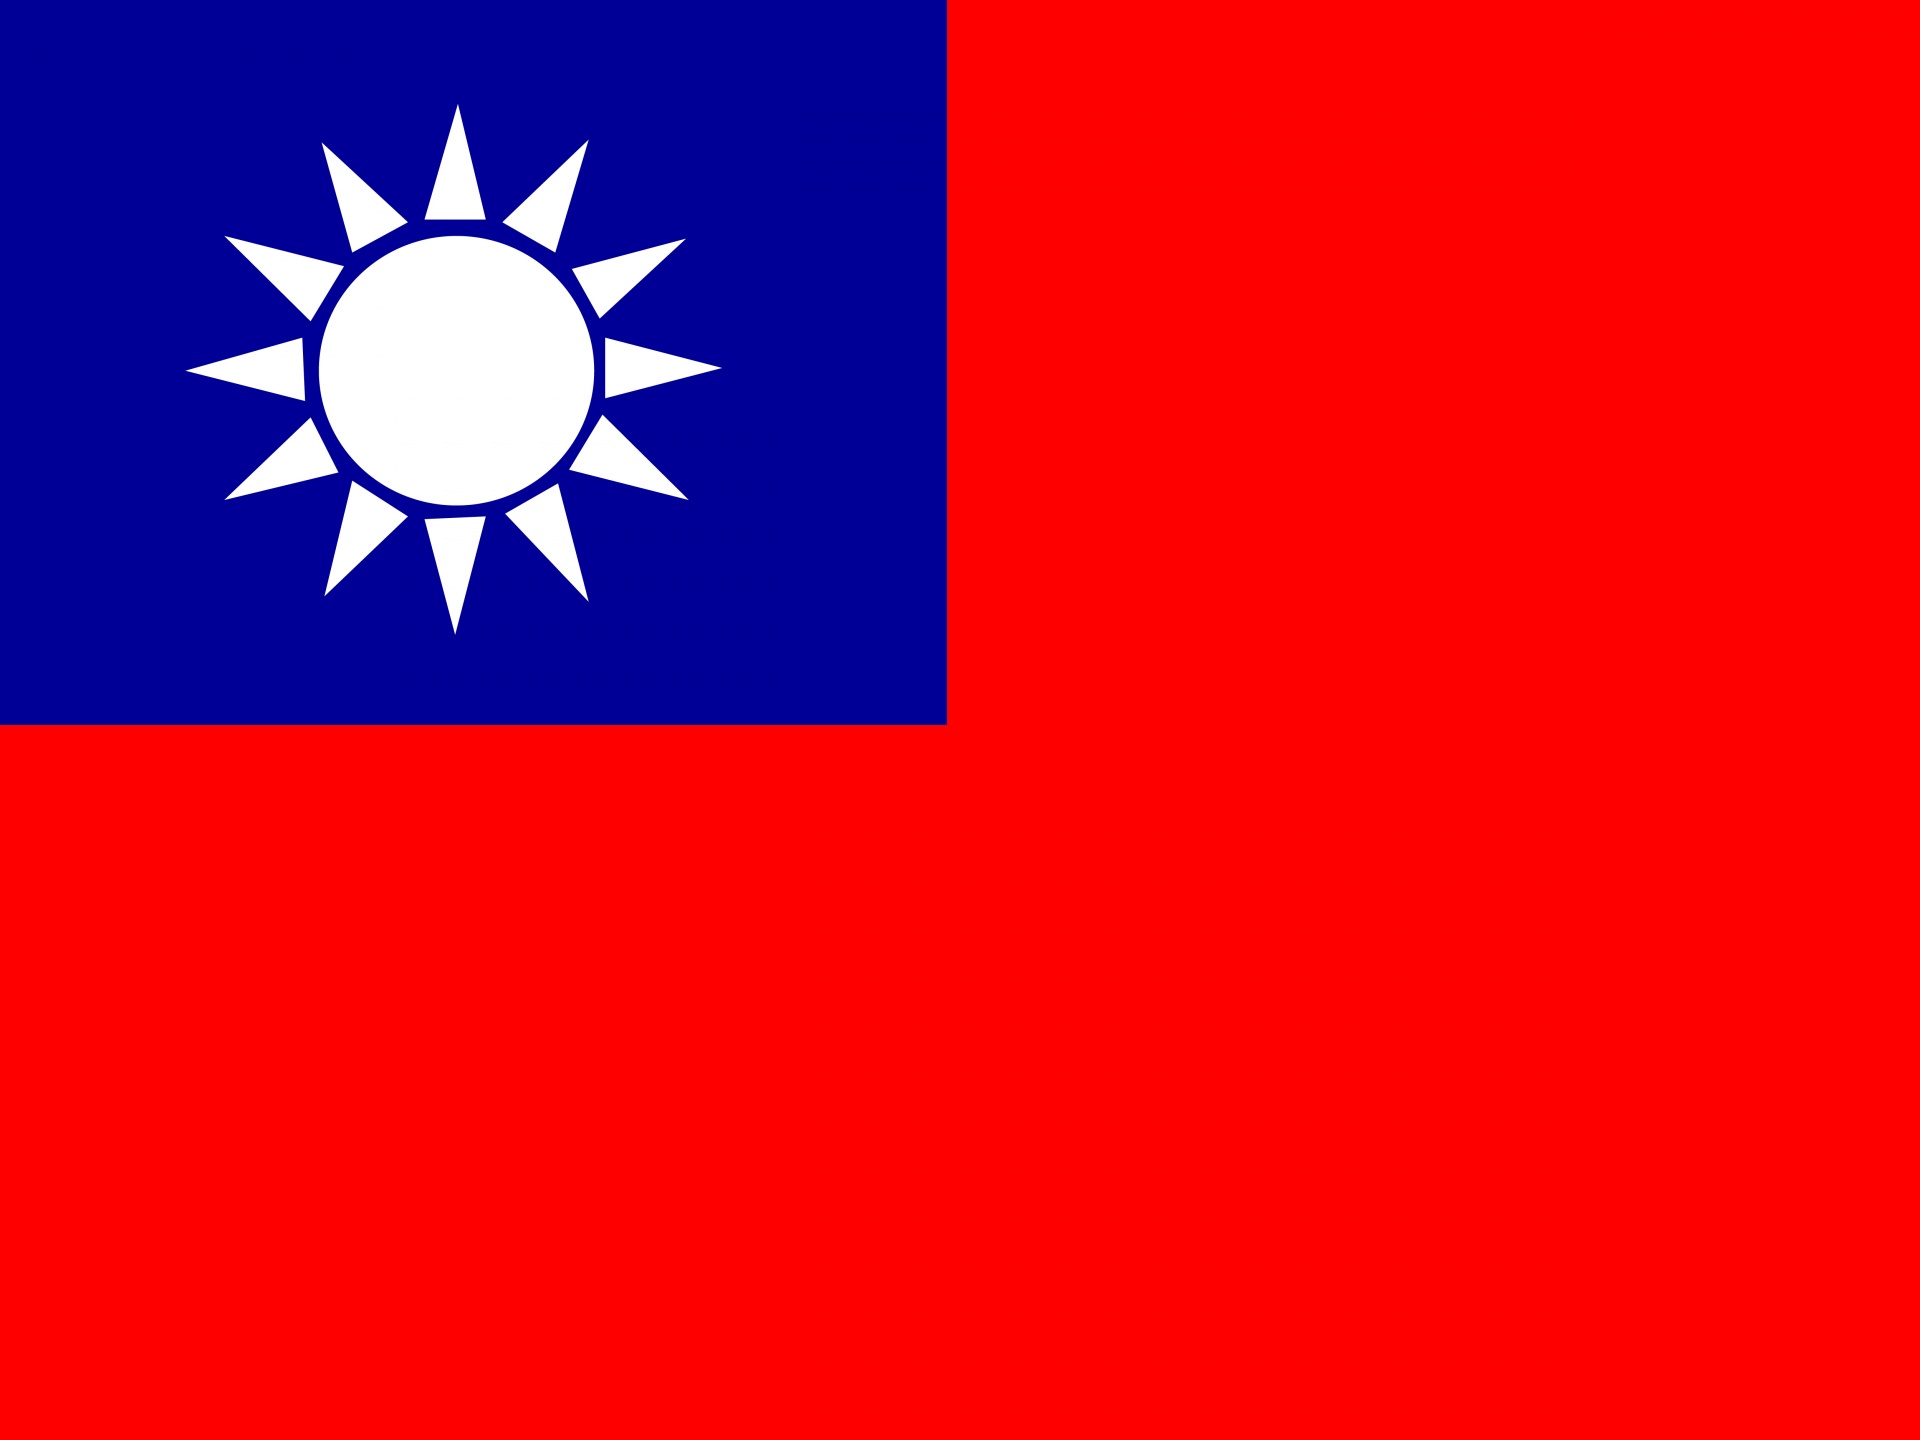
- “The first image is the flag of Botswana.” If needed show students where Botswana is on the map.
- “The second image is the flag of Taiwan.” If needed show students where Taiwan is on the map.
- “What are some questions you might ask the designer of these flags?” (What do the different colors represent? Why is there a sun on the second flag?)
Activity 1: Principles of Flag Design (20 minutes)
Narrative
The purpose of this activity is for students to understand the principles of flag design from the North American Vexillological Association. Students make sense of what each principle means. Then they look at a series of flags and determine which principles the flag most strongly exemplifies. Students will use these principles to create a meaningful flag of their own in the next activity.
This activity uses MLR2 Collect and Display. Advances: Conversing, Reading, Writing.
Launch
- Display the principles.
- Assign a principle to each group to ensure that each one is covered.
Activity
- 8 minutes: partner work time
- Circulate, listen for and collect the language students use to describe each principle. Listen for: simple shapes, a few colors, no letters, seals, or stamp, colors mean something, unique, different, related, connection.
- Record students’ words and phrases on a visual display and update it throughout the lesson.
Student Facing
-
Your teacher will assign you a principle of flag design. With your partner, discuss what the principle means. Why is the principle important for flag design?
Principles of Good Flag Design- Keep It Simple
- Use Meaningful Symbolism
- Use 2 to 3 Basic Colors
- No Lettering or Seals
- Be Distinctive or Be Related
- For each flag from the warm up, explain or show how the flag represents the principles of flag design.

Student Response
For access, consult one of our IM Certified Partners.
Activity Synthesis
MLR2 Collect and Display
- “Are there any other words or phrases that are important to include on our display?”
- As students share responses, update the display, by adding (or replacing) language, diagrams, or annotations.
- Remind students to borrow language from the display as needed.
- “In the next activity, you will use these design principles to create your own flag.”
- “Which principle might be the most challenging to follow?” (Be distinctive because there are so many flags already. Mine may not be unique.)
Activity 2: My Flag (20 minutes)
Narrative
The purpose of this activity is for students to make their own flags and analyze them. Students will use their experience with multiplying fractions to answer area questions related to their flag. Some students may include non-rectangular designs. Encourage them to relate the area of their shape to a rectangle and estimate.
When students design their own flag and determine or estimate the area of each color fabric they need to make the flag they model with mathematics (MP4).
Supports accessibility for: Conceptual Processing, Organization
Required Materials
Materials to Gather
Required Preparation
- Each student needs a ruler, a set of colored pencils or crayons, and a piece of paper.
Launch
- Give each student white paper.
- “Use the design principles we discussed in the last activity to make your own flag.”
- “As you make the design, think about the meaning of each symbol and color you use.”
Activity
- 15 minutes: independent work time
- 5 minutes: partner discussion
Student Facing
- Design your flag.
- Imagine you are making your flag with fabric. About how much of each color fabric will you need in square inches?
- Switch flags with a partner.
- Describe the meaning of each symbol and color you used.
- How do you see each of the design principles in your partner’s flag?
Student Response
For access, consult one of our IM Certified Partners.
Advancing Student Thinking
Activity Synthesis
- Invite a few students to share their flag and describe the different features.