Lesson 4
Solid Shapes
Warm-up: Notice and Wonder: What is That Shape? (10 minutes)
Narrative
Launch
- Groups of 2
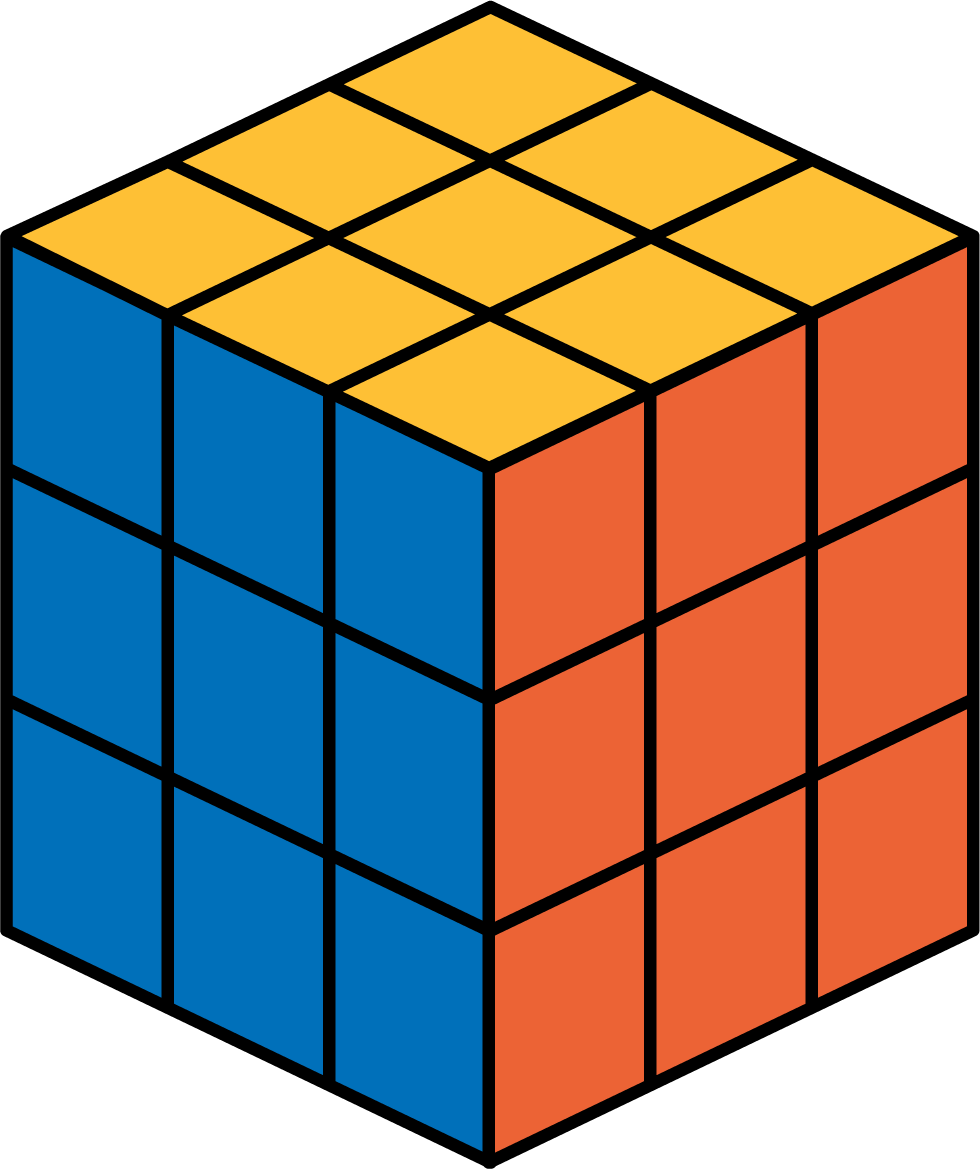
- Display the image.
- “What do you notice? What do you wonder?”
- 1 minute: quiet think time
Activity
- “Discuss your thinking with your partner.”
- 1 minute: partner discussion
- Share and record responses.
Student Facing
What do you notice? What do you wonder?


Student Response
For access, consult one of our IM Certified Partners.
Activity Synthesis
- “How are these images alike? How are they different?” (All show squares in some way. They are different because they show different numbers of squares. Some are cubes and real cubes are solid.)
- If it does not come up, ask, “Which images show a cube? Explain.” (B because it looks like a box. The big cube has little cubes and it is made of all squares. D is like a drawing of a cube.)
Activity 1: What is the Missing Shape? (15 minutes)
Narrative
The purpose of this activity is for students to describe the attributes of three-dimensional shapes and identify these shapes based on their attributes. The activity encourages students to build on their understanding of two-dimensional shapes to describe three-dimensional shapes. When students describe the attributes of solid shapes clearly to others, they use language precisely including making connections to the attributes of two-dimensional shapes (MP6).
In previous grades, students identified and named spheres, cylinders, cones, and cubes. Students may be able to recognize rectangular prisms and pyramids as solid shapes, but students are not expected to use these terms.
This activity uses MLR7 Compare and Connect. Advances: representing, conversing
Required Materials
Materials to Gather
Required Preparation
- Each group of 4 needs a collection of solid shapes (sphere, cone, cylinder, cube, rectangular prism, square pyramid).
- Create two sample posters to display in the launch. One poster with a drawing of a triangle that can be used as a less precise example for student work during the activity. The second poster should include details that identify the number and shape of the solid shape’s faces.


Launch
- Groups of 4
- Give each group a collection of solid shapes (sphere, cone, cylinder, cube, rectangular prism, square pyramid) and a piece of chart paper and markers.
- “Kiran is missing one of the solid shapes from his collection. He drew two posters to help find the shape.”
-
Display the previously prepared poster or image:
- “Which solid shape could be Kiran’s shape?” (It’s hard to tell. It could be a cone or pyramid.)
-
Display the previously prepared example poster or image:
- “Which solid shape could be Kiran’s shape?” (Students hold up or name the pyramid.)
- As needed, ask, “How would you describe the faces of a solid shape?” (It’s a flat part of the solid shape. It looks like a flat shape. The edges make up the sides of the shape.)
- “Which poster is more helpful? Explain.” (The poster that describes all the faces. The other poster could be lots of solid shapes.)
Activity
- “I’m going to assign each group a solid shape. Make a poster for your shape. You can use words, numbers, and pictures. Other groups should be able to figure out which shape you had by looking at your poster.”
- Assign each group either a cylinder, sphere, cone, or rectangular prism.
- 5 minutes: small-group work time
- Consider asking:
- “What attributes will be most important to list?”
- “What could you draw to illustrate your shape?”
- “What is the name of your solid shape?”
- As groups finish, display the posters around the room.
Student Facing
Student Response
For access, consult one of our IM Certified Partners.
Advancing Student Thinking
If students use language that could be more mathematically precise, consider asking:
- “What flat shapes could you use to describe this shape to someone?”
- “What are some objects at school or at home that are this shape?”
Activity Synthesis
MLR7 Compare and Connect
- “As you look at other groups’ posters, think about the details that help you imagine or name the shape.”
- 5 minutes: gallery walk
- “What is the same and what is different about the ways groups described their solid shape?” (Many groups gave details about the faces of the shapes, and some groups described objects that look like their shape.)
Activity 2: Sort and Build Solid Shapes (20 minutes)
Narrative
The purpose of this activity is for students to recognize and describe the attributes of two-dimensional and three-dimensional shapes. Students are given cards containing figures composed of two-dimensional shapes. They sort these shape designs in the way that makes sense to them, which may include reasoning about how the shape designs relate to three-dimensional shapes.
After sorting, students come together to discuss how they sorted their shape designs before they cut and fold two shape designs into cubes. Listen for the way students describe shape designs that are composed of equal-size shapes and solid shapes that have equal-size faces. They will continue to describe equal-size shapes in the next section.
Supports accessibility for: Organization
Required Materials
Required Preparation
- Create a set of cards from the blackline master for each group of 2.
Launch
- Groups of 2
- Give each group of 2 students a set of shape design cards and access to solid shapes.
- “We are going to describe and sort cards that show a design made up of different shapes.”
- Display Card D:

- “What do you notice? What do you wonder?” (I see 4 triangles. 3 triangles are the same. 1 triangle has shorter sides. What is the name of this shape? Would this shape make a solid shape?)
- 30 seconds: quiet think time
- 1 minute: partner discussion
- Share responses.
Activity
- “You are going to look at more shape designs and sort them in a way that makes sense to you.”
- 5 minutes: partner work time
- Consider asking:
- “What shapes make up this design?”
- “Which of the solid shapes have faces that match these shapes?”
- “Why did you group these shape designs together?”
- “What do the shape designs in your groups have in common?”
- Monitor for groups who sorted by:
- category (all triangles, all quadrilaterals)
- total number of shapes
- presence or absence of one shape (has squares vs. no squares)
- Invite 2–3 groups to share the way they sorted their shapes.
- “Which shapes are made up of equal-size shapes? Explain how you know.” (B, E, and H. All the squares are the same size in B and E. All the triangles are the same size in H.)
- “Work with your partner to answer the questions. Give me a signal when you have discussed each question and are ready to make a cube.”
- 10 minutes: partner work time
- When students are ready, give the cube pattern handout, scissors, and tape to each group of 2 students. Each student gets 1 page.
Student Facing
- Sort your shape design cards into groups. Be prepared to describe how you sort the cards.
- Match one of your cards to a solid shape. Explain your match.
- Which shape designs could be folded to make cubes? Explain.
- Your teacher will give you 2 shape designs. Fold the shape designs to make cubes. Compare your cube with your partner’s cube.
Student Response
For access, consult one of our IM Certified Partners.
Activity Synthesis
- “When you and your partner were folding, you started with different designs, but both made cubes.”
- Draw or display a design with different size squares, such as:

- “Some of you noticed that a cube has 6 square faces. Would this shape fold to make a cube?” (No. It has 6 squares, but some aren’t the same size.)
Lesson Synthesis
Lesson Synthesis
“In earlier lessons, we identified and drew shapes based on their sides and corners. Today we described solid shapes based on their faces. We also used the shapes we know to help us describe solid shapes.”
“In the first activity, you made posters that helped identify solid shapes. What would you put on a poster to identify a cube? What would you draw? What words would you use?” (I would draw 6 squares like we cut out. I would say it has 6 square faces. The faces are all the same size. It looks like number cubes.)
Cool-down: What Shape is This? (5 minutes)
Cool-Down
For access, consult one of our IM Certified Partners.
Student Section Summary
Student Facing

