Lesson 4
Explore Geoblocks
Warm-up: Notice and Wonder: Geoblocks (10 minutes)
Narrative
The purpose of this activity is to elicit ideas students have about geoblocks. This allows teachers to see what language students use to describe shapes (MP6). There is no need to introduce formal geometric language at this point since this will happen in a later unit.
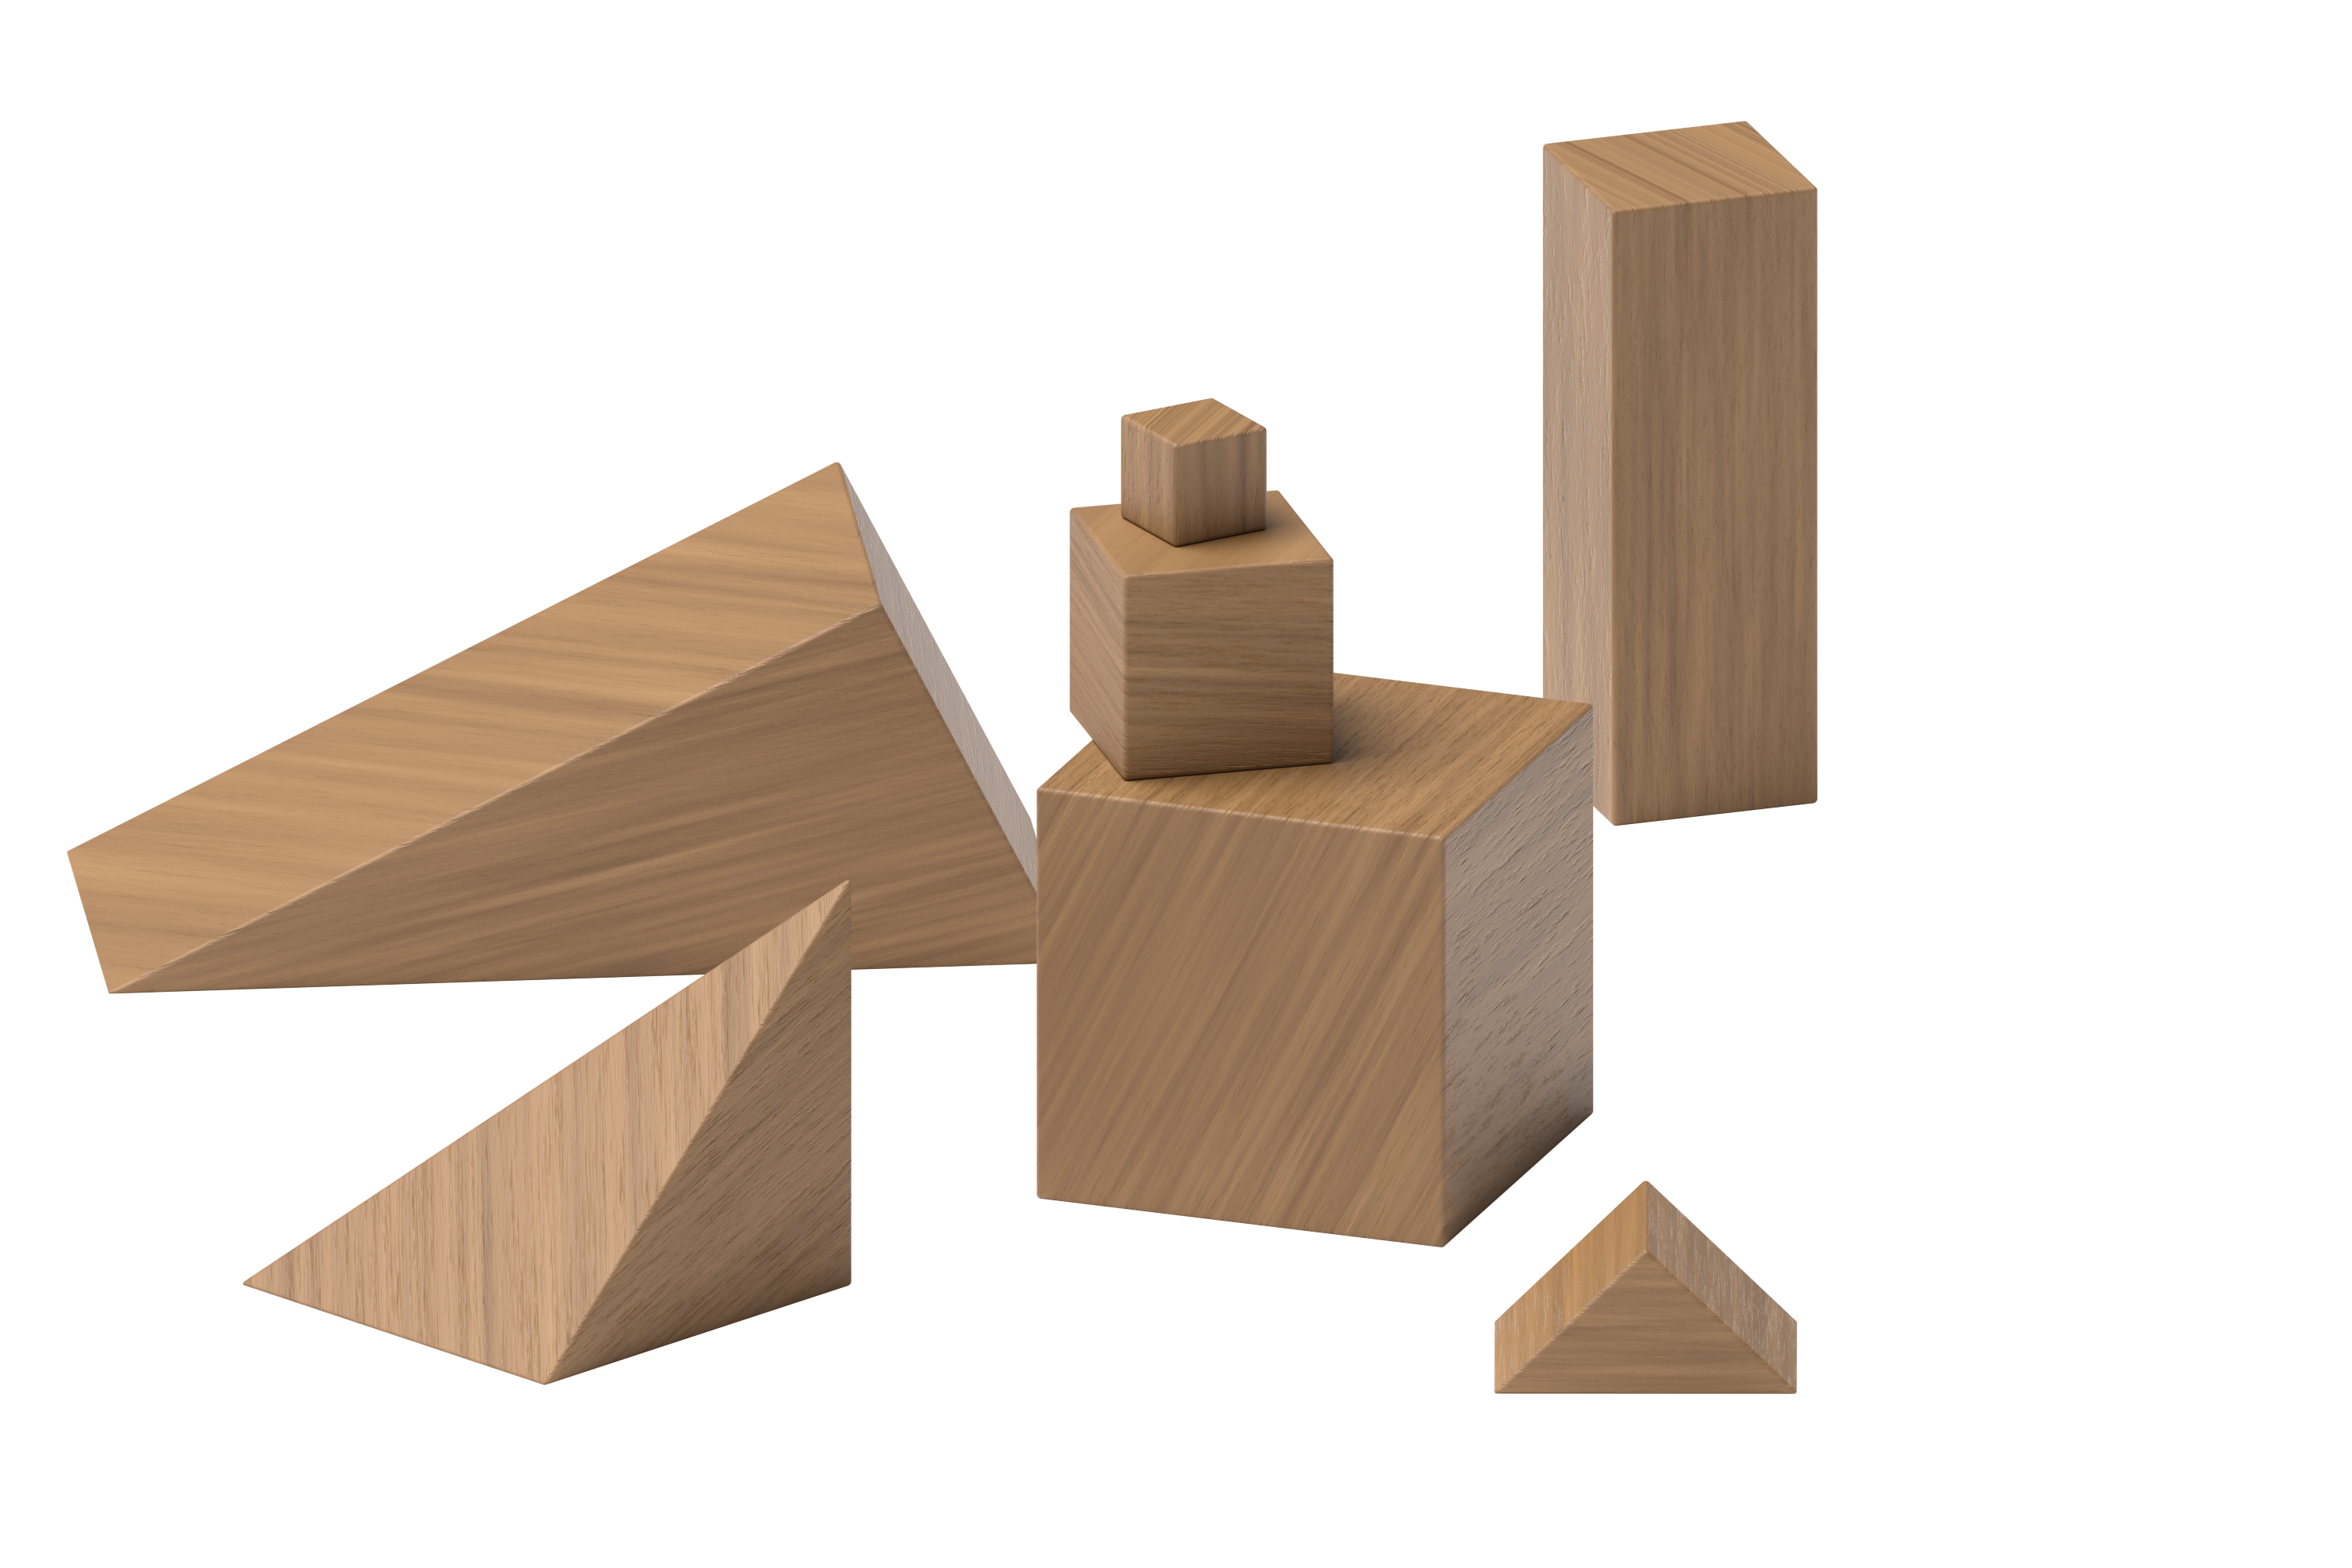
A picture of geoblocks is provided. However, it is preferable to display a collection of actual blocks. Students also have a few geoblocks to examine up close.
Launch
- Groups of 2
- Give each student a few geoblocks and display a collection of geoblocks or the image in the student book.
- “What do you notice?”
- 30 seconds: quiet think time
Activity
- “Tell your partner what you noticed.”
- 1 minute: partner discussion
- Share and record responses.
- “What do you wonder?”
- 1 minute: quiet think time
- “Tell your partner what you wondered.”
- 30 seconds: quiet think time
- 1 minute: partner discussion
- Share and record responses.
Student Facing
What do you notice?
What do you wonder?

Student Response
For access, consult one of our IM Certified Partners.
Activity Synthesis
- “These are called geoblocks. What is one thing that you think you could do or make with the geoblocks?”
Activity 1: Introduce Geoblocks, Explore (15 minutes)
Narrative
The purpose of this activity is for students to explore geoblocks. Students have an opportunity to explore the geoblocks before they are asked to use them to represent mathematical situations in later lessons. As students explore, observe whether students sort the geoblocks, count them, or use geometric language to describe them (MP6). Students will have opportunities to continue exploring geoblocks in centers in future lessons. This is stage 1 of the Geoblocks center.
Advances: Speaking, Representing
Supports accessibility for: Conceptual Processing, Organization
Required Materials
Materials to Gather
Launch
- Groups of 2
- Give a container of geoblocks to each group.
- “When do you see people build things in your family or your community? What kind of tools do they use when they build?” (I saw people building a house. They used wood and ladders. My dad used a hammer to build a dollhouse.)
- “Let’s explore geoblocks. Have you used geoblocks or another tool like this before? What do you want to make or do with the geoblocks?”
- 30 seconds: quiet think time
- Share responses.
Activity
- 10 minutes: partner work time
- “Share with your partner one thing you did or made with the blocks.”
- 2 minutes: partner discussion
Student Response
For access, consult one of our IM Certified Partners.
Activity Synthesis
- Ask 3–4 students to share what they did or made with geoblocks.
- “One thing that we did with the geoblocks was build. What kinds of tools can you use at home to build things?”
Activity 2: Introduce Geoblocks, Build to Match (10 minutes)
Narrative
The purpose of this activity is for students to learn stage 2 in the Geoblocks center. Students use solid shapes to build objects pictured on cards. The focus is on how students choose which shapes to use and the language they use to describe their creations, rather than on creating a perfect representation of the object (MP6). When students make and describe their own choices for how they represent real-world objects with geometric shapes, they prepare to model real-world problems with mathematics (MP4).
Standard geoblock sets do not include cylinders, spheres, and cones. When these shapes are required, solid shapes are indicated in the required materials. The tool is still called geoblocks to keep things simple for students.
Required Materials
Launch
- Groups of 2
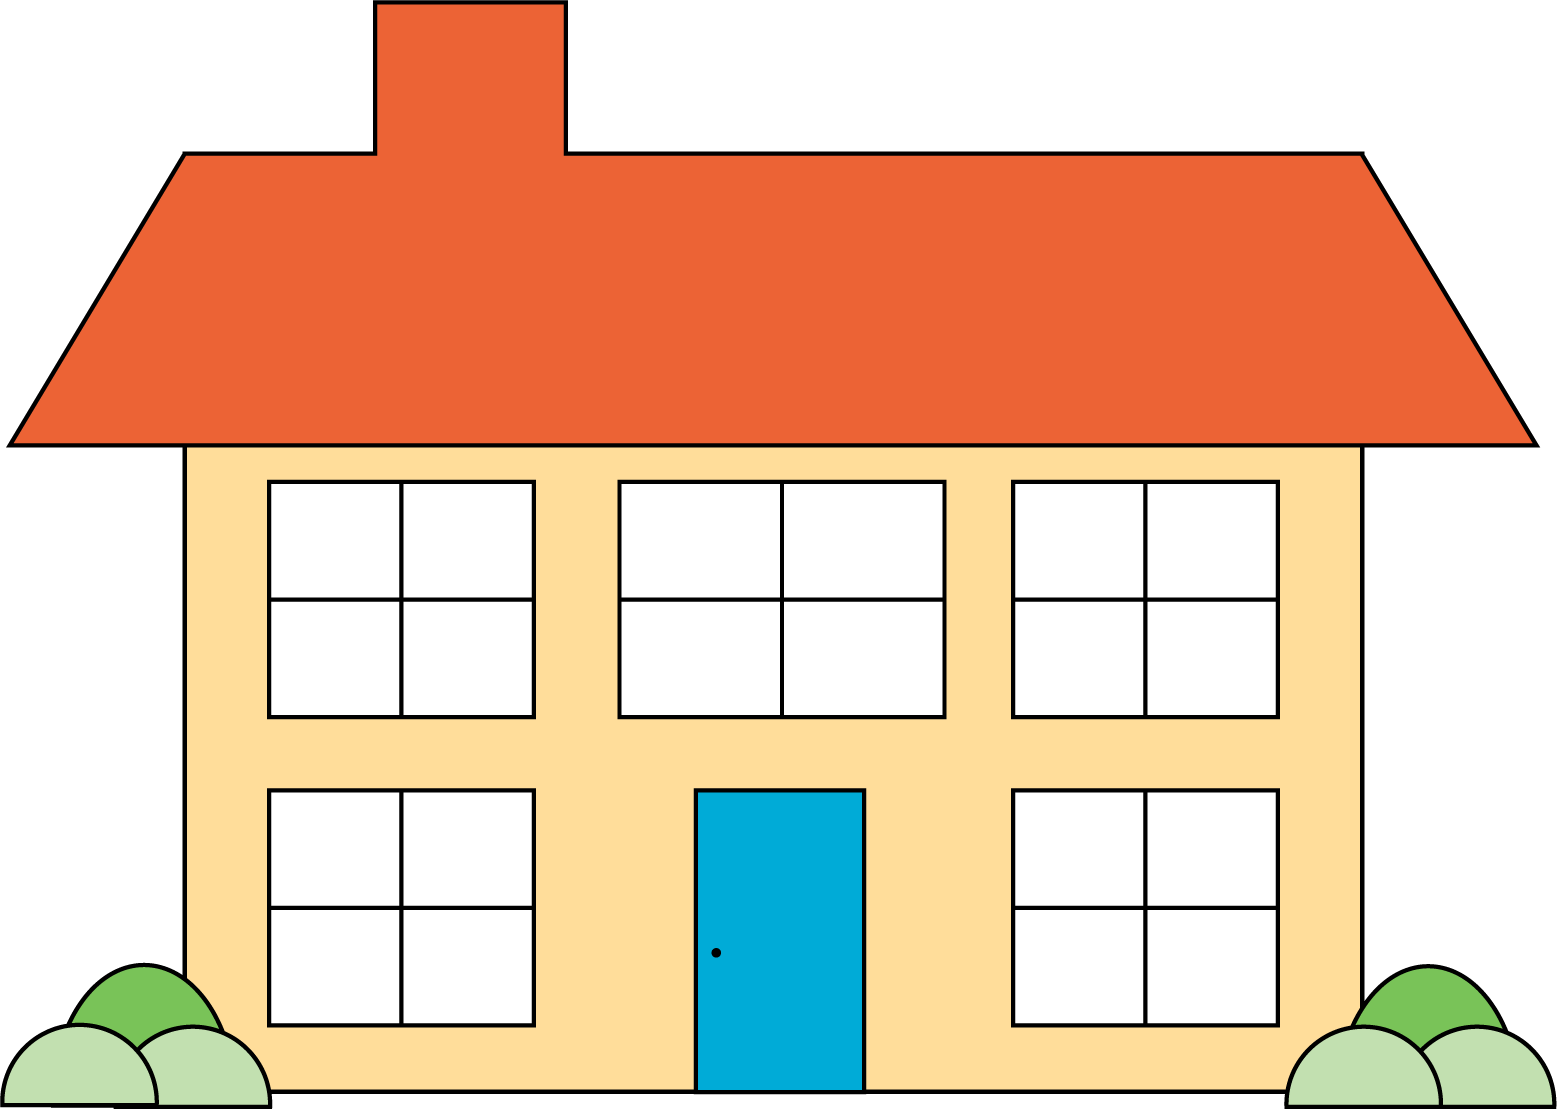
- Display student book.
- “What do you notice? What do you wonder?”
- 30 seconds: quiet think time
- 1 minute: partner discussion
- Share and record responses.
Activity
- Give each group of students geoblocks, solid shapes, and a copy of the blackline master.
- “This page shows a picture of a house. Work with your partner to use the shapes to create a house.”
- 3 minutes: partner work time
- “Choose another picture that you’d like to build.”
- 2–3 minutes: independent work time
- As students work, consider asking:
- “Which shapes can you use to make the roof of the house?”
- “How did you create _____?”
Student Facing
Use blocks to build a house.

Activity Synthesis
- Invite 3–4 students to share their creations.
- “What new ideas did you hear your partner talk about today when they used the geoblocks? What did you see your partner do with their geoblocks?”
Lesson Synthesis
Lesson Synthesis
“Today we explored geoblocks. What was your favorite thing that you did or made with the geoblocks? Why was it your favorite?”
“Let’s practice counting to 10.”
Demonstrate counting to 10. Count to 10 as a class 1–2 times.
Math Community
Display the math community poster and read the student actions listed under “Doing Math”.
“Which of these did you do today? How did they help you in class?”
“Is there anything else we should add to the poster?”
Cool-down: Unit 1, Section A Checkpoint (0 minutes)
Cool-Down
For access, consult one of our IM Certified Partners.